Resurrecting this blog from the depths of darkest cyberspace is a little daunting to say the least. Why did it stop in the first place? Because, like so many other fledgling bloggers, I was too unsure and overwhelmed to really Continue reading “RESET, RESTART; FOLLOW YOUR HEART…..”
ADVENTURES IN LEATHER (1)…
So I’ve been talking about making leather accessories for a few years now and I’m happy to announce that in the past few months, I’ve FINALLY started creating things! I’ve bought tools and Continue reading “ADVENTURES IN LEATHER (1)…”
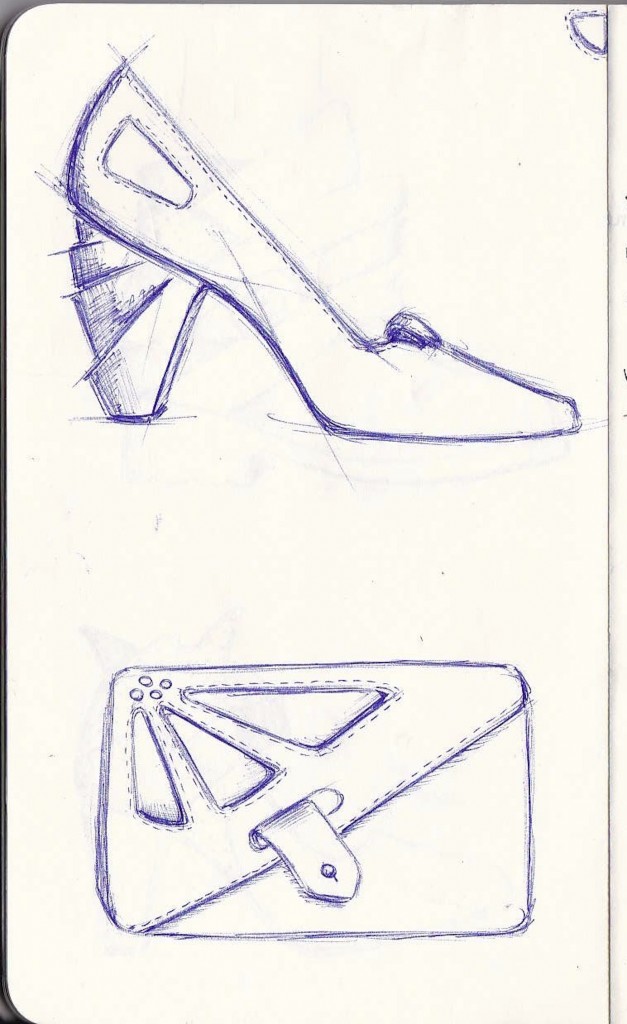
PANTONE TREATMENT…
From pencil sketch to coloured design #pantones
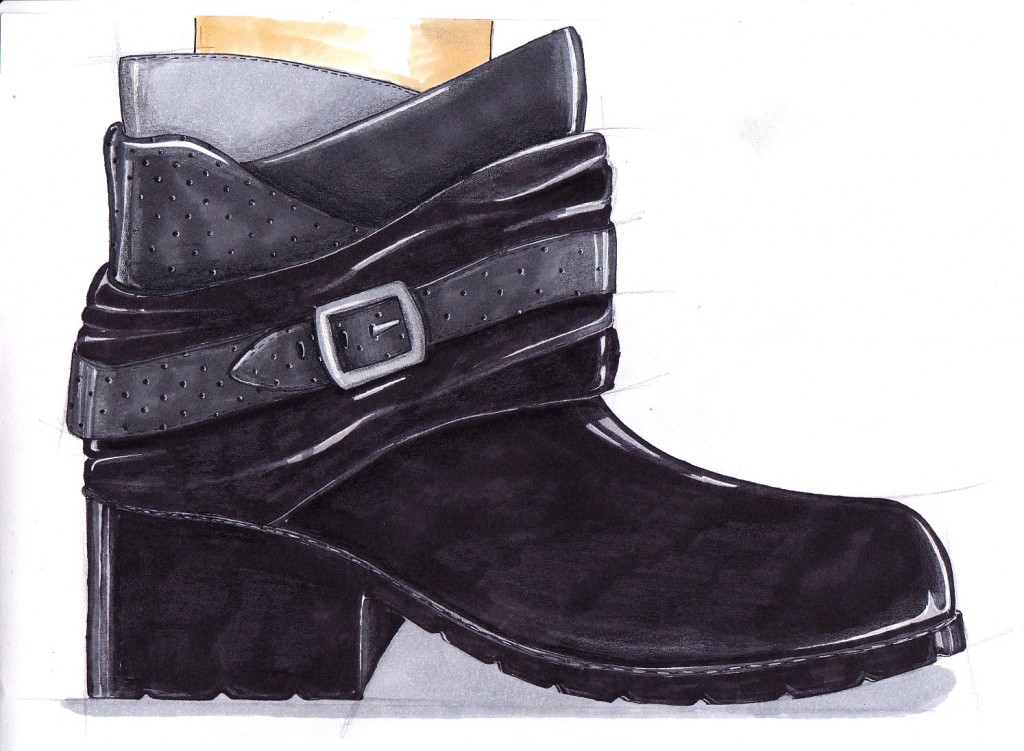
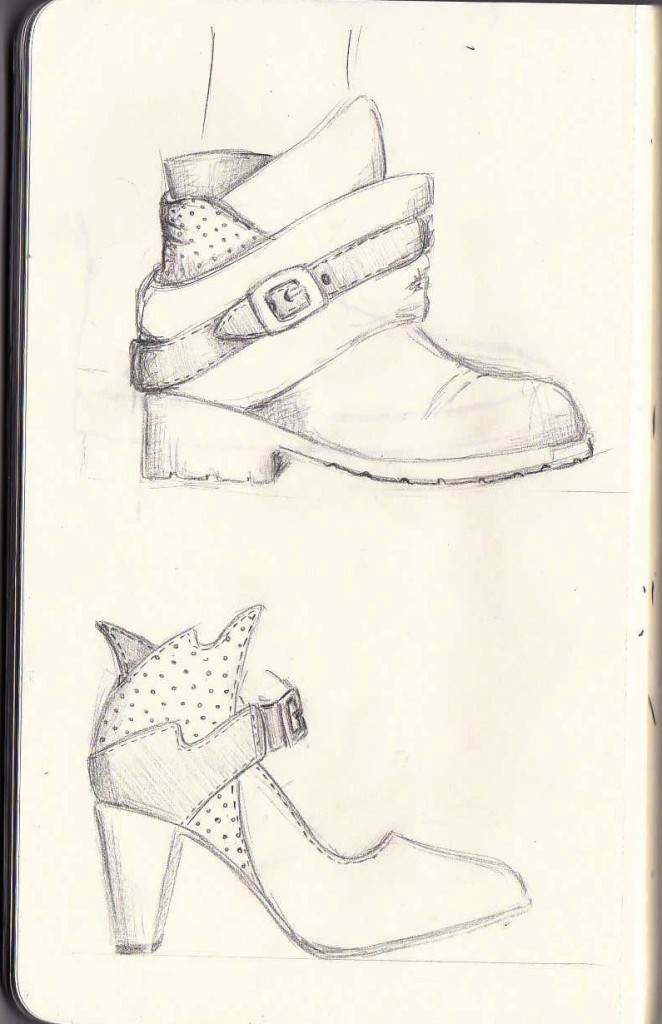
SPRING SKETCHES…
A couple of new additions to my sketchbook inspired by layering and texture.
CREATIVE CLARITY…
So, it’s January again and whilst the world is busy detoxing, enrolling in gyms, abstaining from alcohol and trying not to fail at the same New Year’s resolutions they made last year, I have decided I want something different for my 2016.
Among the usual New Year wish-list, you will still find “READ MORE” and that old favourite “DO MORE EXERCISE,” but this year there’s also room for a ‘new entry:’
*** MAKE TIME FOR BEING CREATIVE ***
As a creative person, it almost feels silly having to say this out loud but at times, it’s so easy to get bogged down with everyday chores, work stress and social commitments that there just doesn’t seem to be any time or energy left for the simple pleasures like creating. Then, when a moment arrives, my brain starts analysing all the things I probably could/should be doing and I watch another potentially creative moment slide away.
Since last year, I’ve been collaborating with 2 exceptionally creative schools in Trento where my students are studying graphics and fashion design and it’s so inspiring to see what they come up with. I like to think that being immersed in these creative environments is having a very positive affect on my own desire to design and make and has pushed it back up to the top of my priority list, where it belongs.
I suppose the lesson learned is that we can all say we don’t have time to do things but it’s not the time we lack really, it’s the WILL to do something about it. After all, WHERE THERE’S A WILL, THERE’S A WAY did not become a cliché for nothing…
(NOTE TO SELF: MUST NOT GIVE IN TO LOGICAL, RATIONAL BRAIN FUNCTION; MUST START LISTENING TO CREATIVE INNER-VOICE…)
So, in light of this creative awakening, I wanted to share publicly my resolve to make more time for designing, making, coming up with ideas and then finding ways to express them.
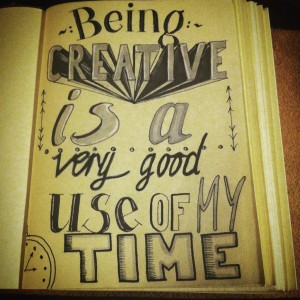
As with anything intimidating, it’s about taking those baby steps. First one? The quick sketchbook moment above, inspired by the typographic work of Tobias Hall (see his website here) who is currently, firmly on my designer radar. This was then shortly followed by step 2, signing up for email alerts from the very inspiring paintedsummers.com (relaunching soon). Everything I read rang true so hopefully it will be another push in the right direction.
Next step? That one’s obvious – get my butt into gear and make stuff!!
Happy, happy 2016 everyone and may it be overflowing with creative moments for us all!!
Zoe x
DIAMOND (AWL) IN THE ROUGH…
For a while now my passion for leather accessories has been gaining momentum! I always get excited when I see hand-made leather products and after so many years in the footwear industry spent working with synthetic leathers, even just the smell of real leather is enough to grab my attention! In pursuit of this, I decided to enrol on a course with Diamond Awl to learn more about the making process and create a messenger bag by hand…
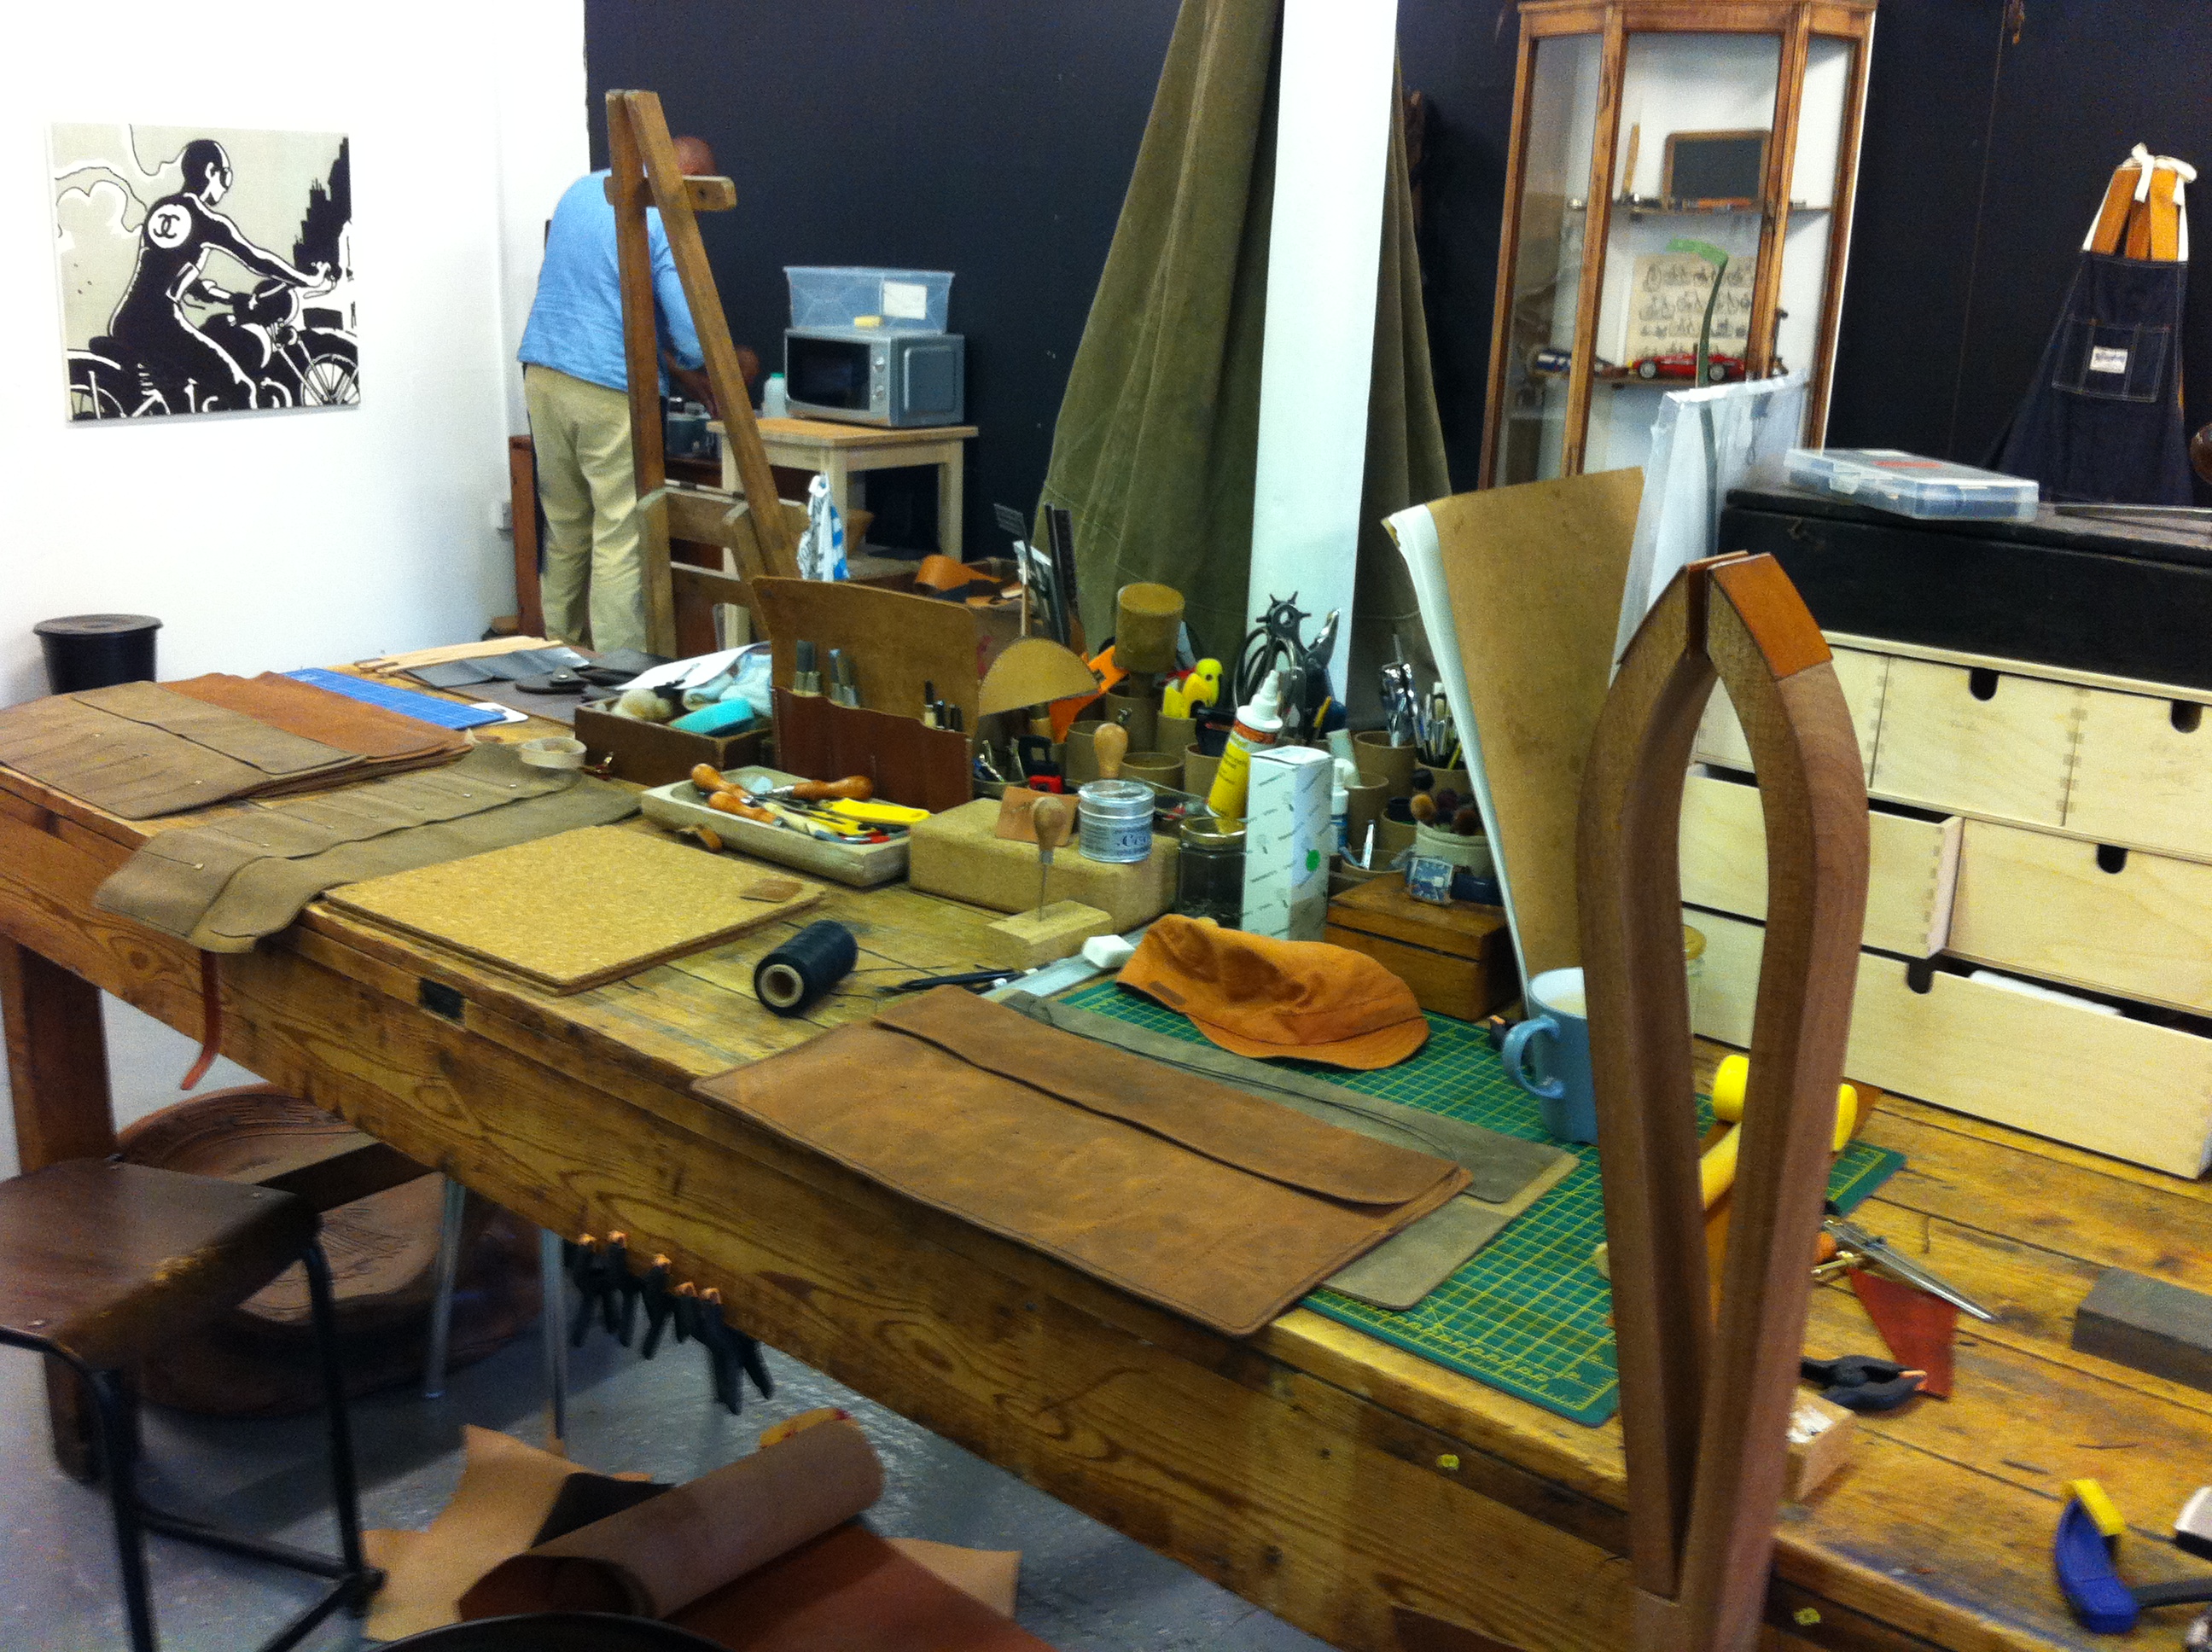
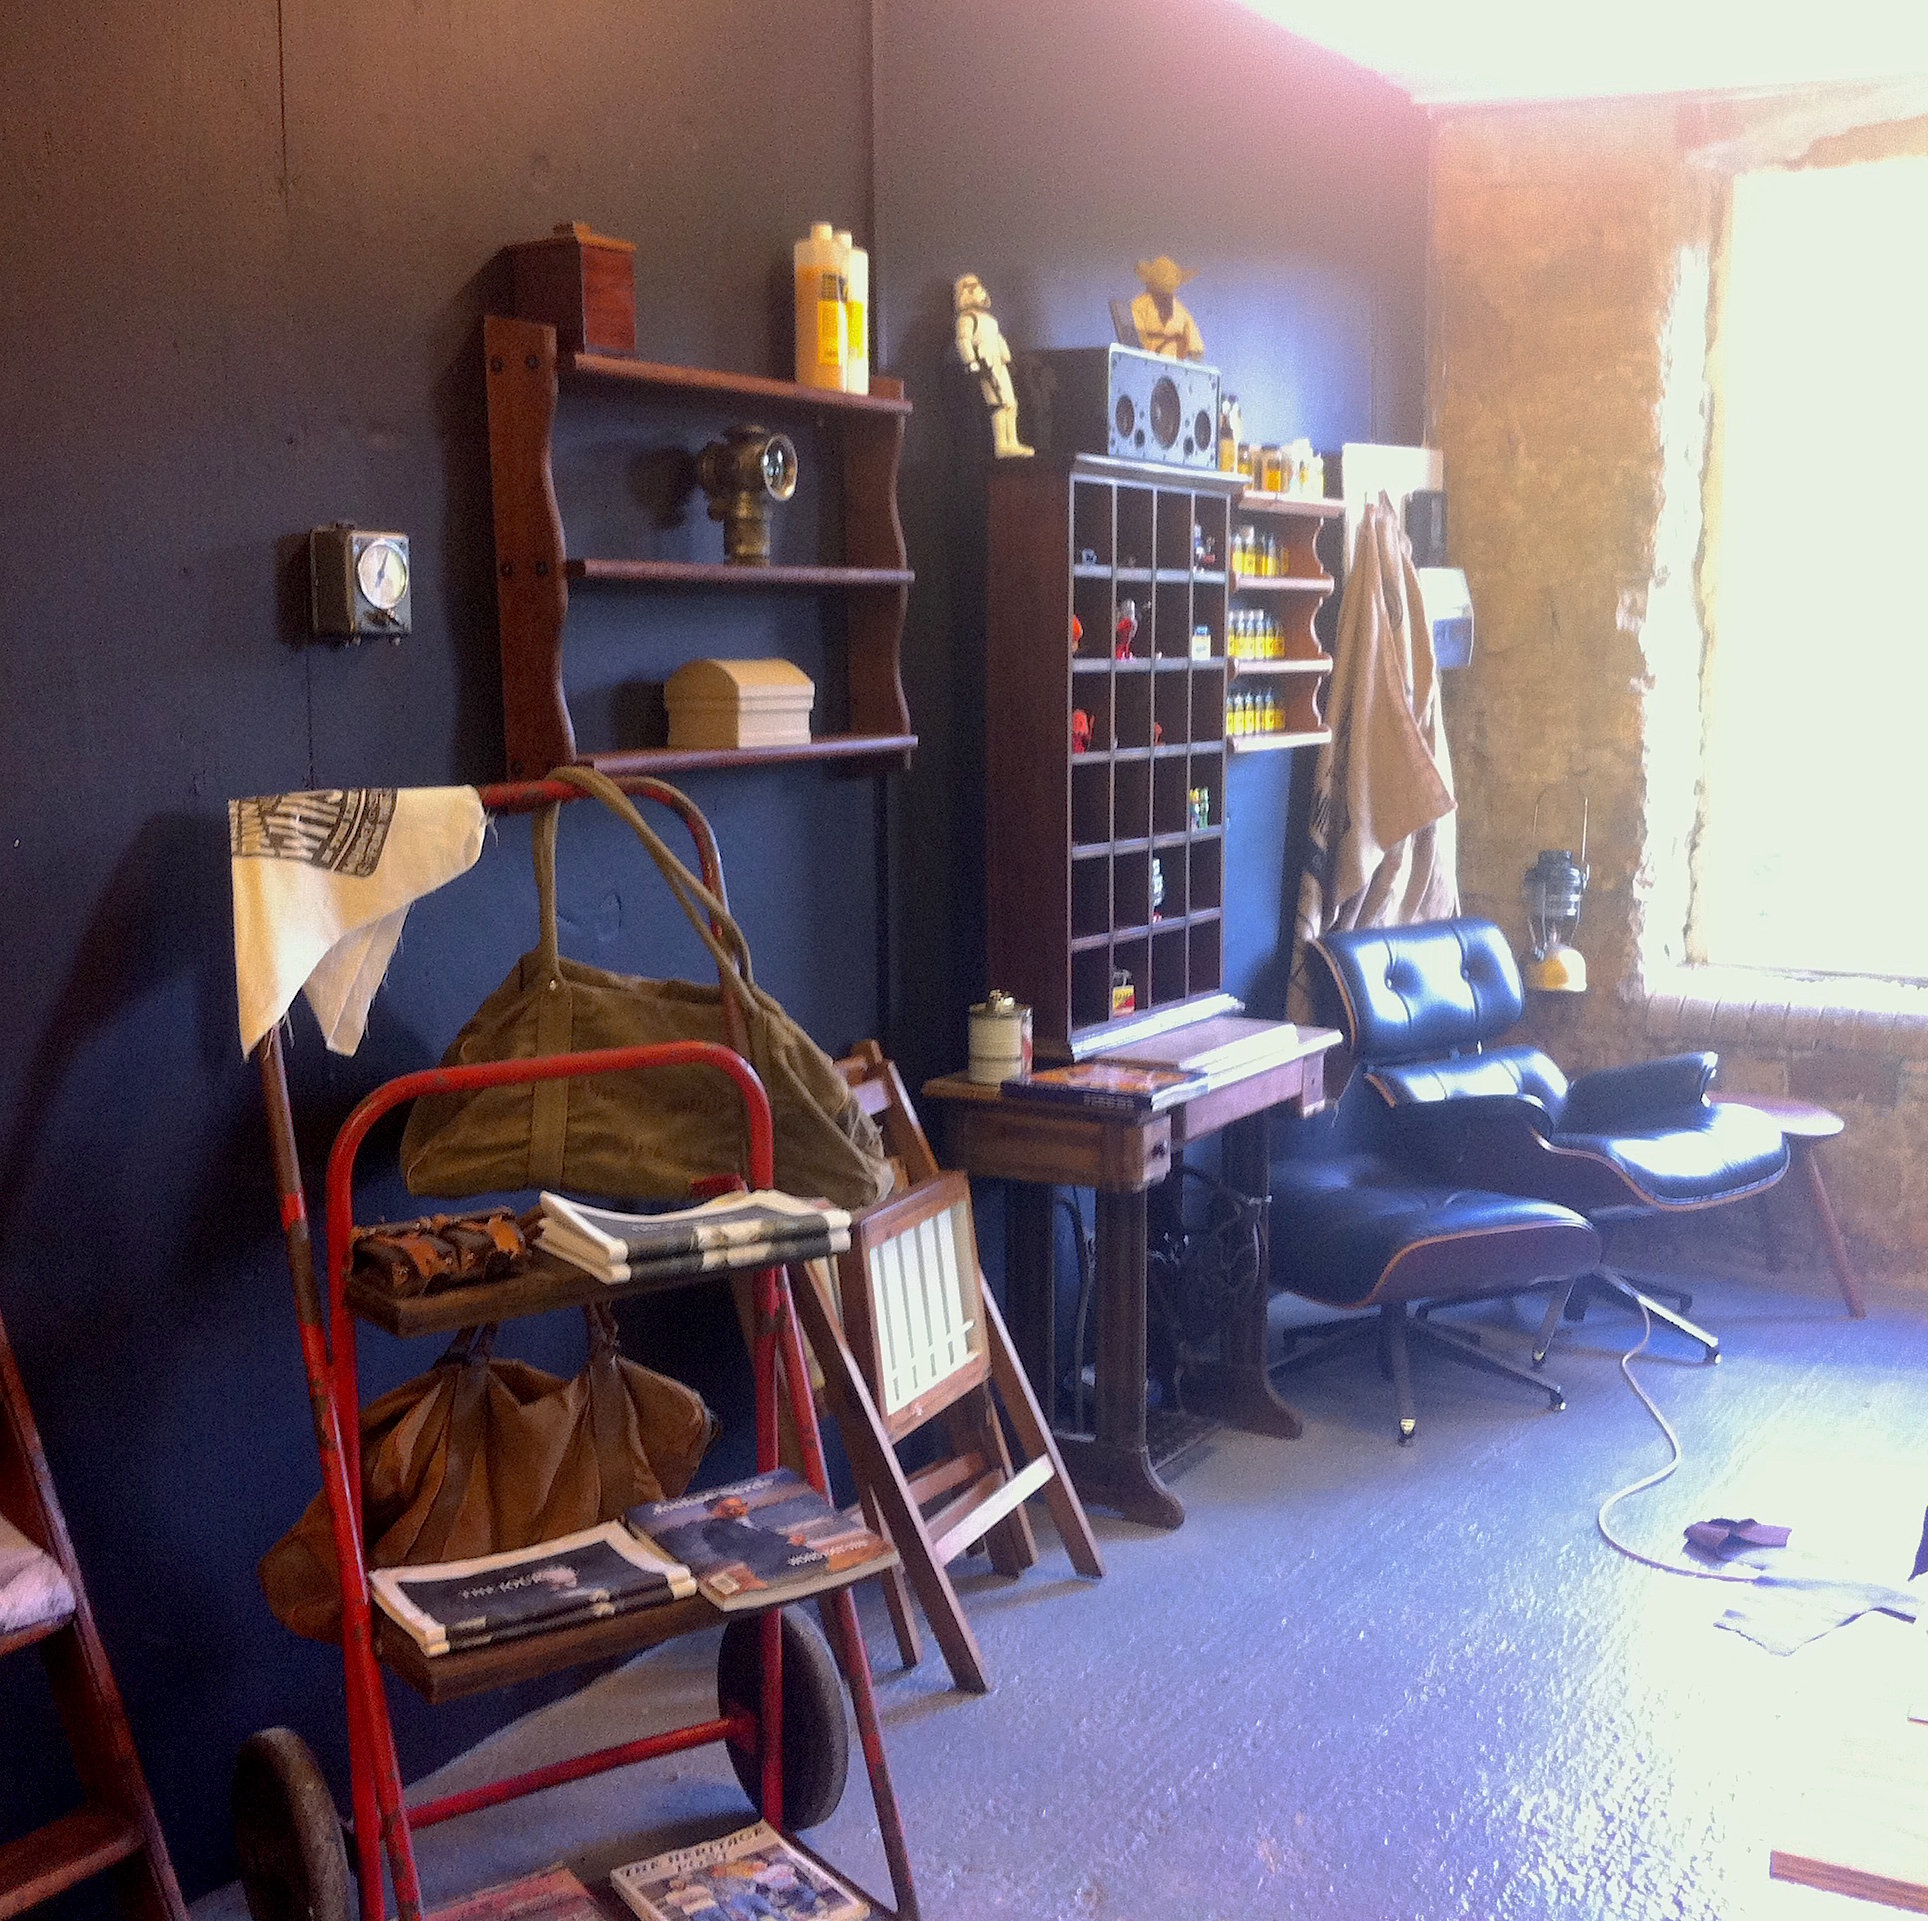
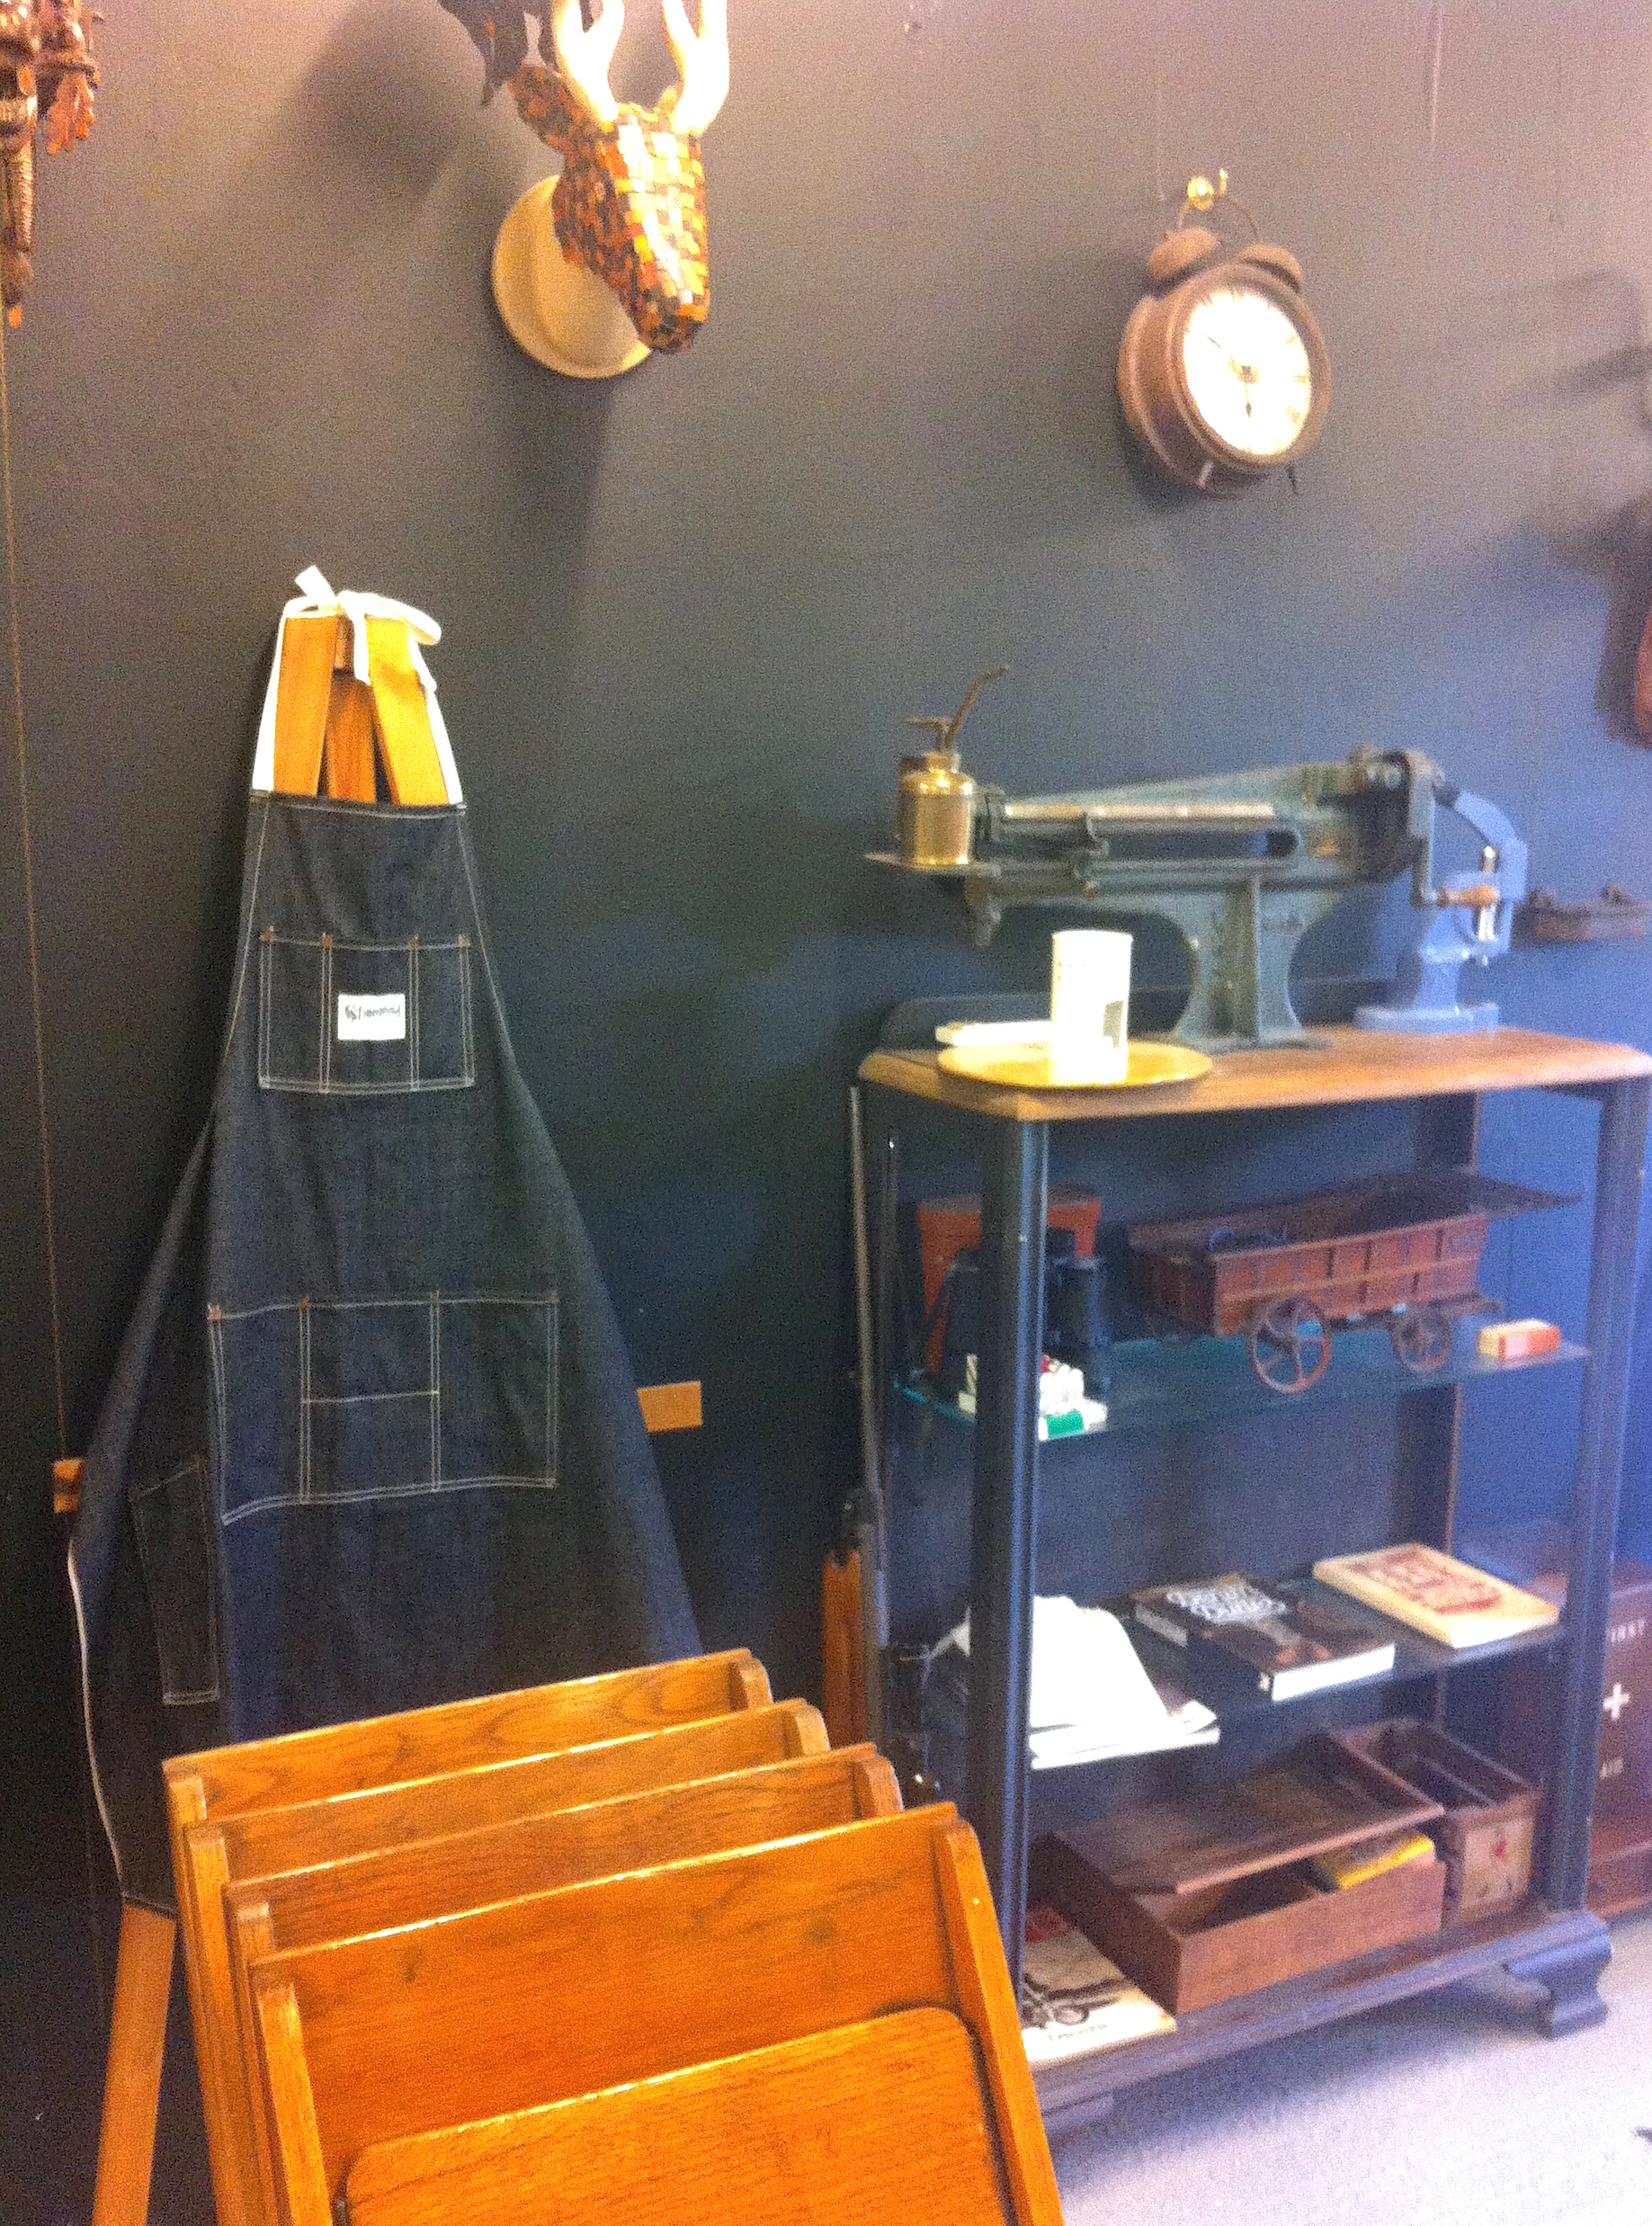
The location for the weekend was an old cotton mill near Saddleworth, in Lancashire. I immediately fell in love with the studio which was an industrial-style work space filled with leathers, tools and all manner of eclectic objects, making it feel like a miniature museum!
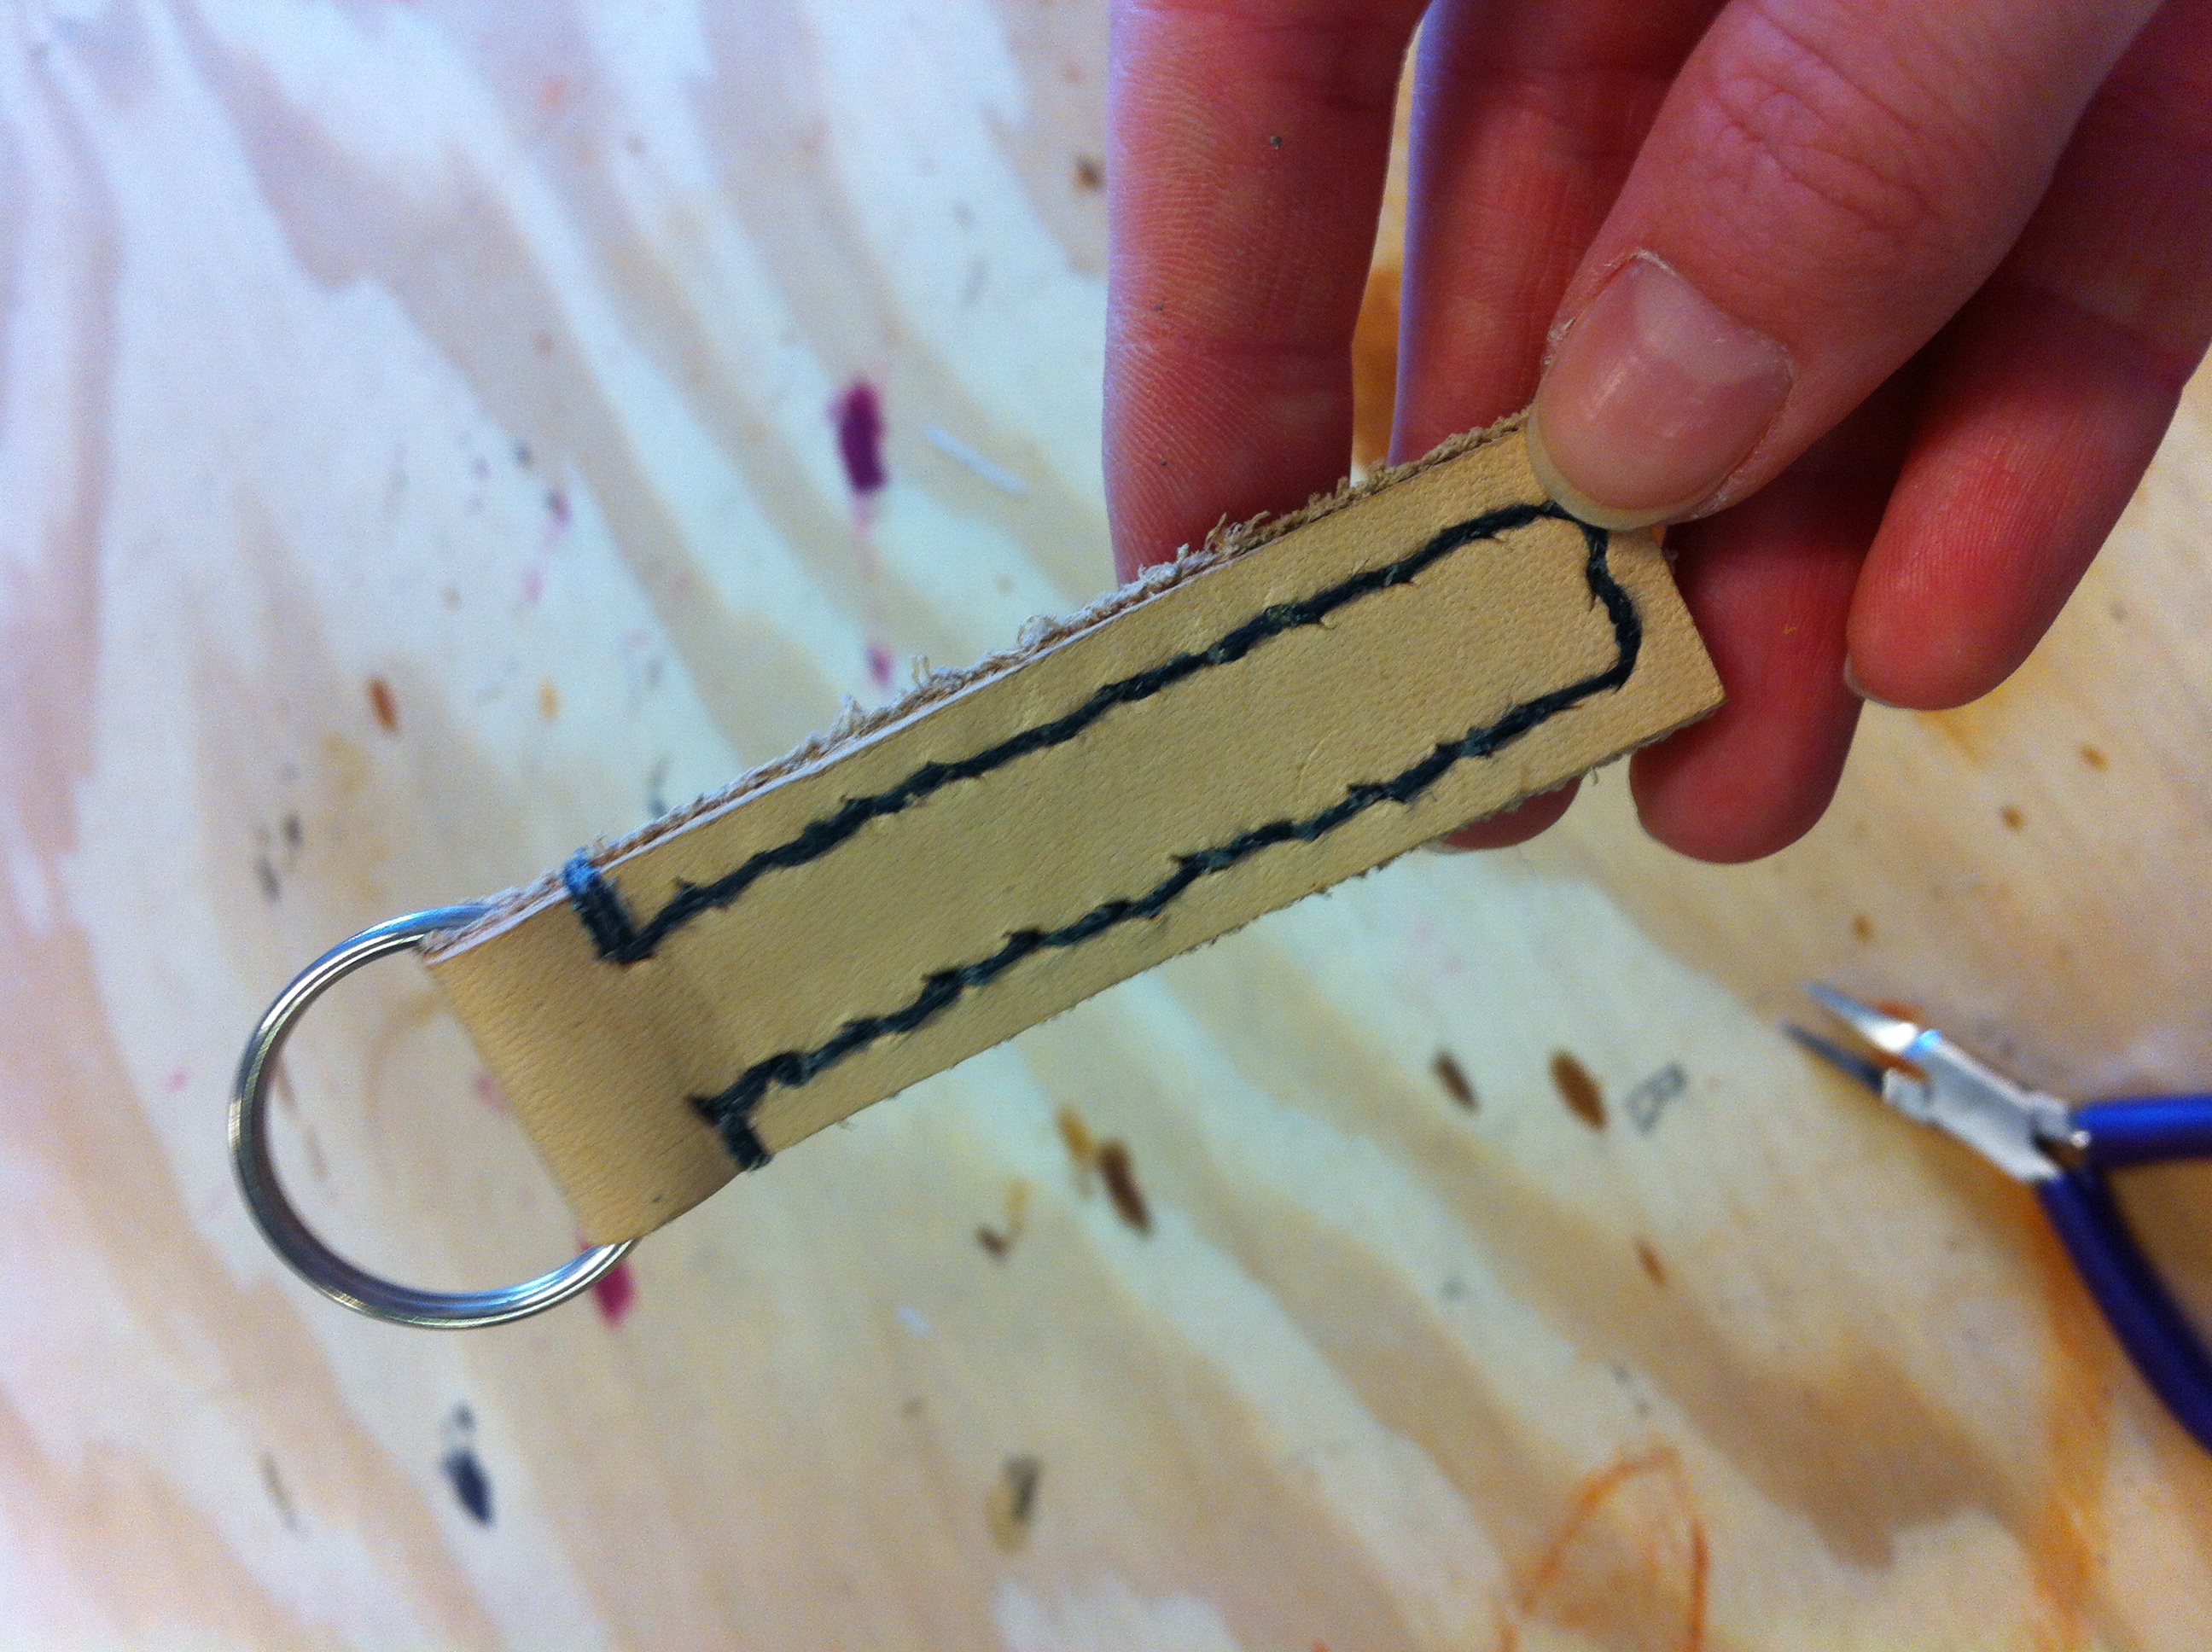
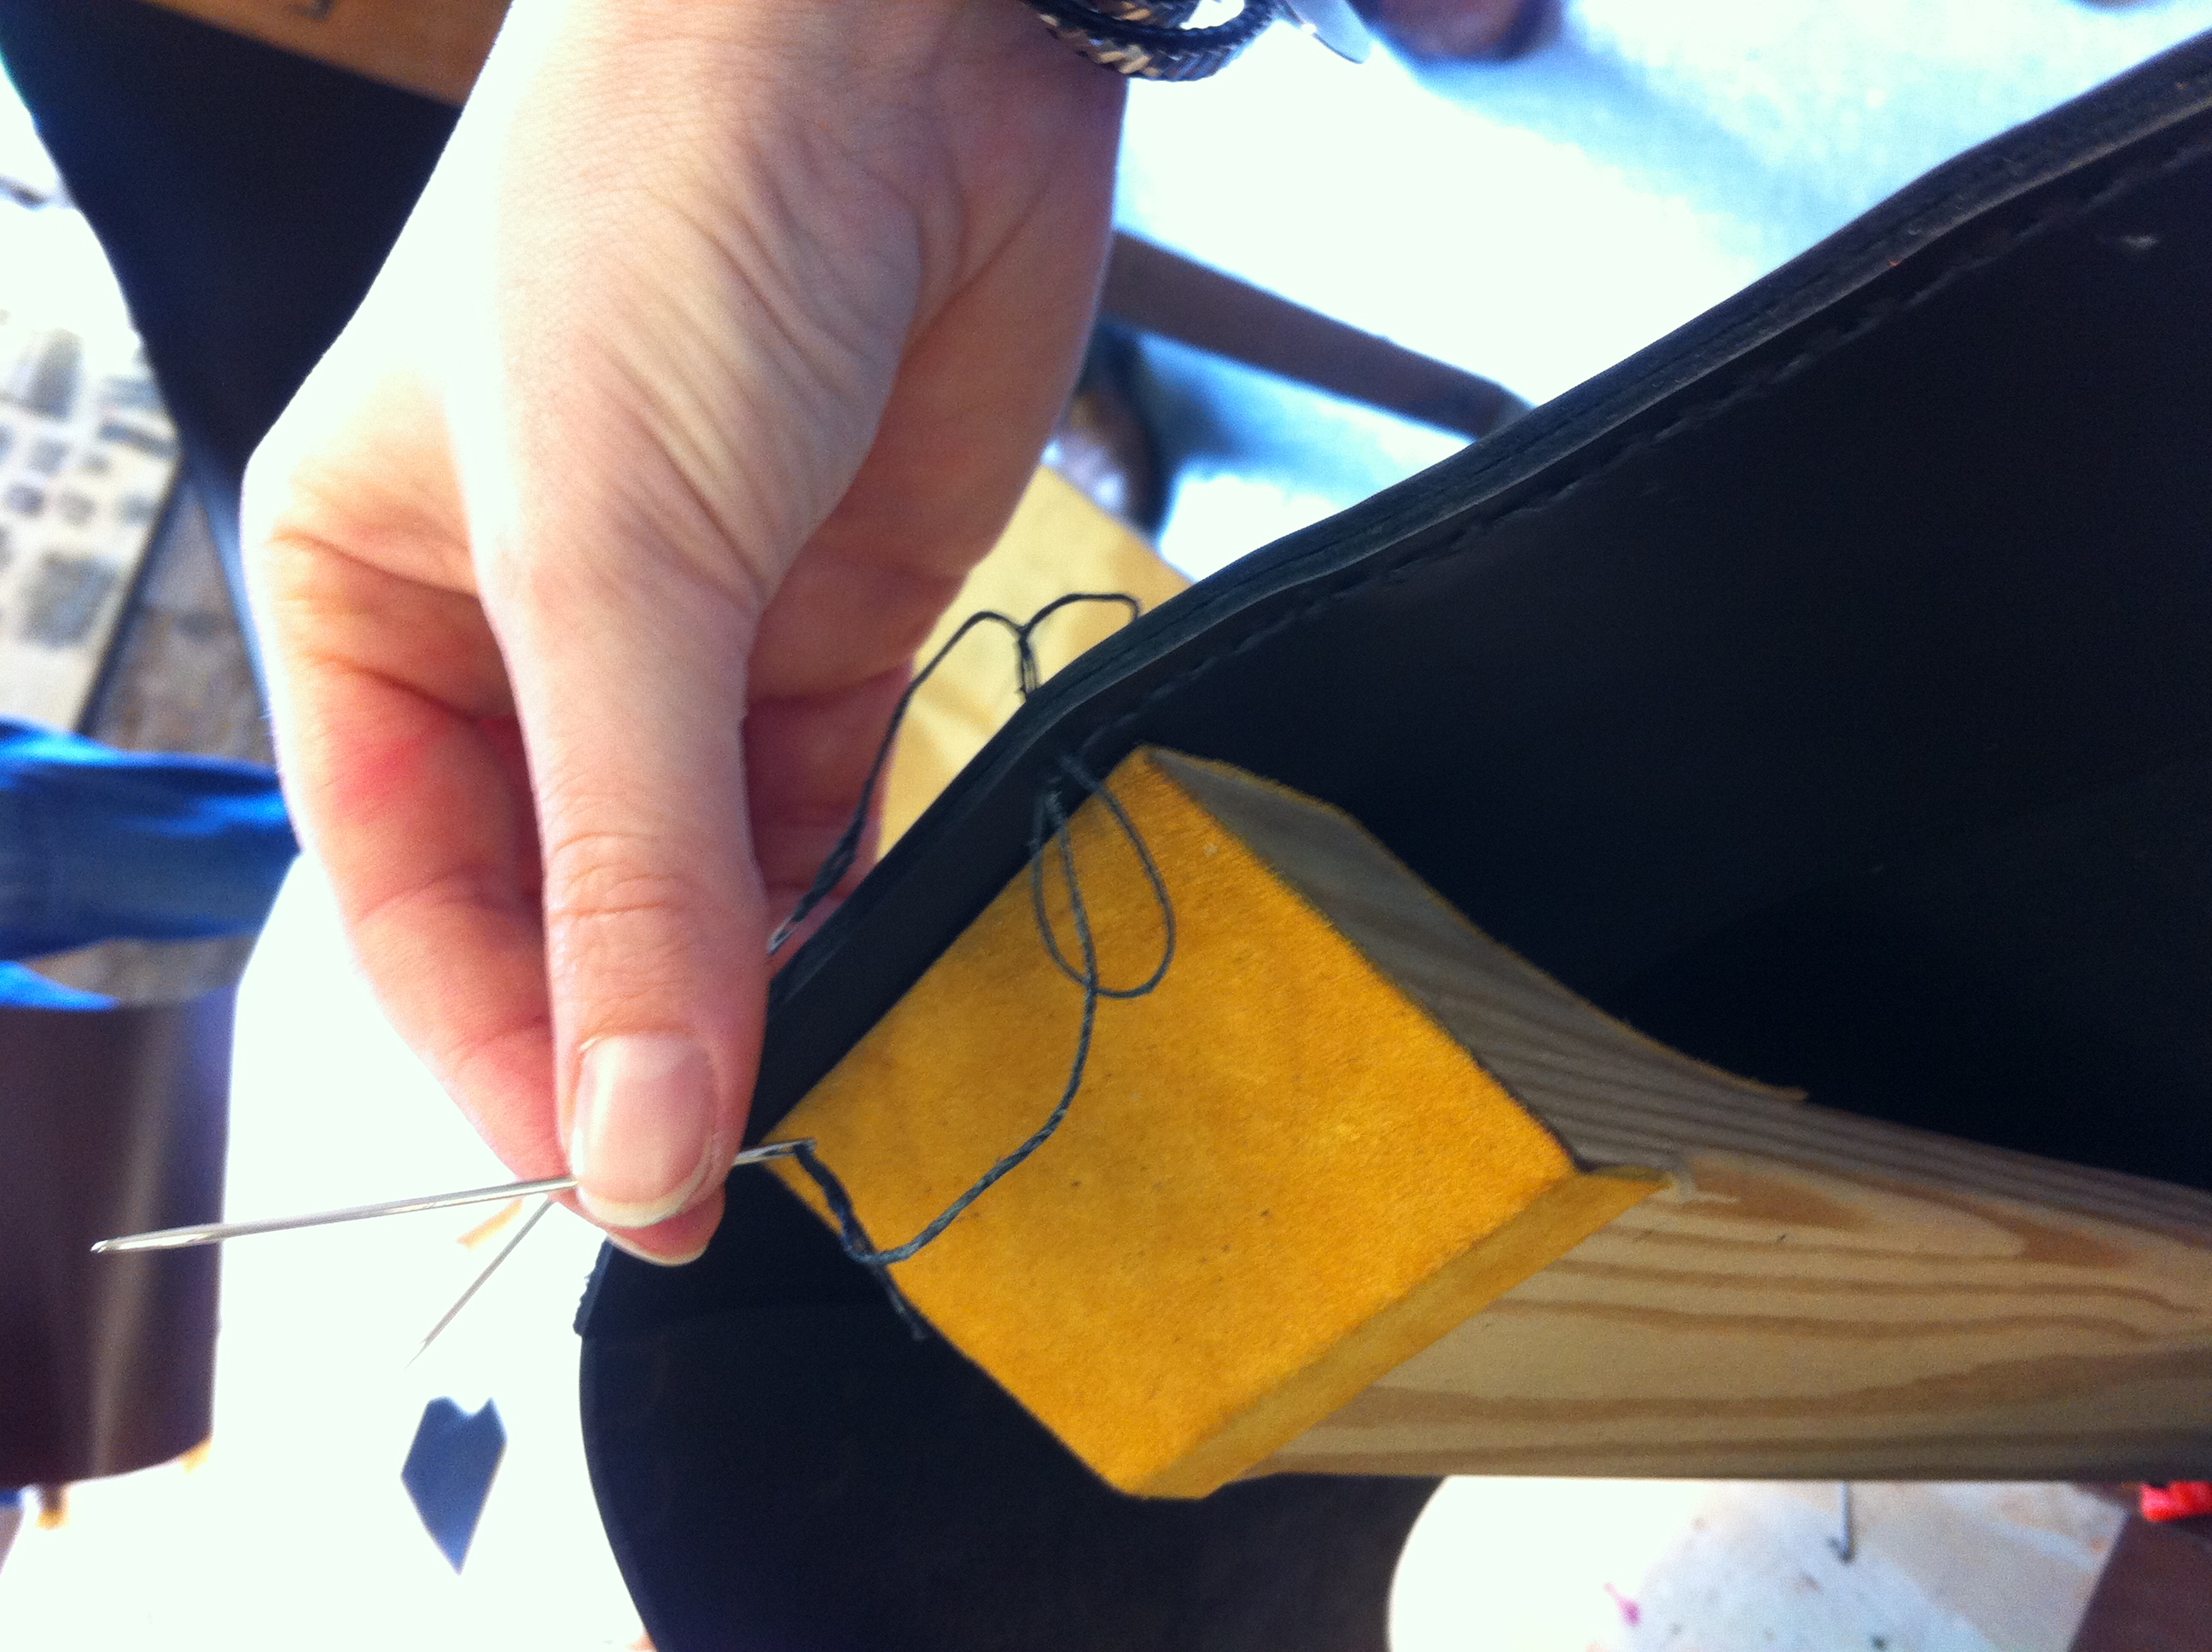
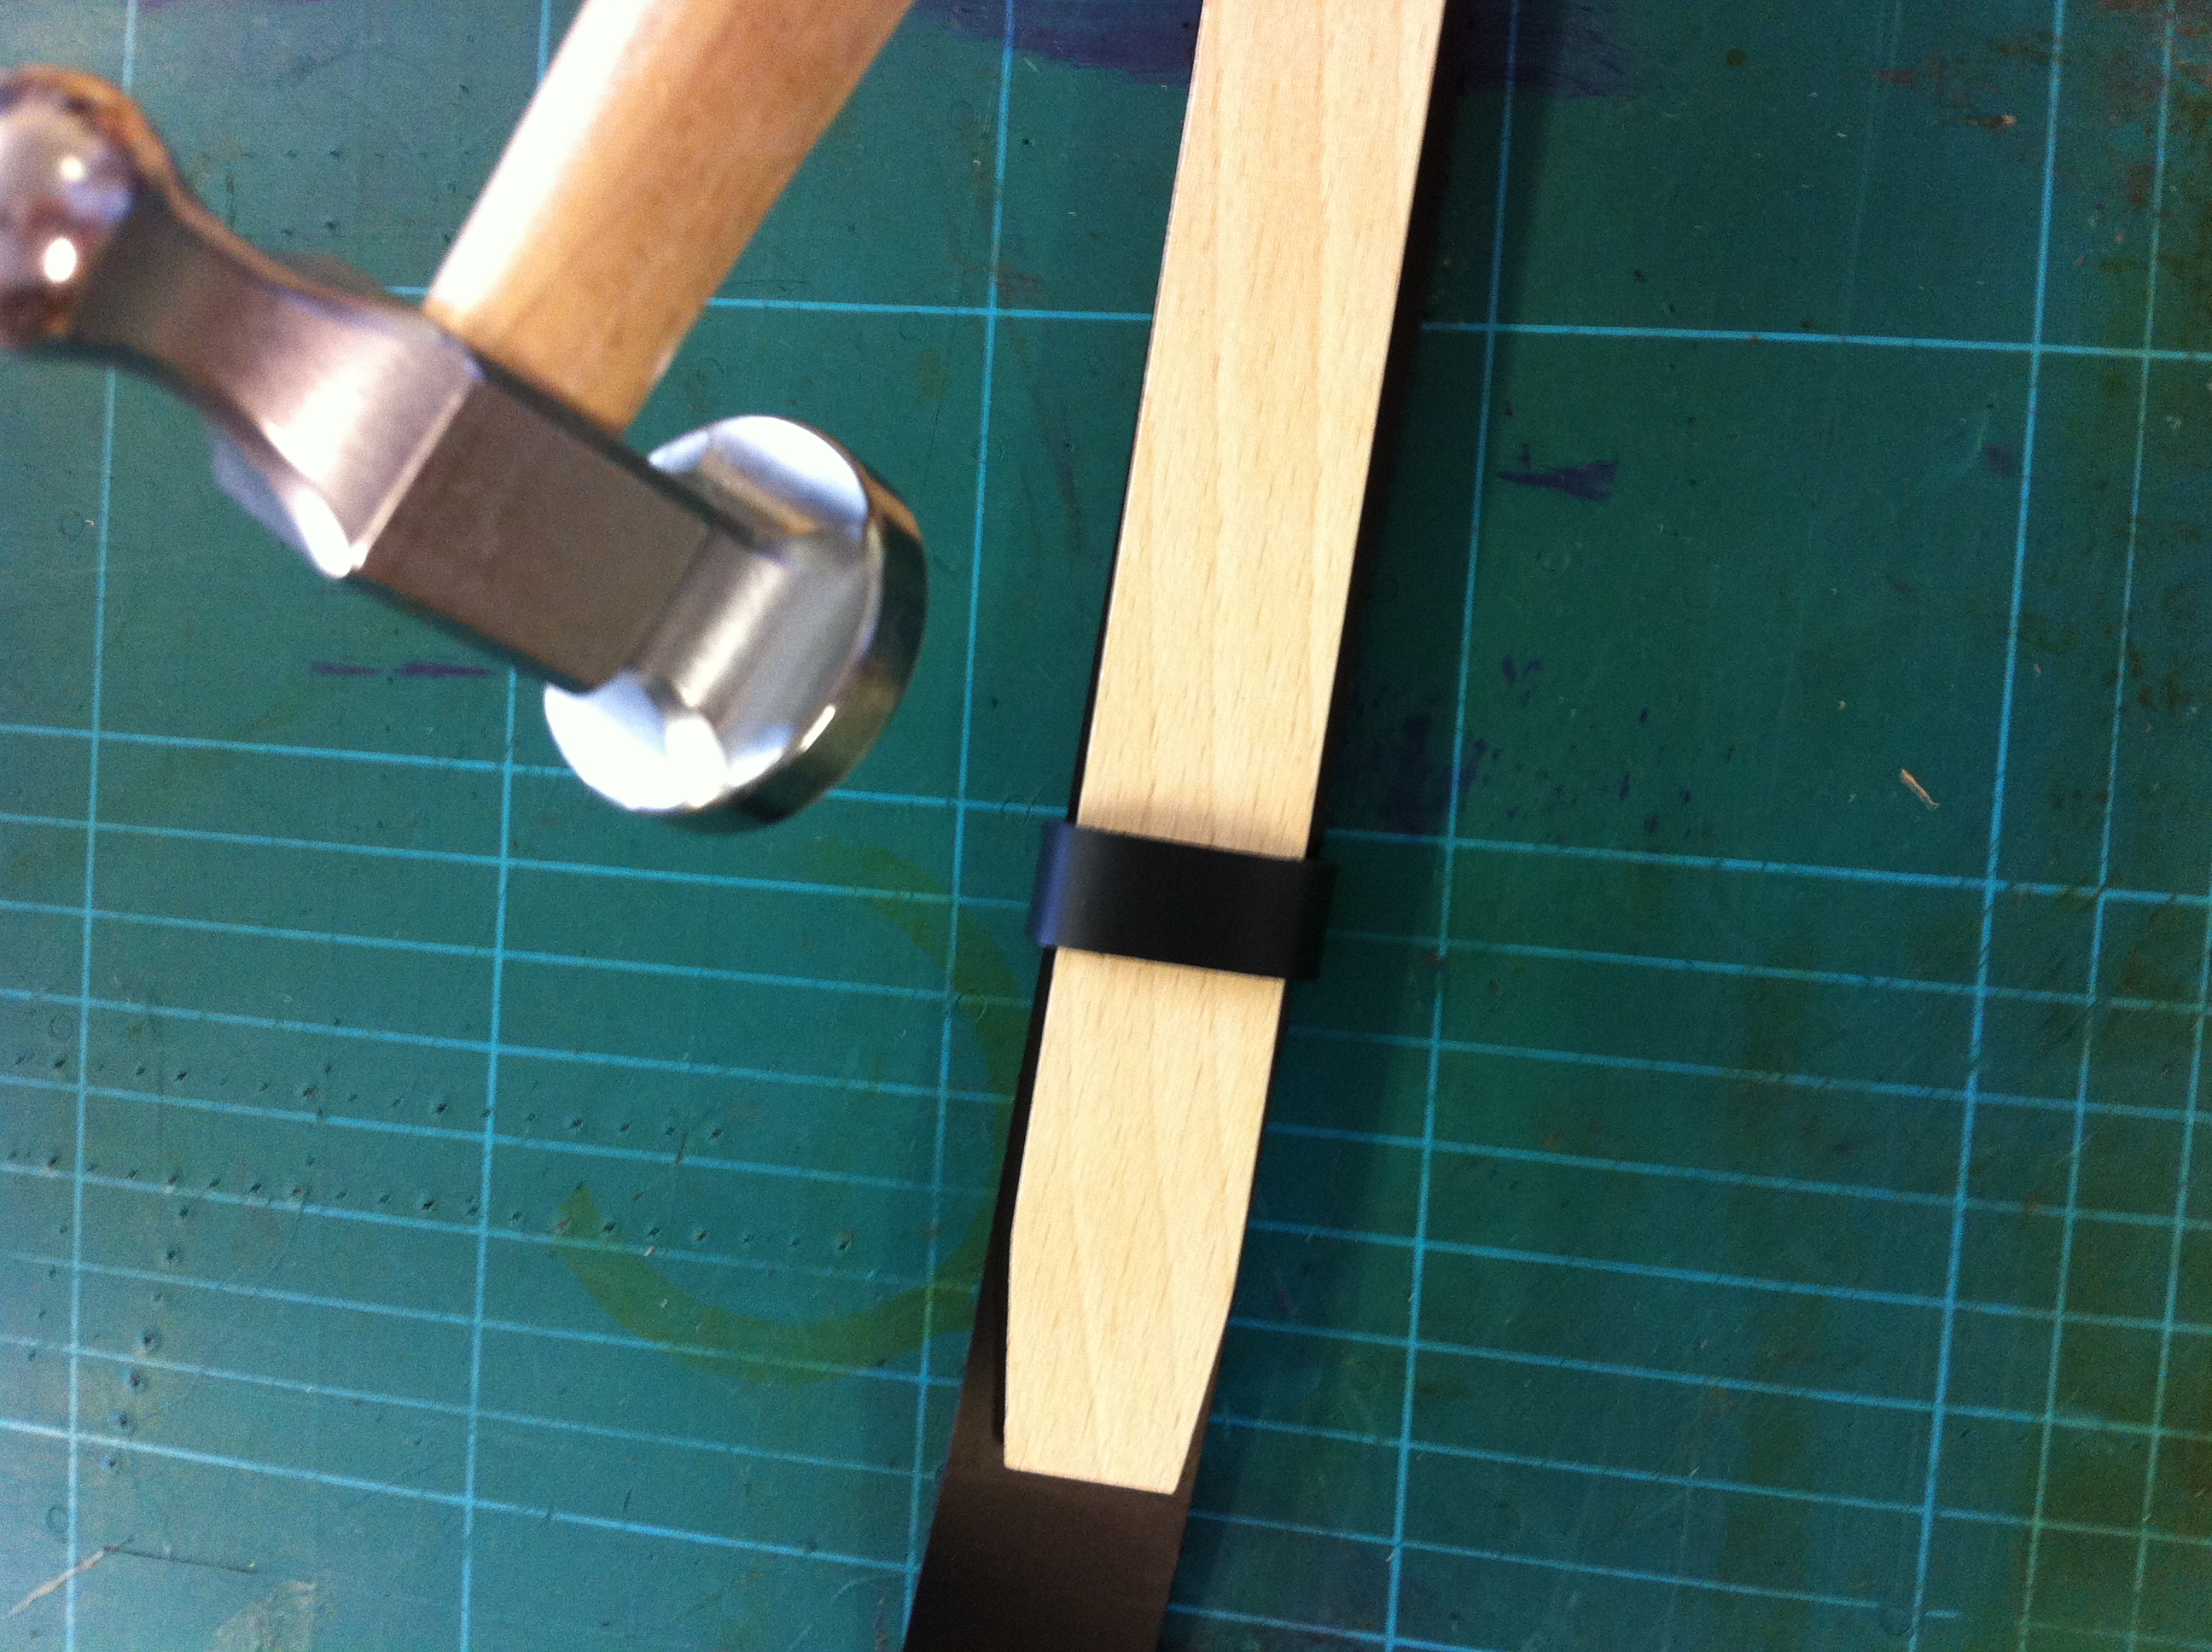
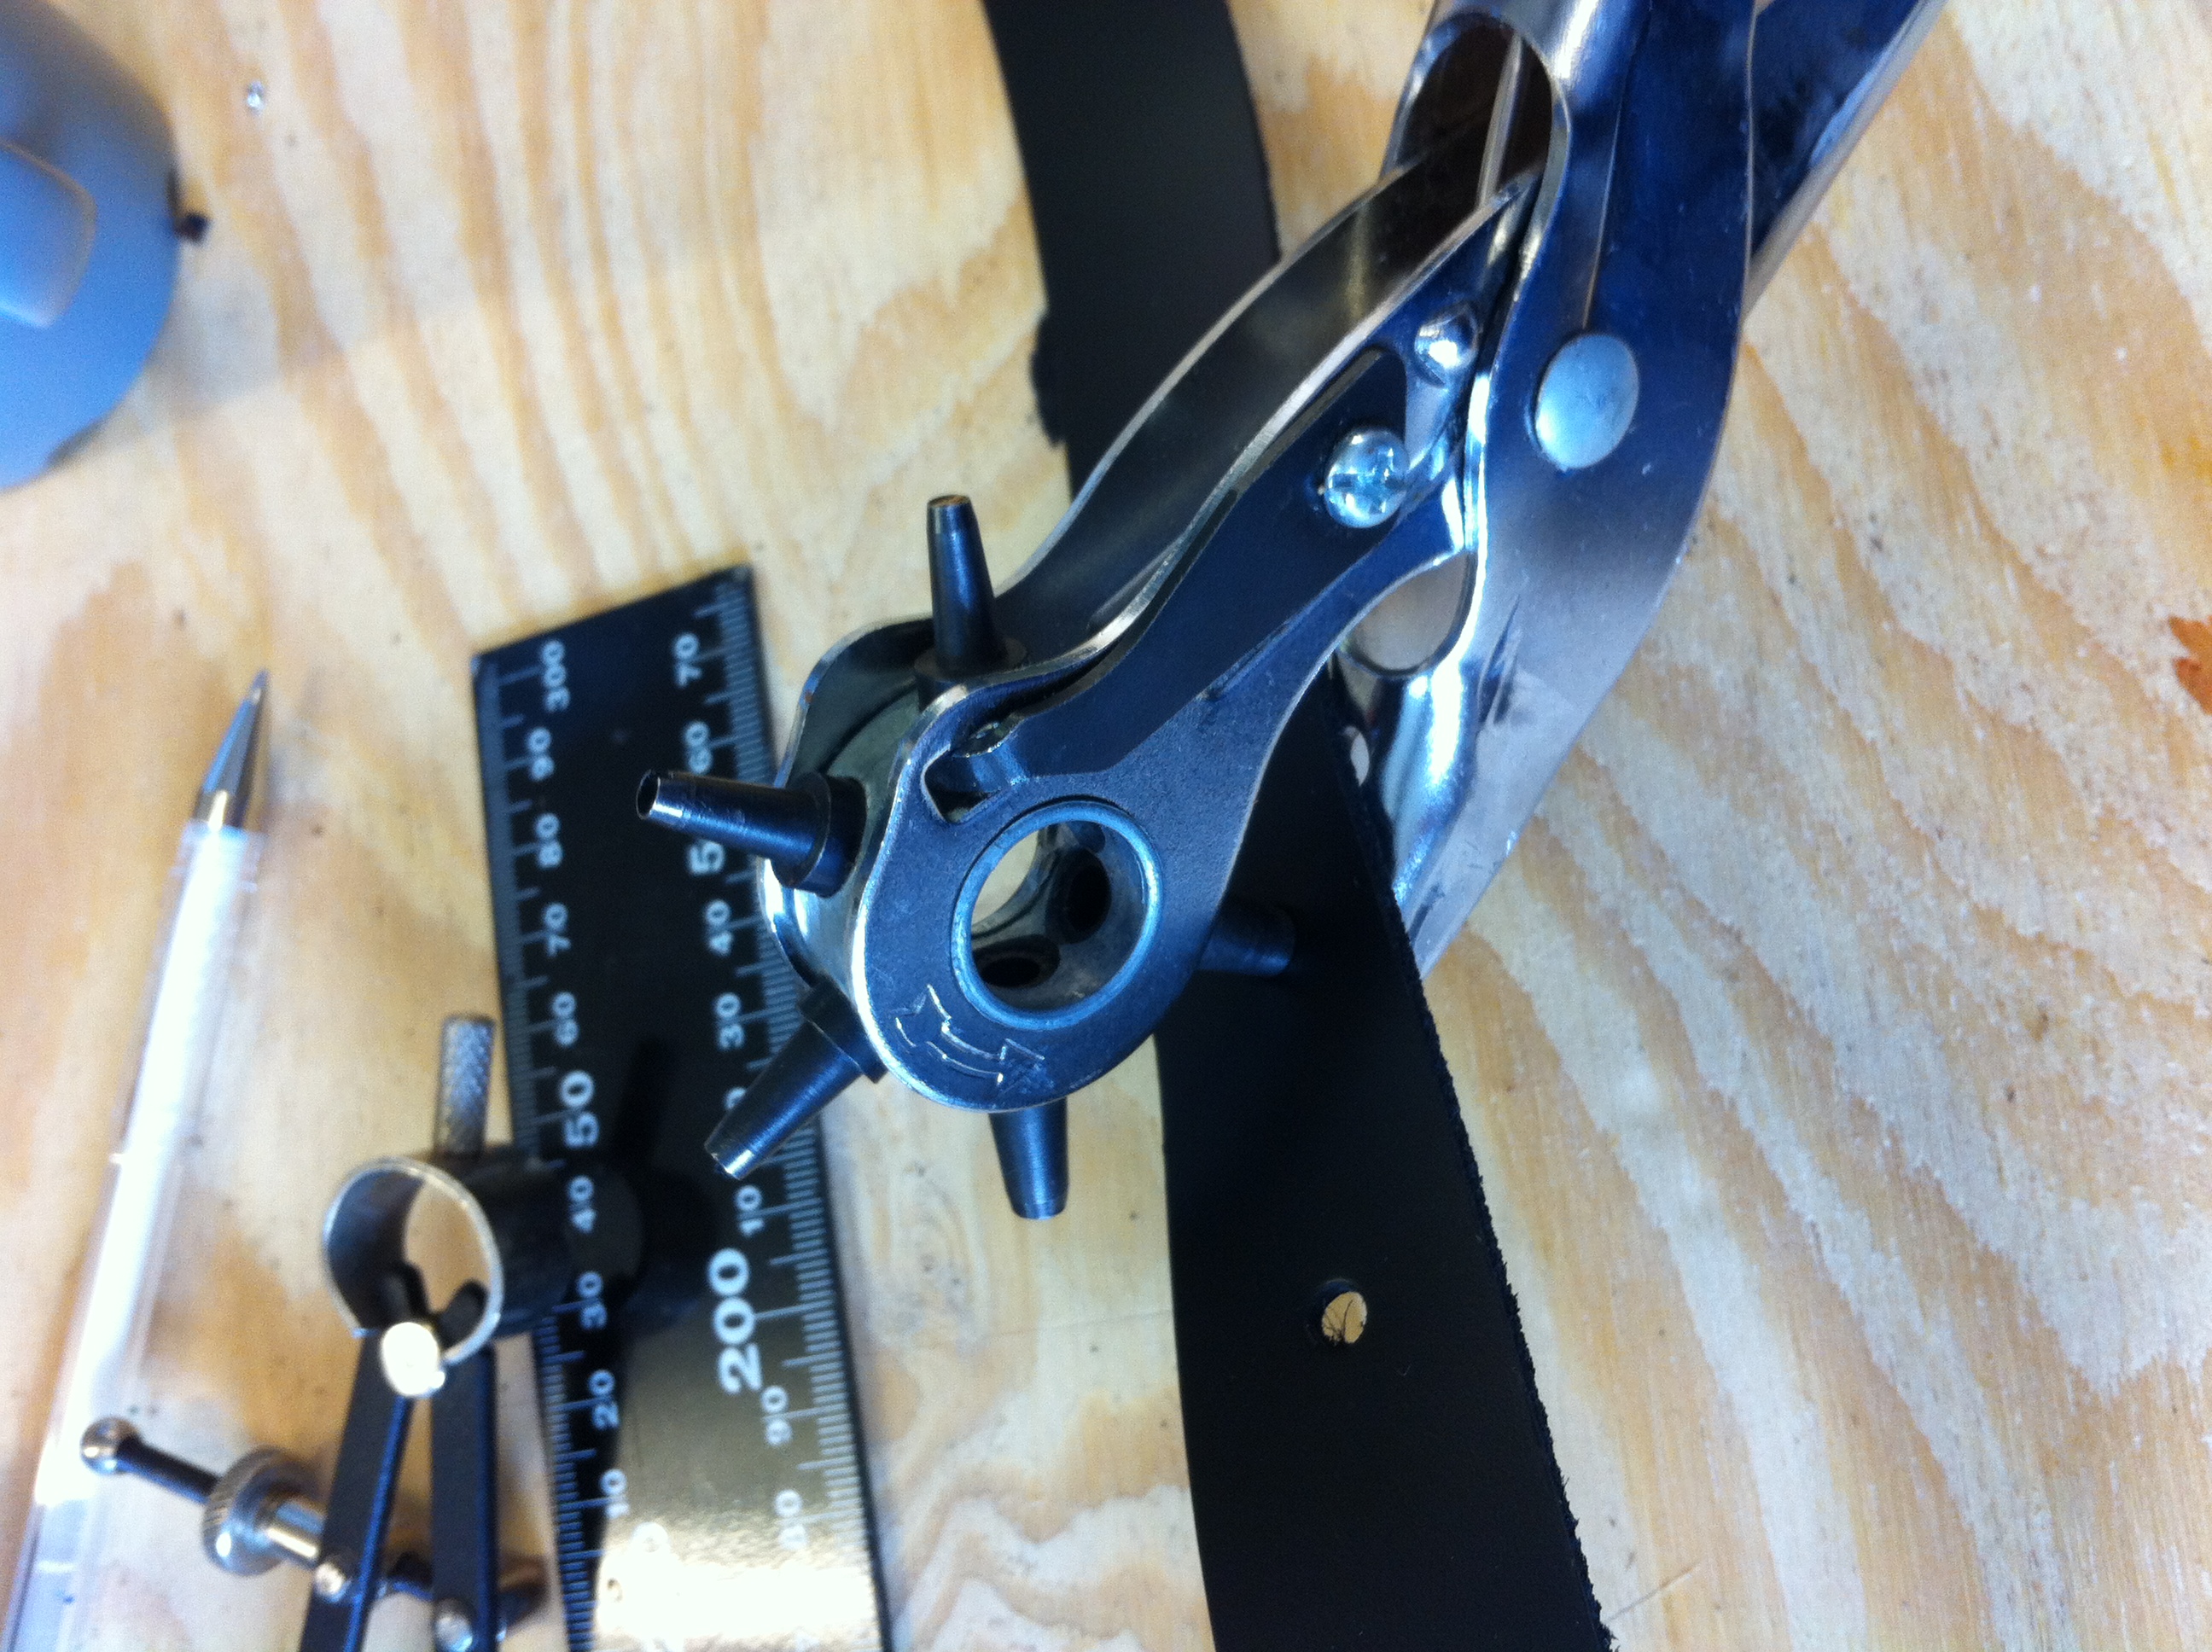
Under the careful watch of Jason and David, myself and 3 other students learnt first how to stitch a small key ring. This was to introduce us to the basic techniques of preparing the thread, stitching, bevelling and buffing. The linen thread was hand-waxed and each stitch-hole was hand-made using a diamond-shaped awl. For a first attempt, mine wasn’t bad although it was so hard to control the stitches on the back of the leather, which are far less uniform than the front! We bevelled the edges to round them off and rubbed them down to create a smooth finish.
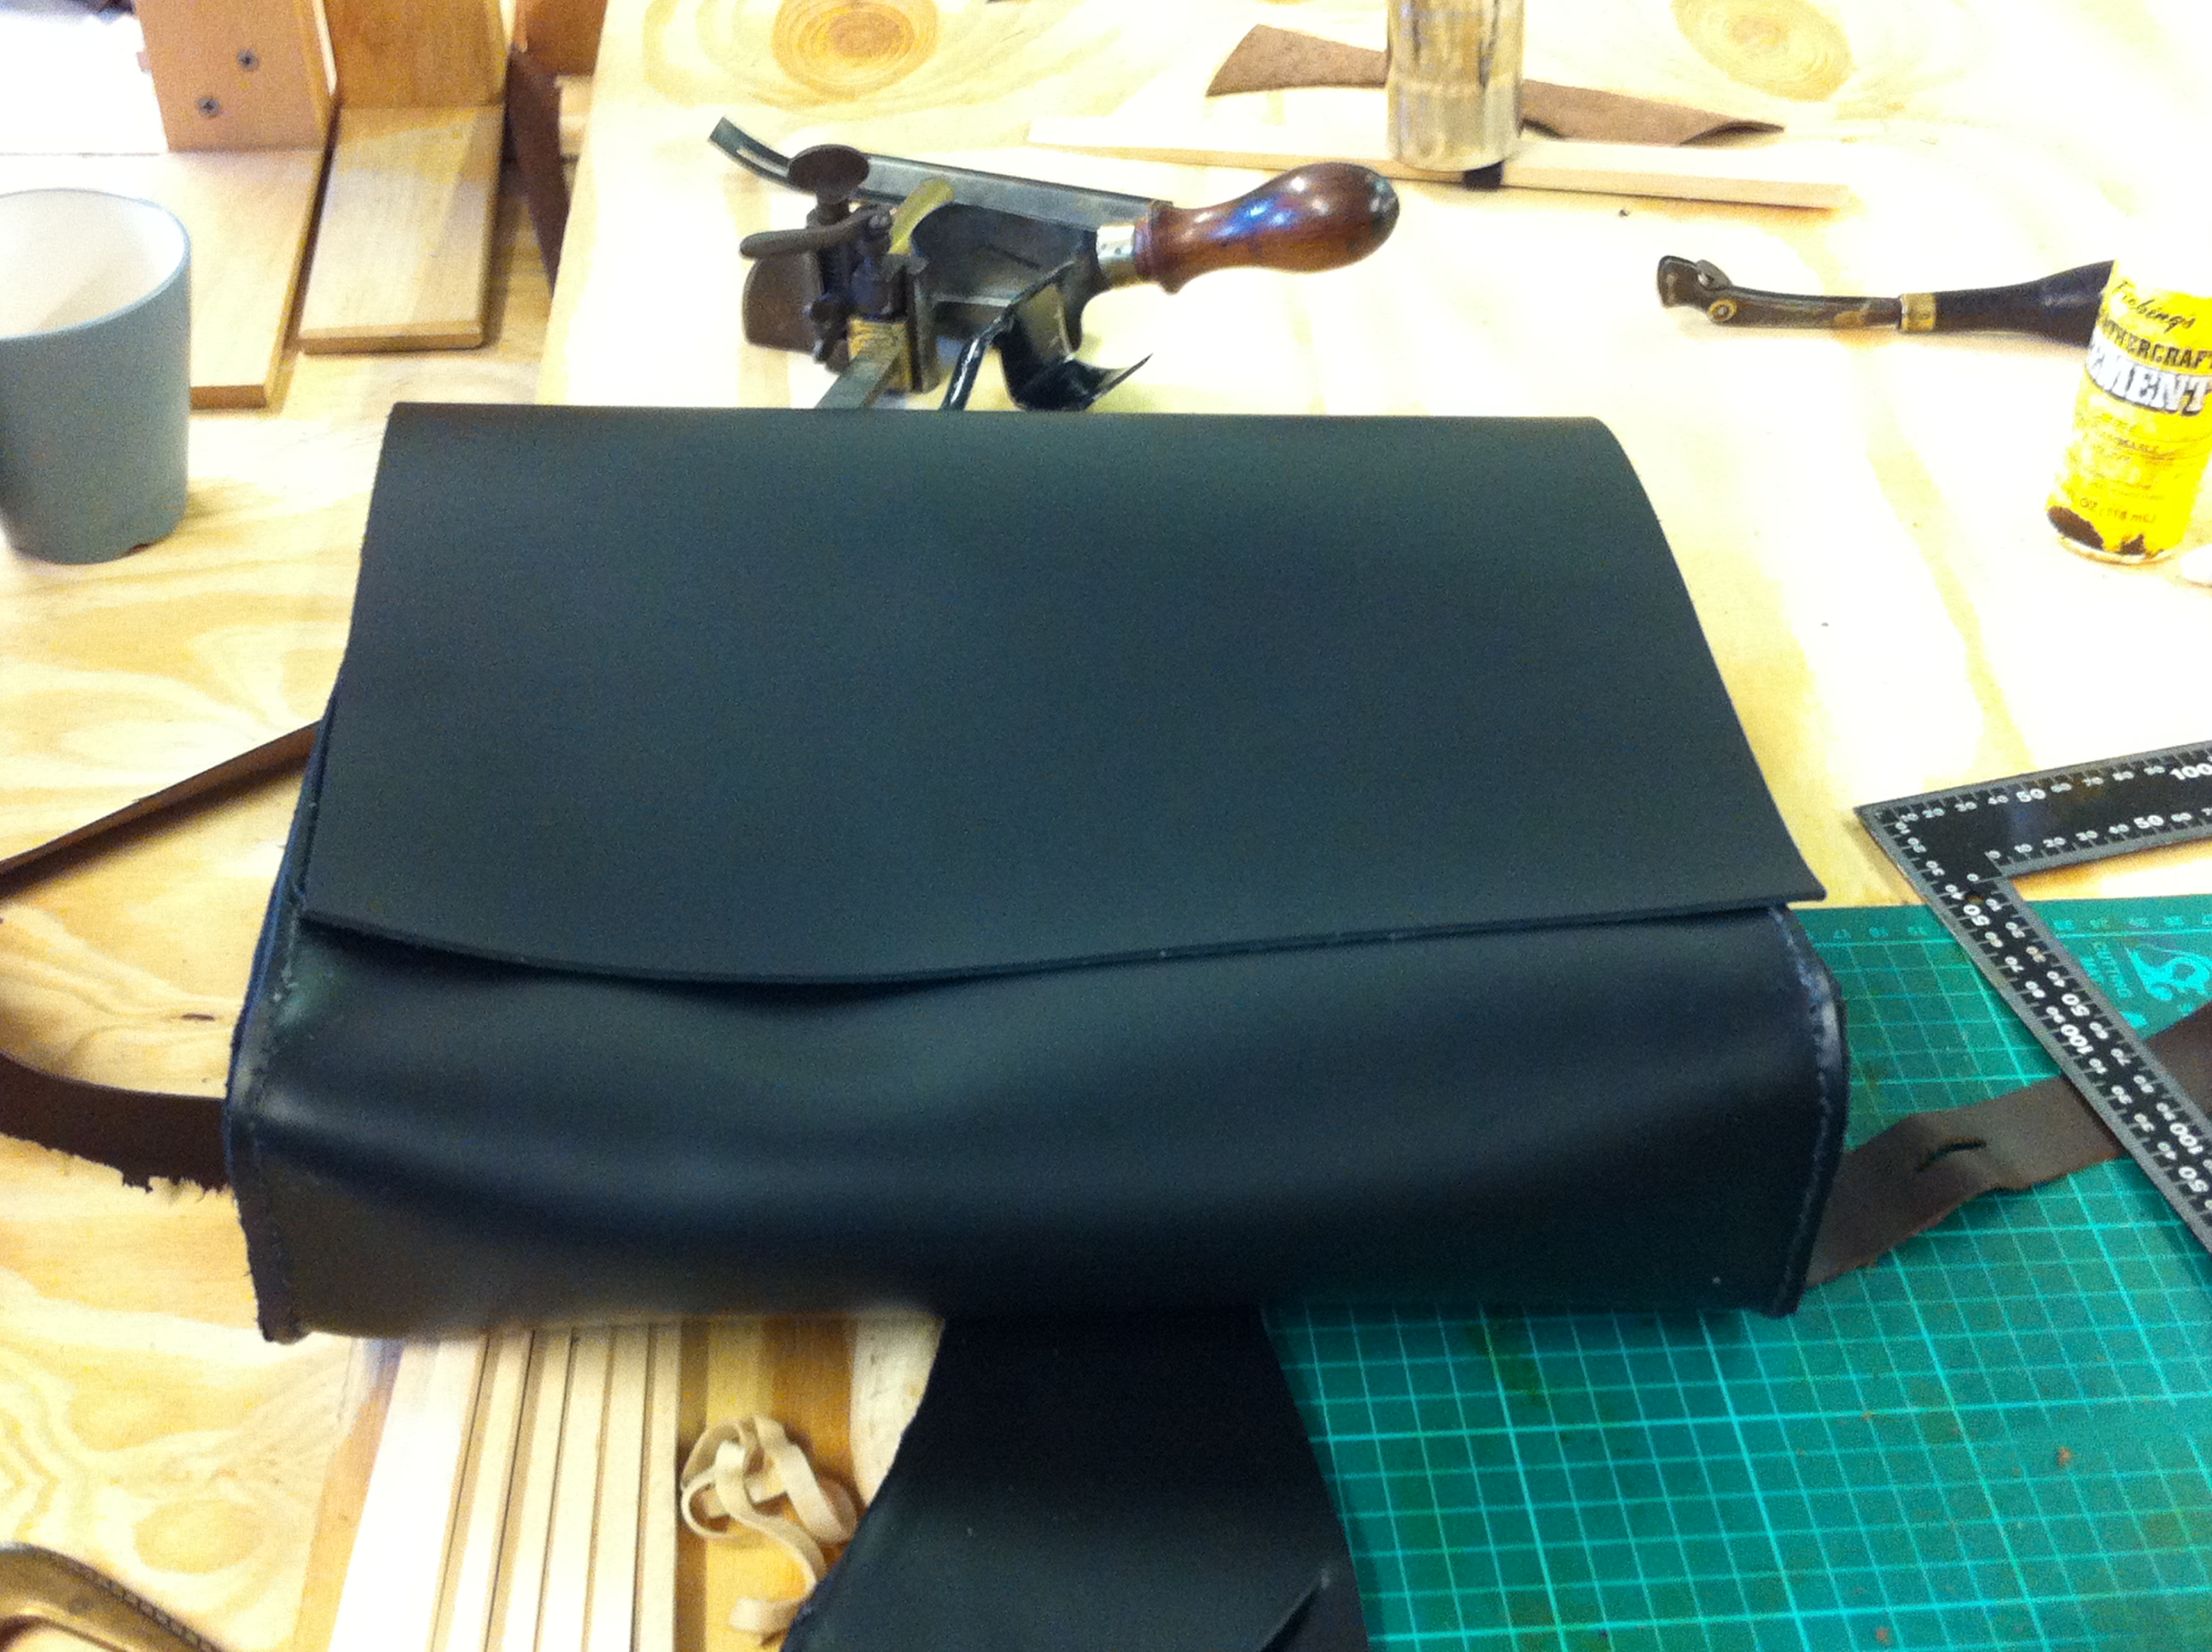
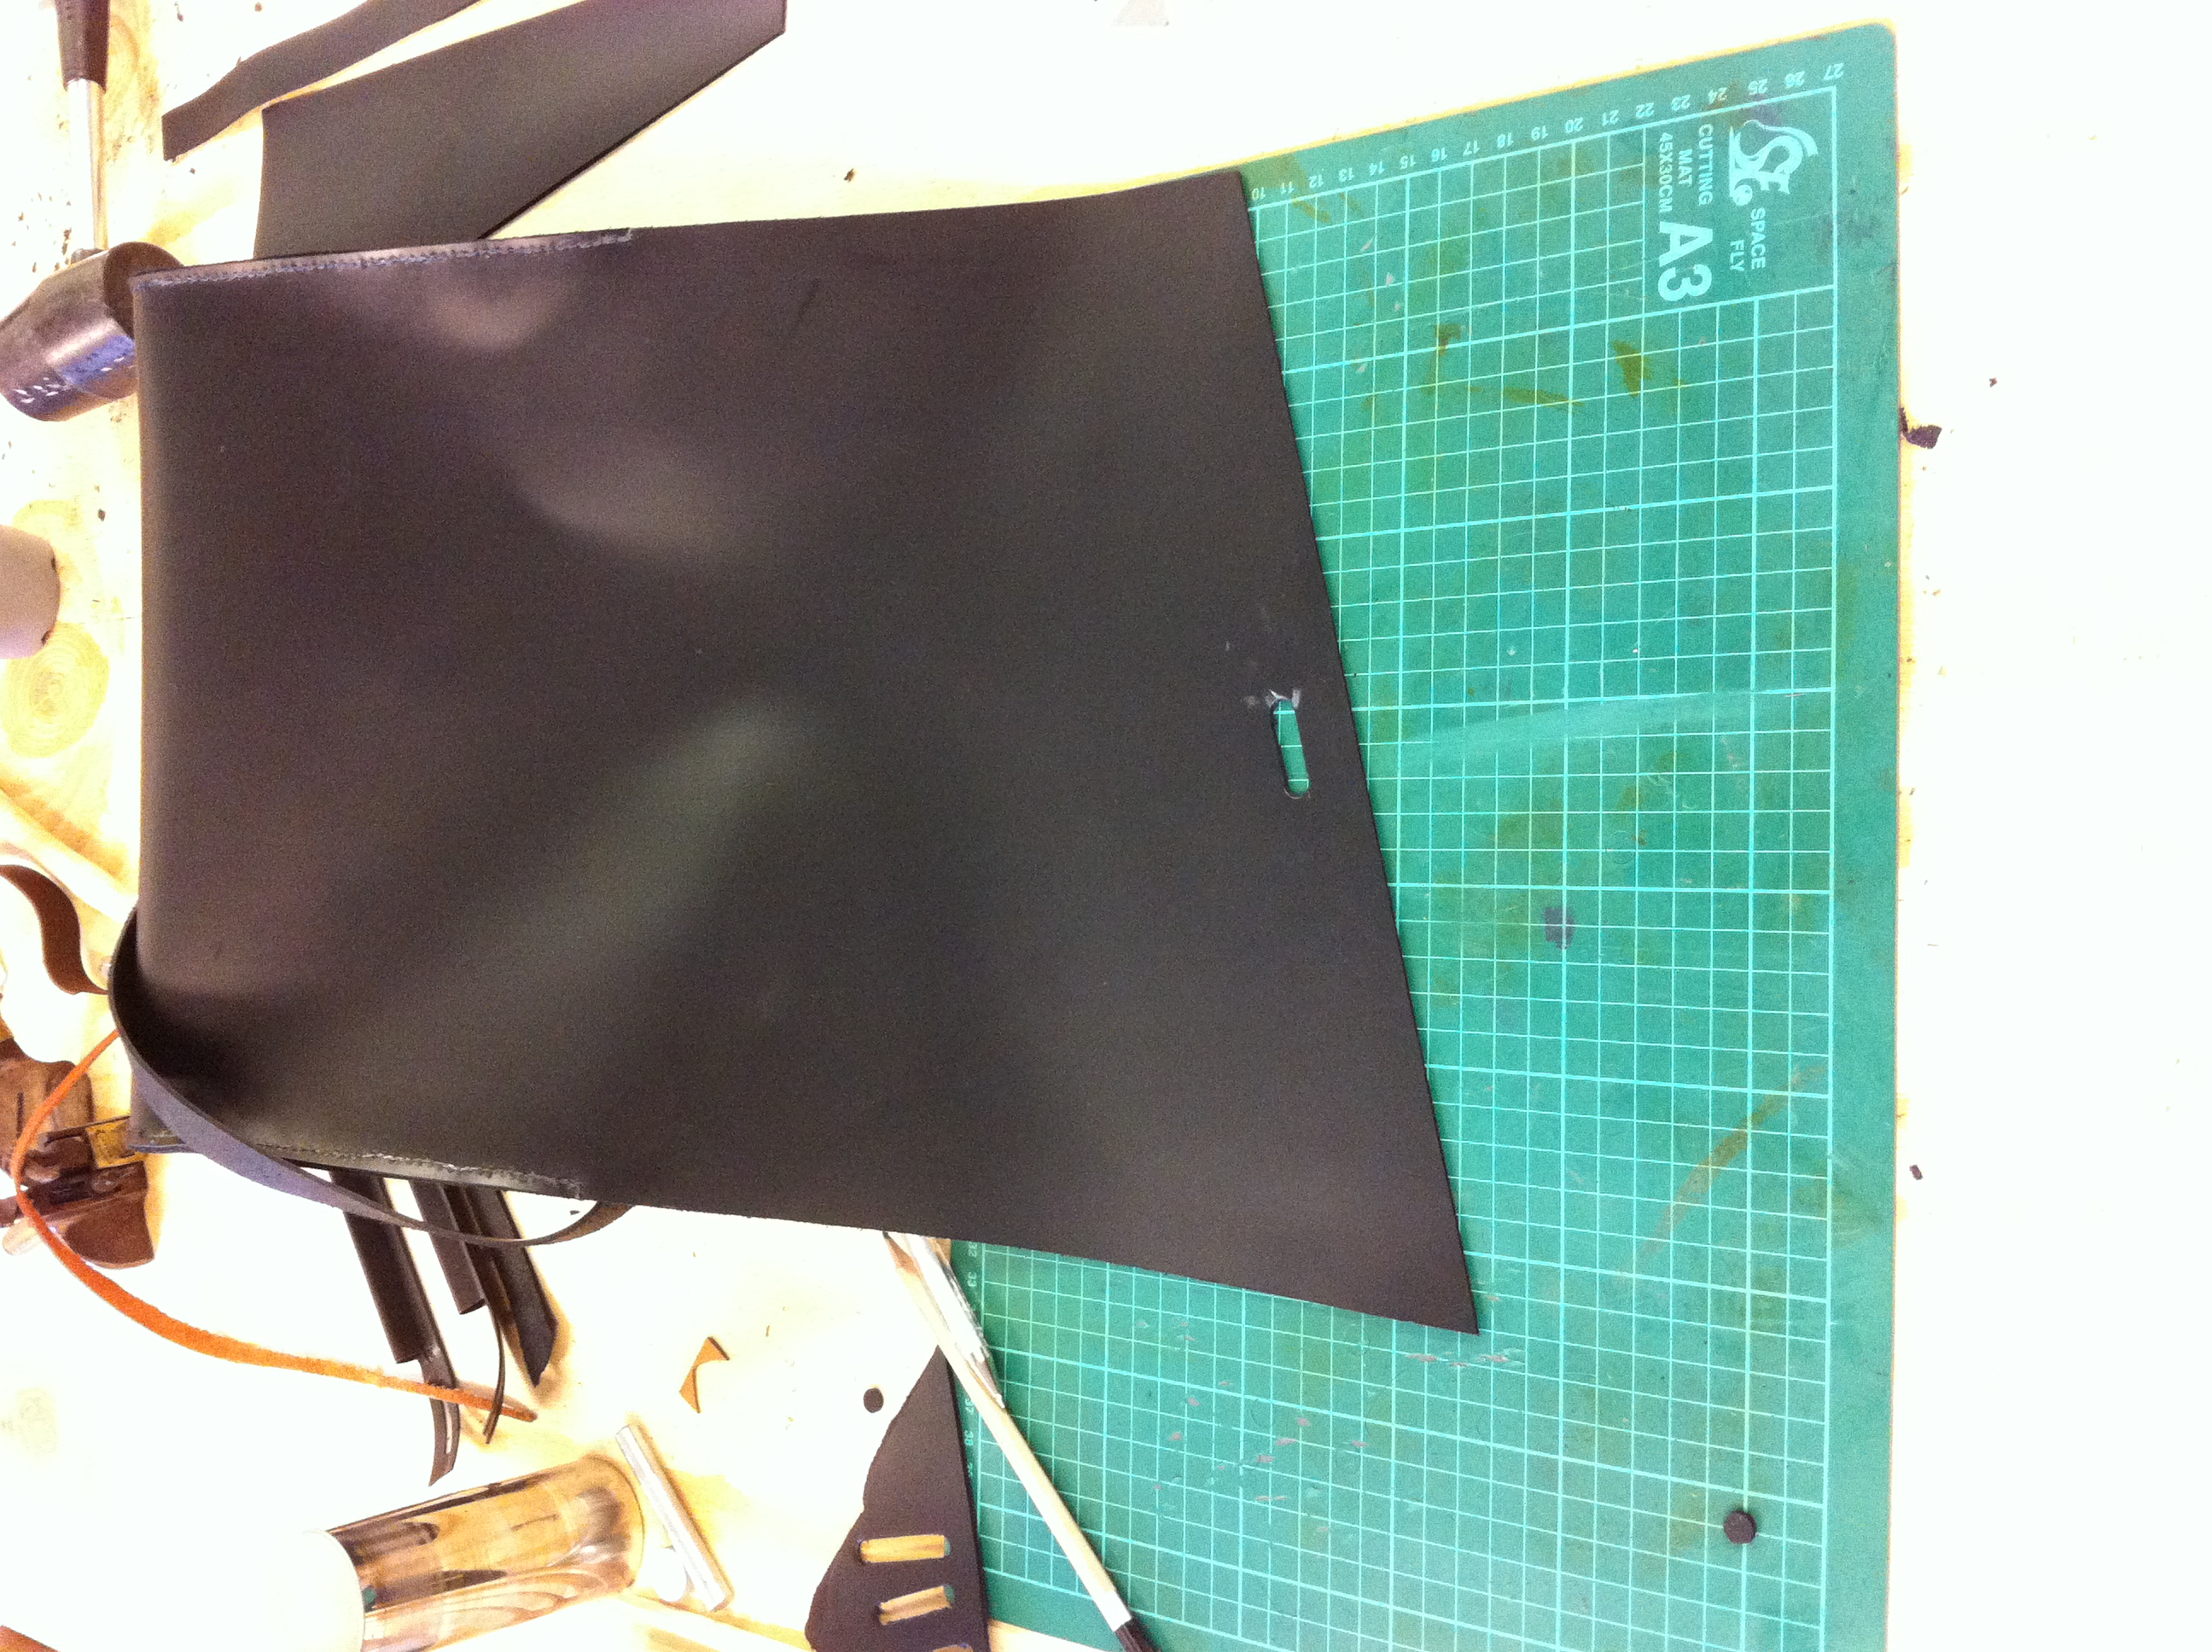
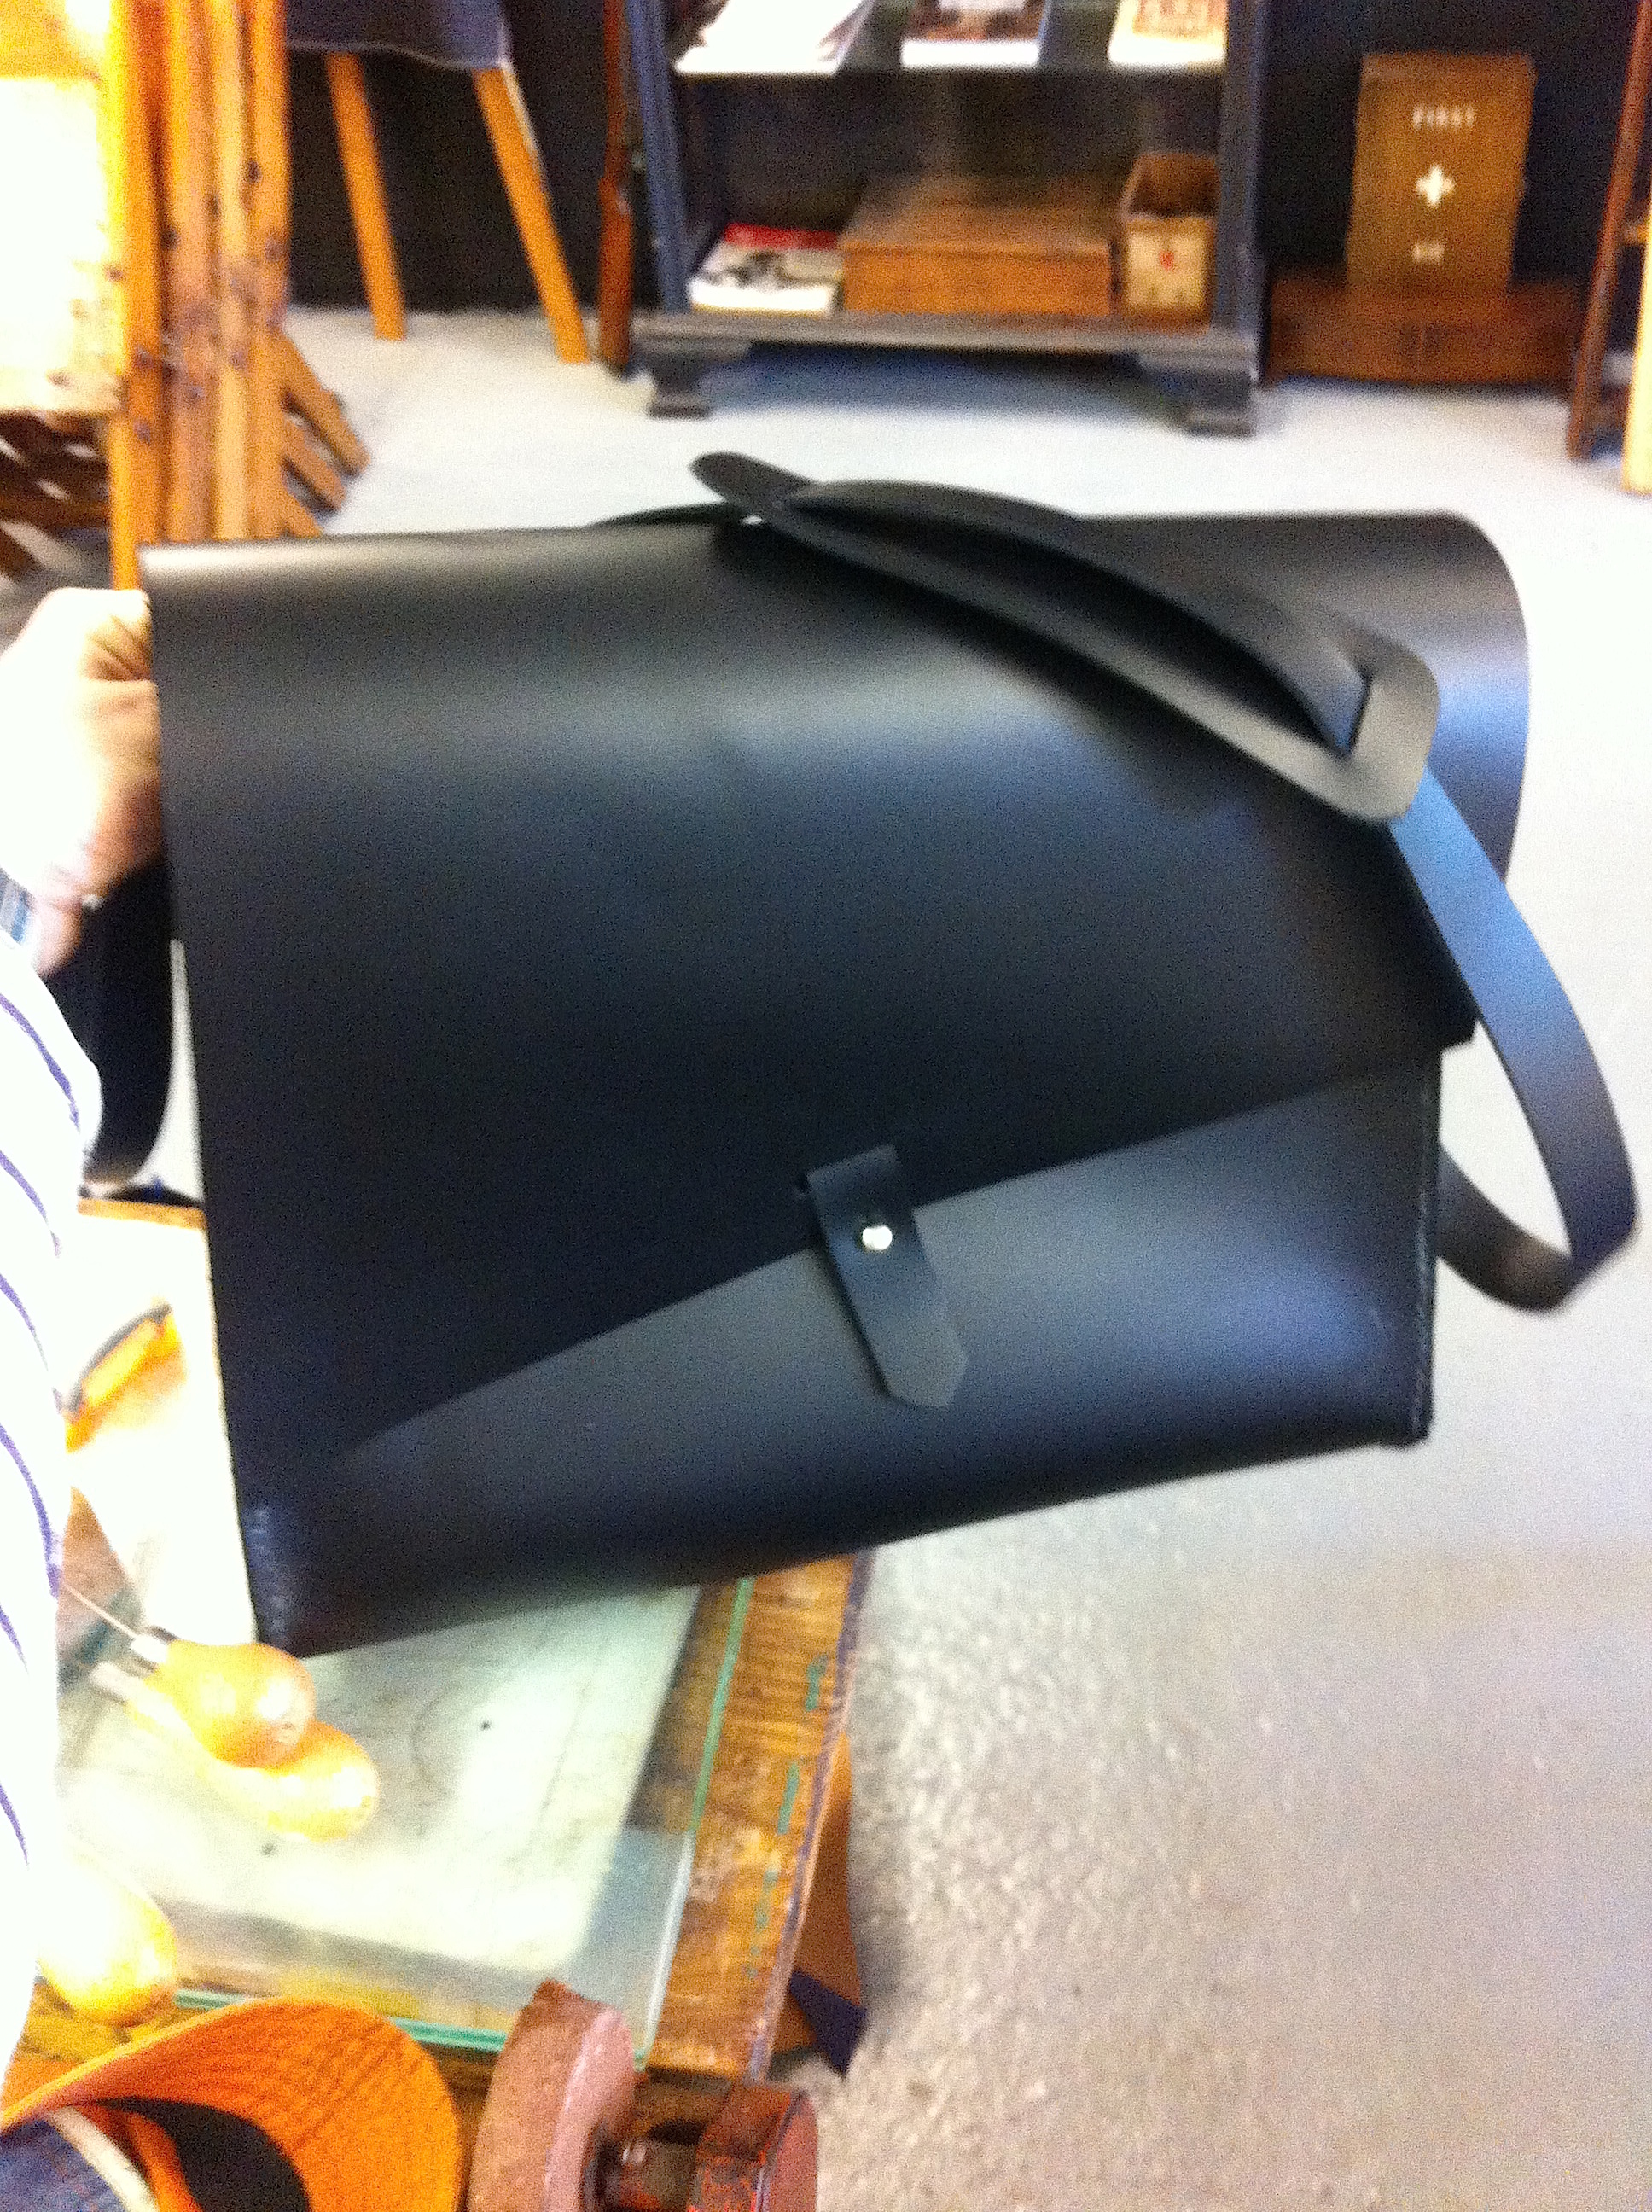
Next we moved right onto the bags. I had a smooth, matt black leather which was cut into 4 pieces to make the main body, 2 sides and strap. I stitched one side and David was on hand to help steer around the corners. After lunch, stitching continued right into the afternoon.
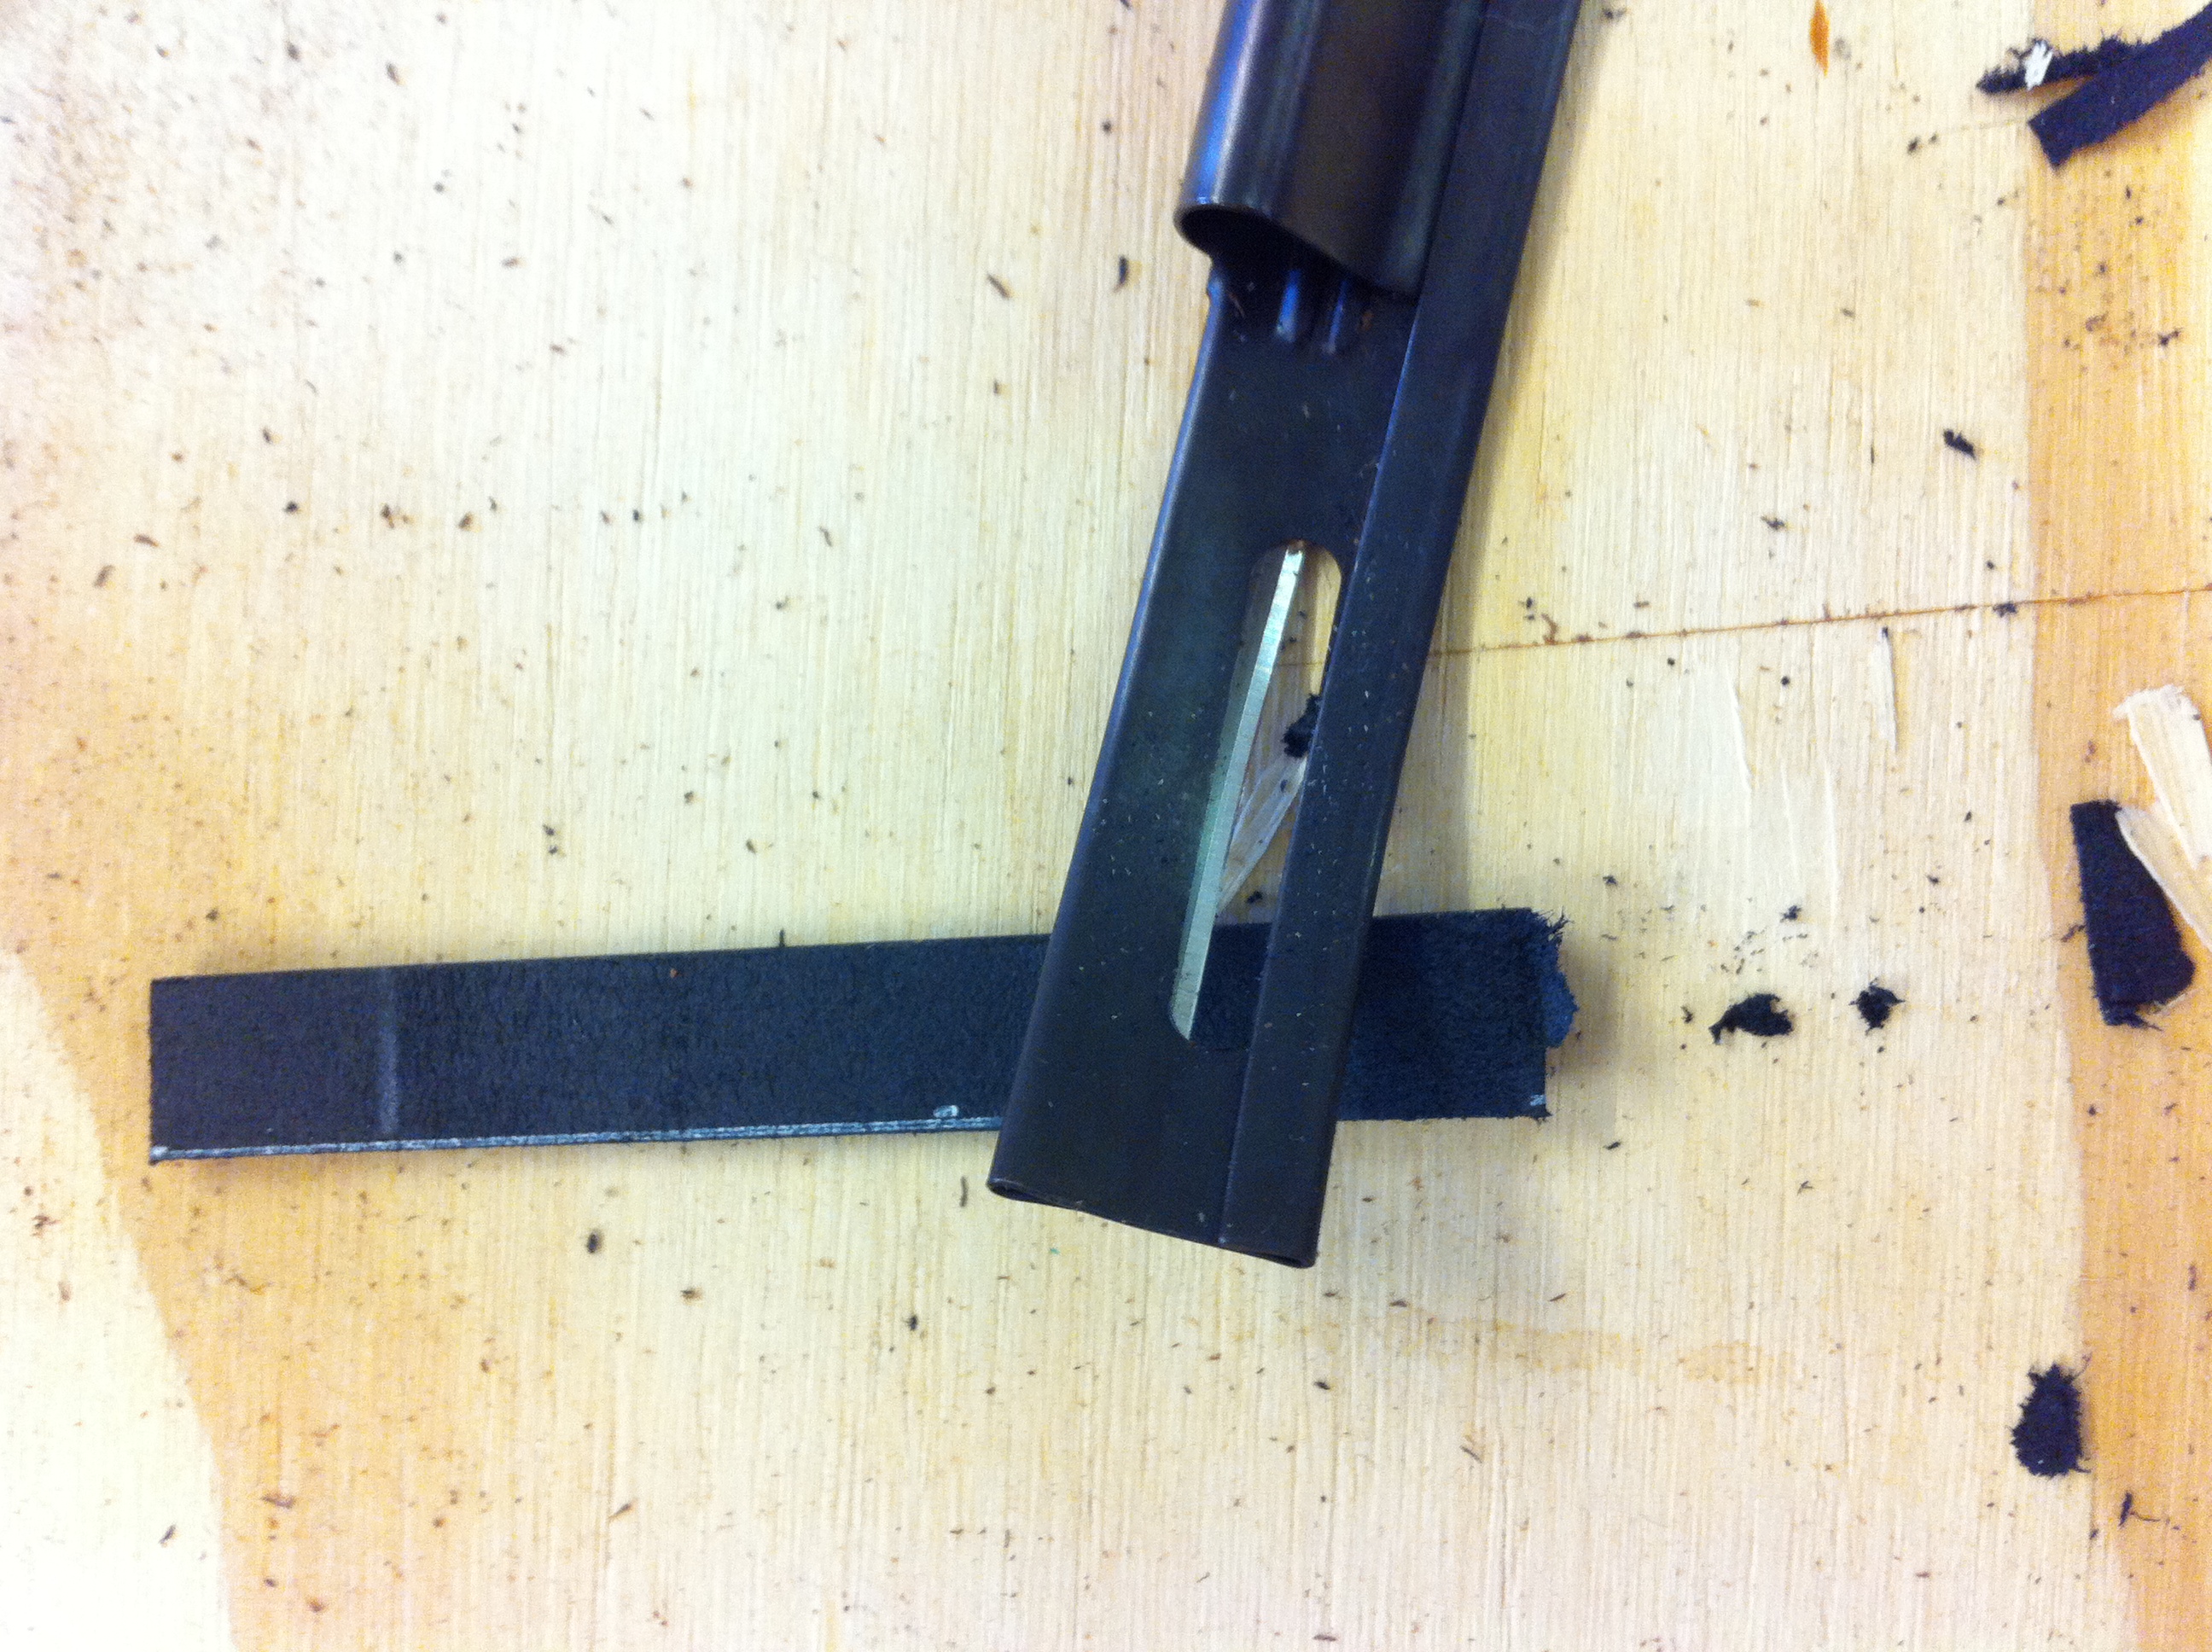
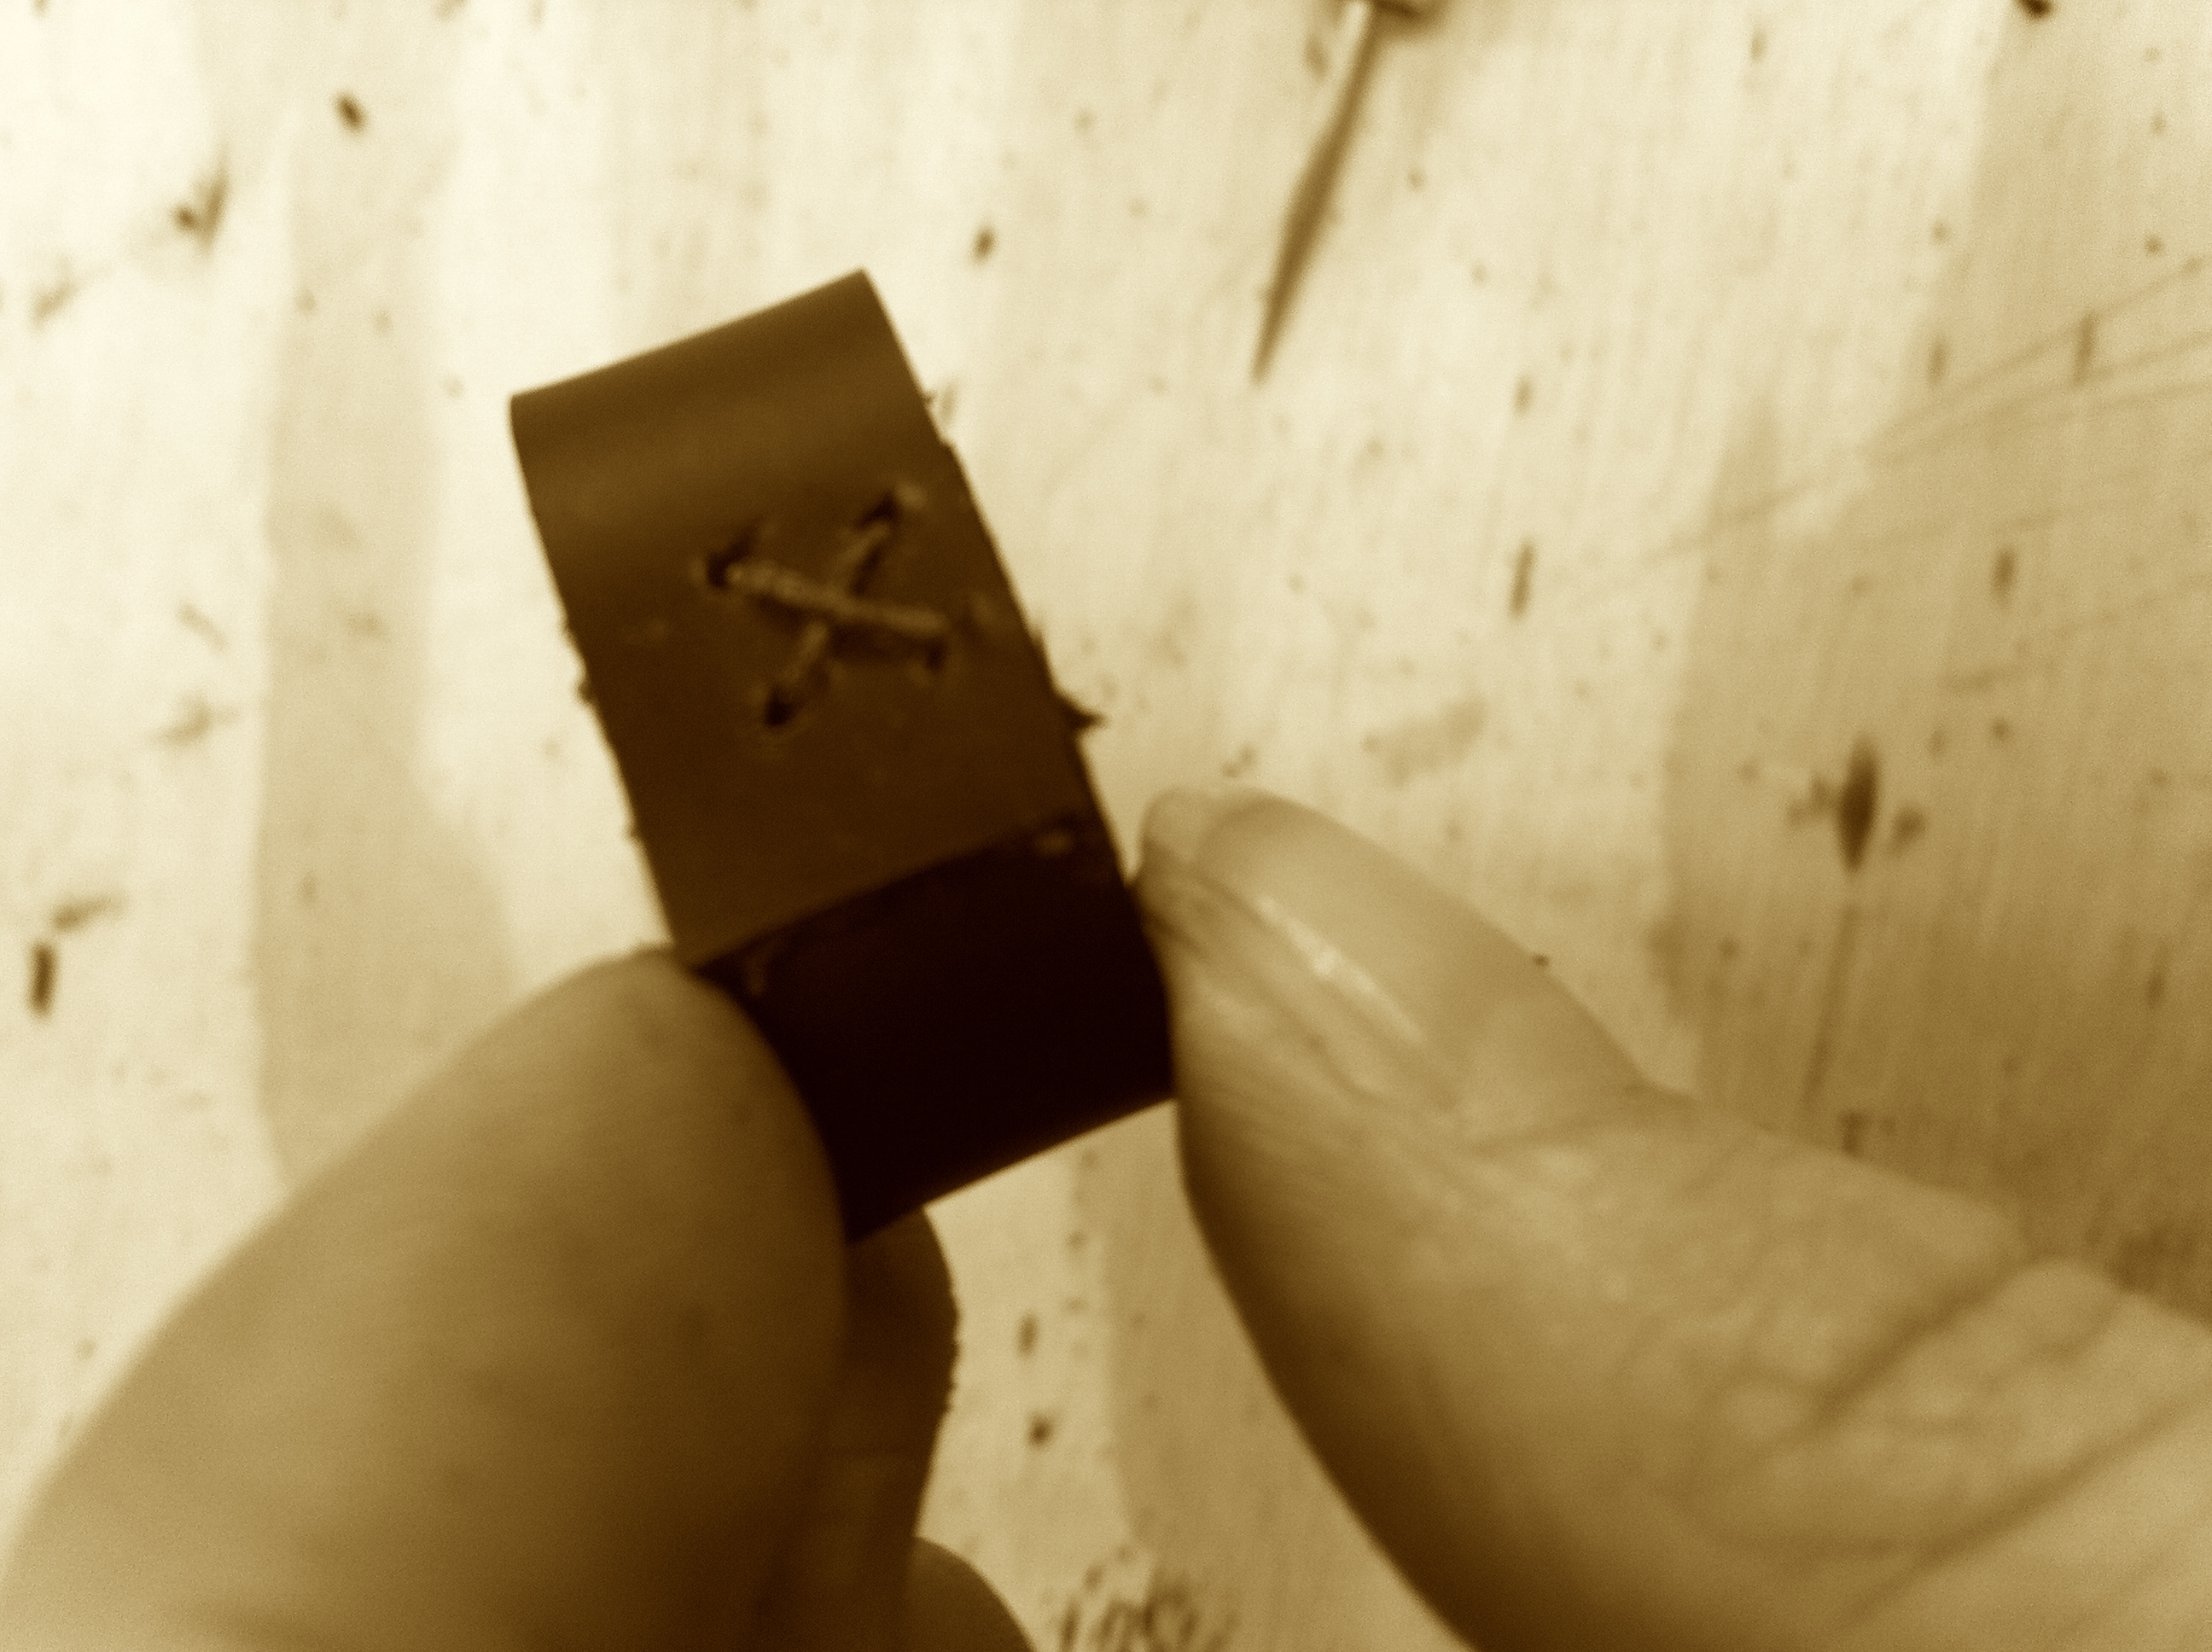
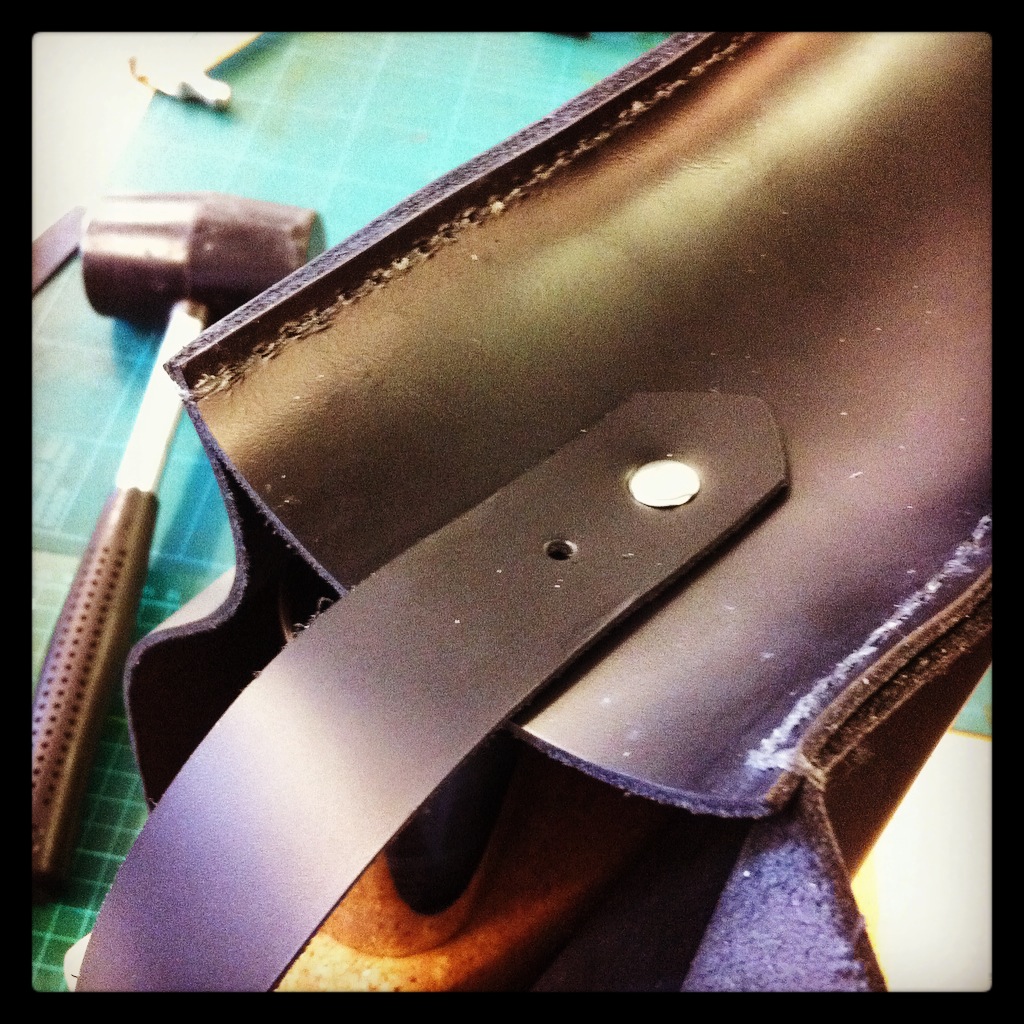
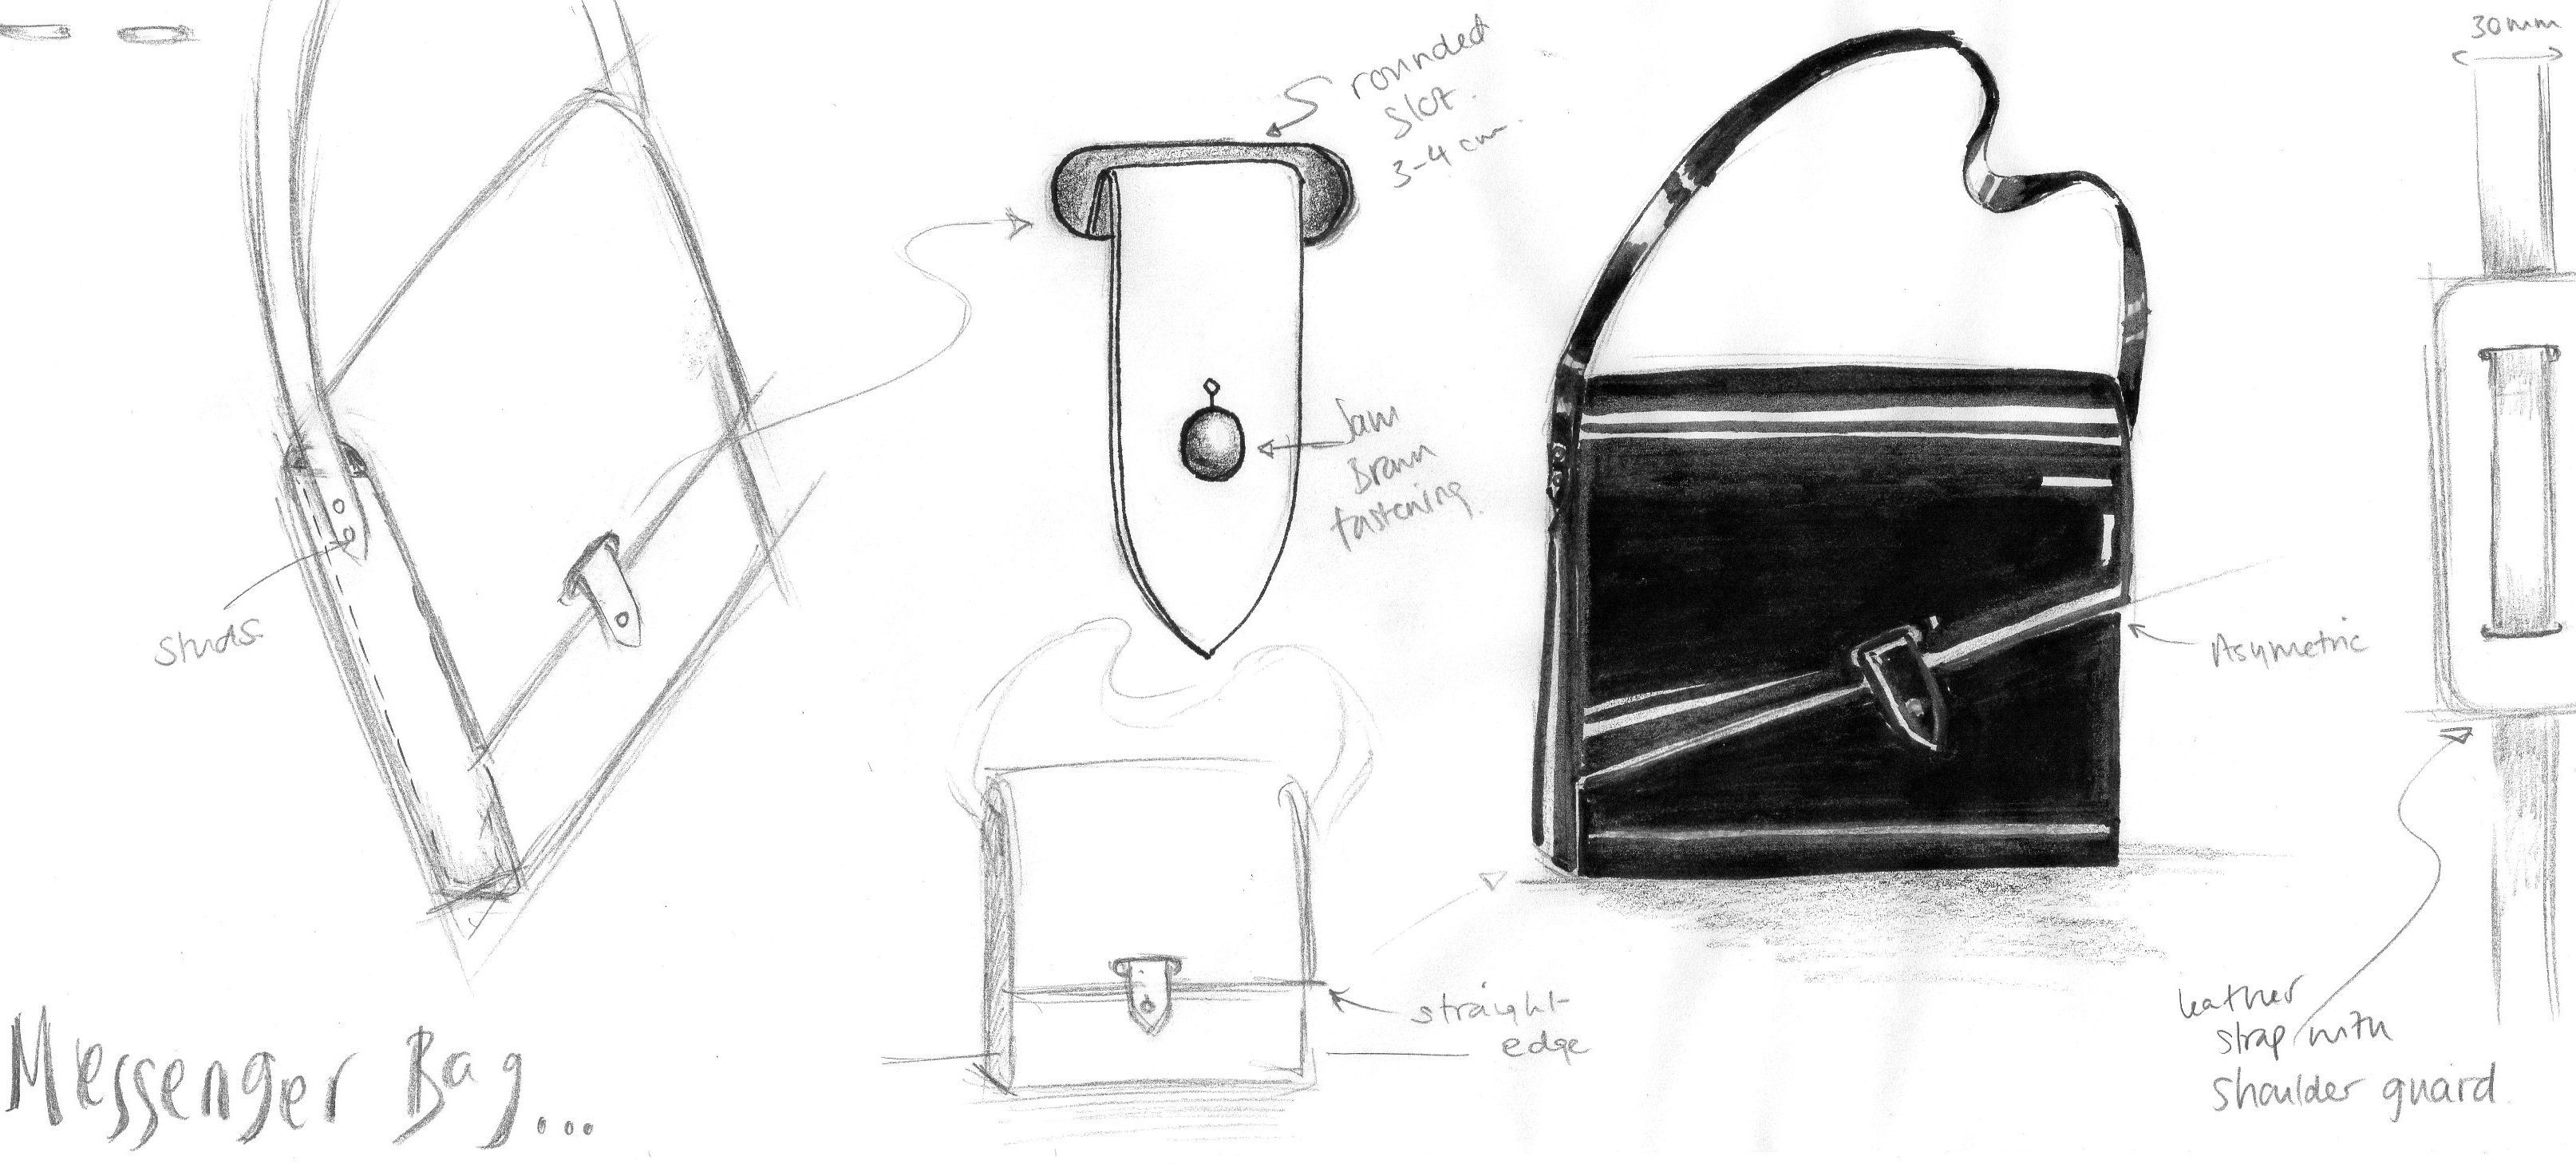
The next day, I finished stitching my bag and had to decide on the design of the strap and the main bag fastening. As the leather was so beautifully simple, I wanted to the bag to reflect this so there would be no additional stitching or decoration. I chose to make a small rounded-slot with a leather loop secured by a ‘Sam Brown’ stud to close the bag. I also added an asymmetric element to the finished design to create something simple but striking.
I loved the making process and was chuffed to bits with the final bag! David and Jason were knowledgeable, supportive and inspiring and thanks to them I was able to walk away with a bag that I will actually use!
I’m now rifling through a leather tool catalogue deciding what to buy first. I’d love to return to the Diamond Awl and make something else though so I don’t think it will be the last they see of me…!
Zoe x


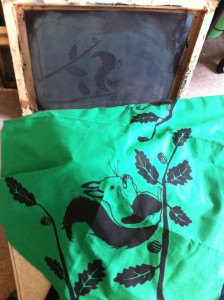
PRINT, PIN, SEW, SELL…
Last month I had the pleasure and privilege to meet a wonderful clothing designer and maker named Amy Laws. For those of you unfamiliar with her work, take a look at her etsy store, Theres Only One Amy Laws, here which is full of her gorgeous hand-made, hand-printed clothing. She’s also a regular at the markets in and around her hometown of Bath.
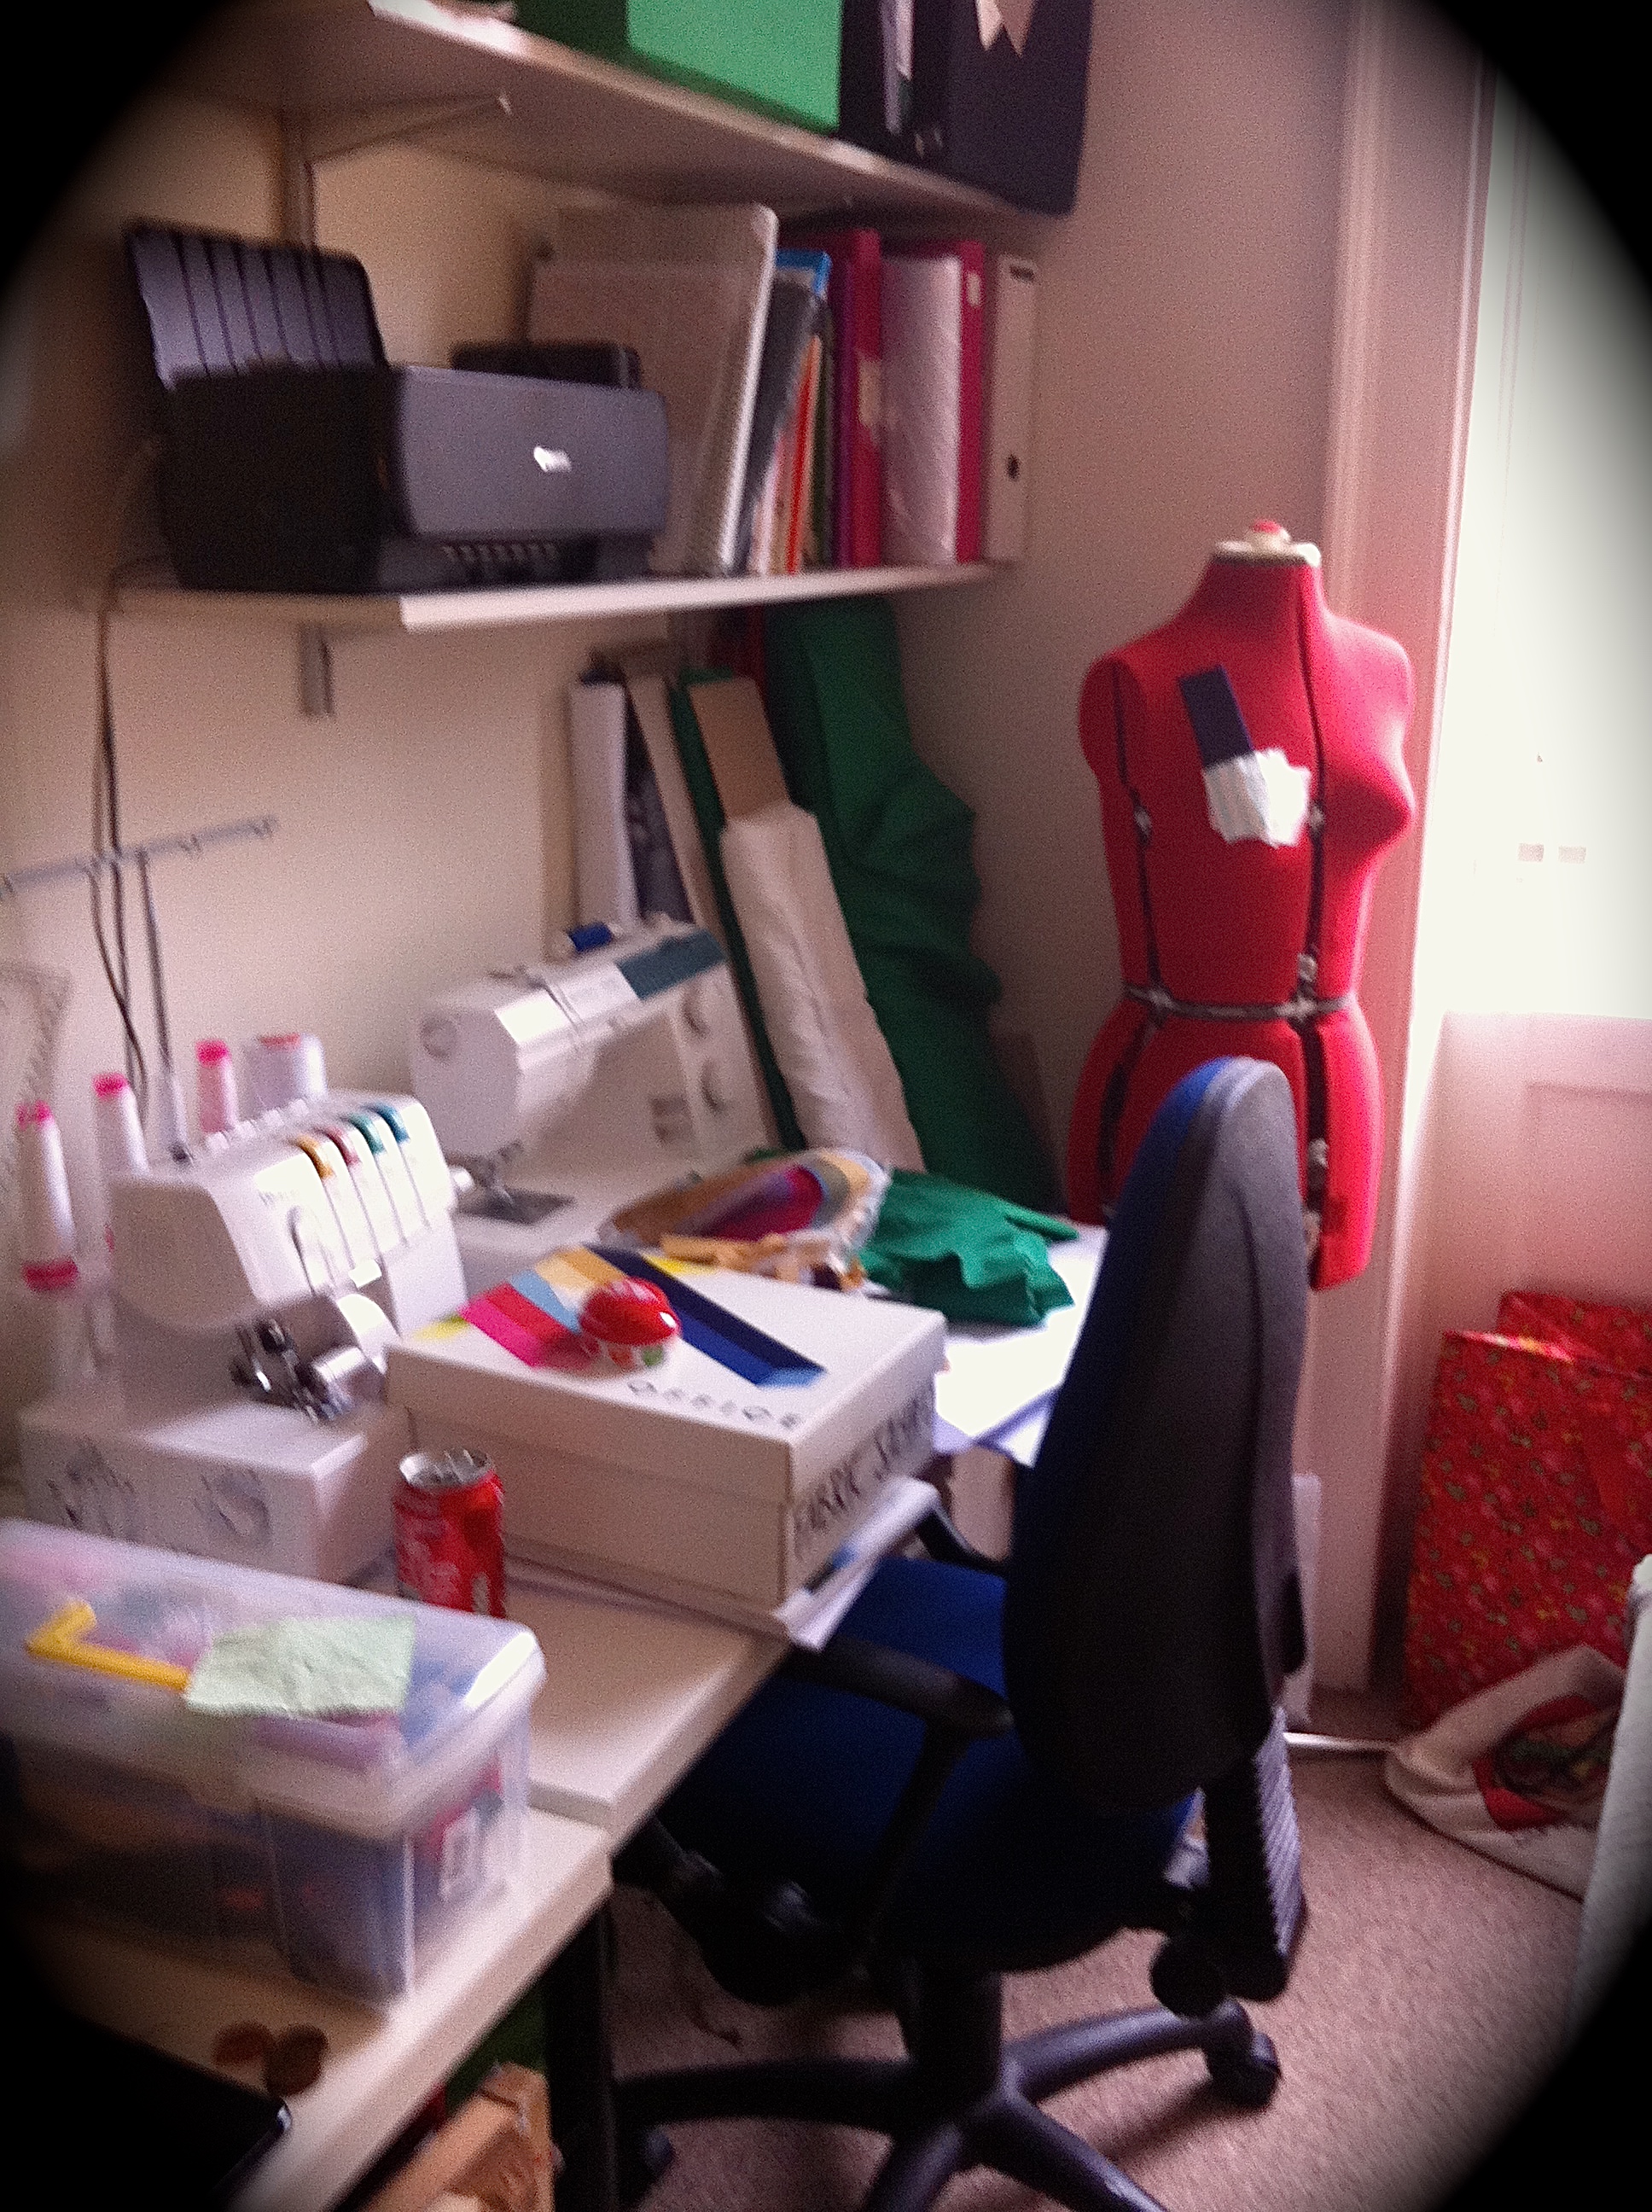
I’ve been intrigued about screen printing for a long time now, having tried it many years ago on my Art Foundation course. Meeting Amy was particularly inspiring since she has developed her entire business from home, turning her bathroom into a dark room and her lounge into a sewing studio!
Here’s a little behind-the-scenes of how Amy creates her beautiful prints…
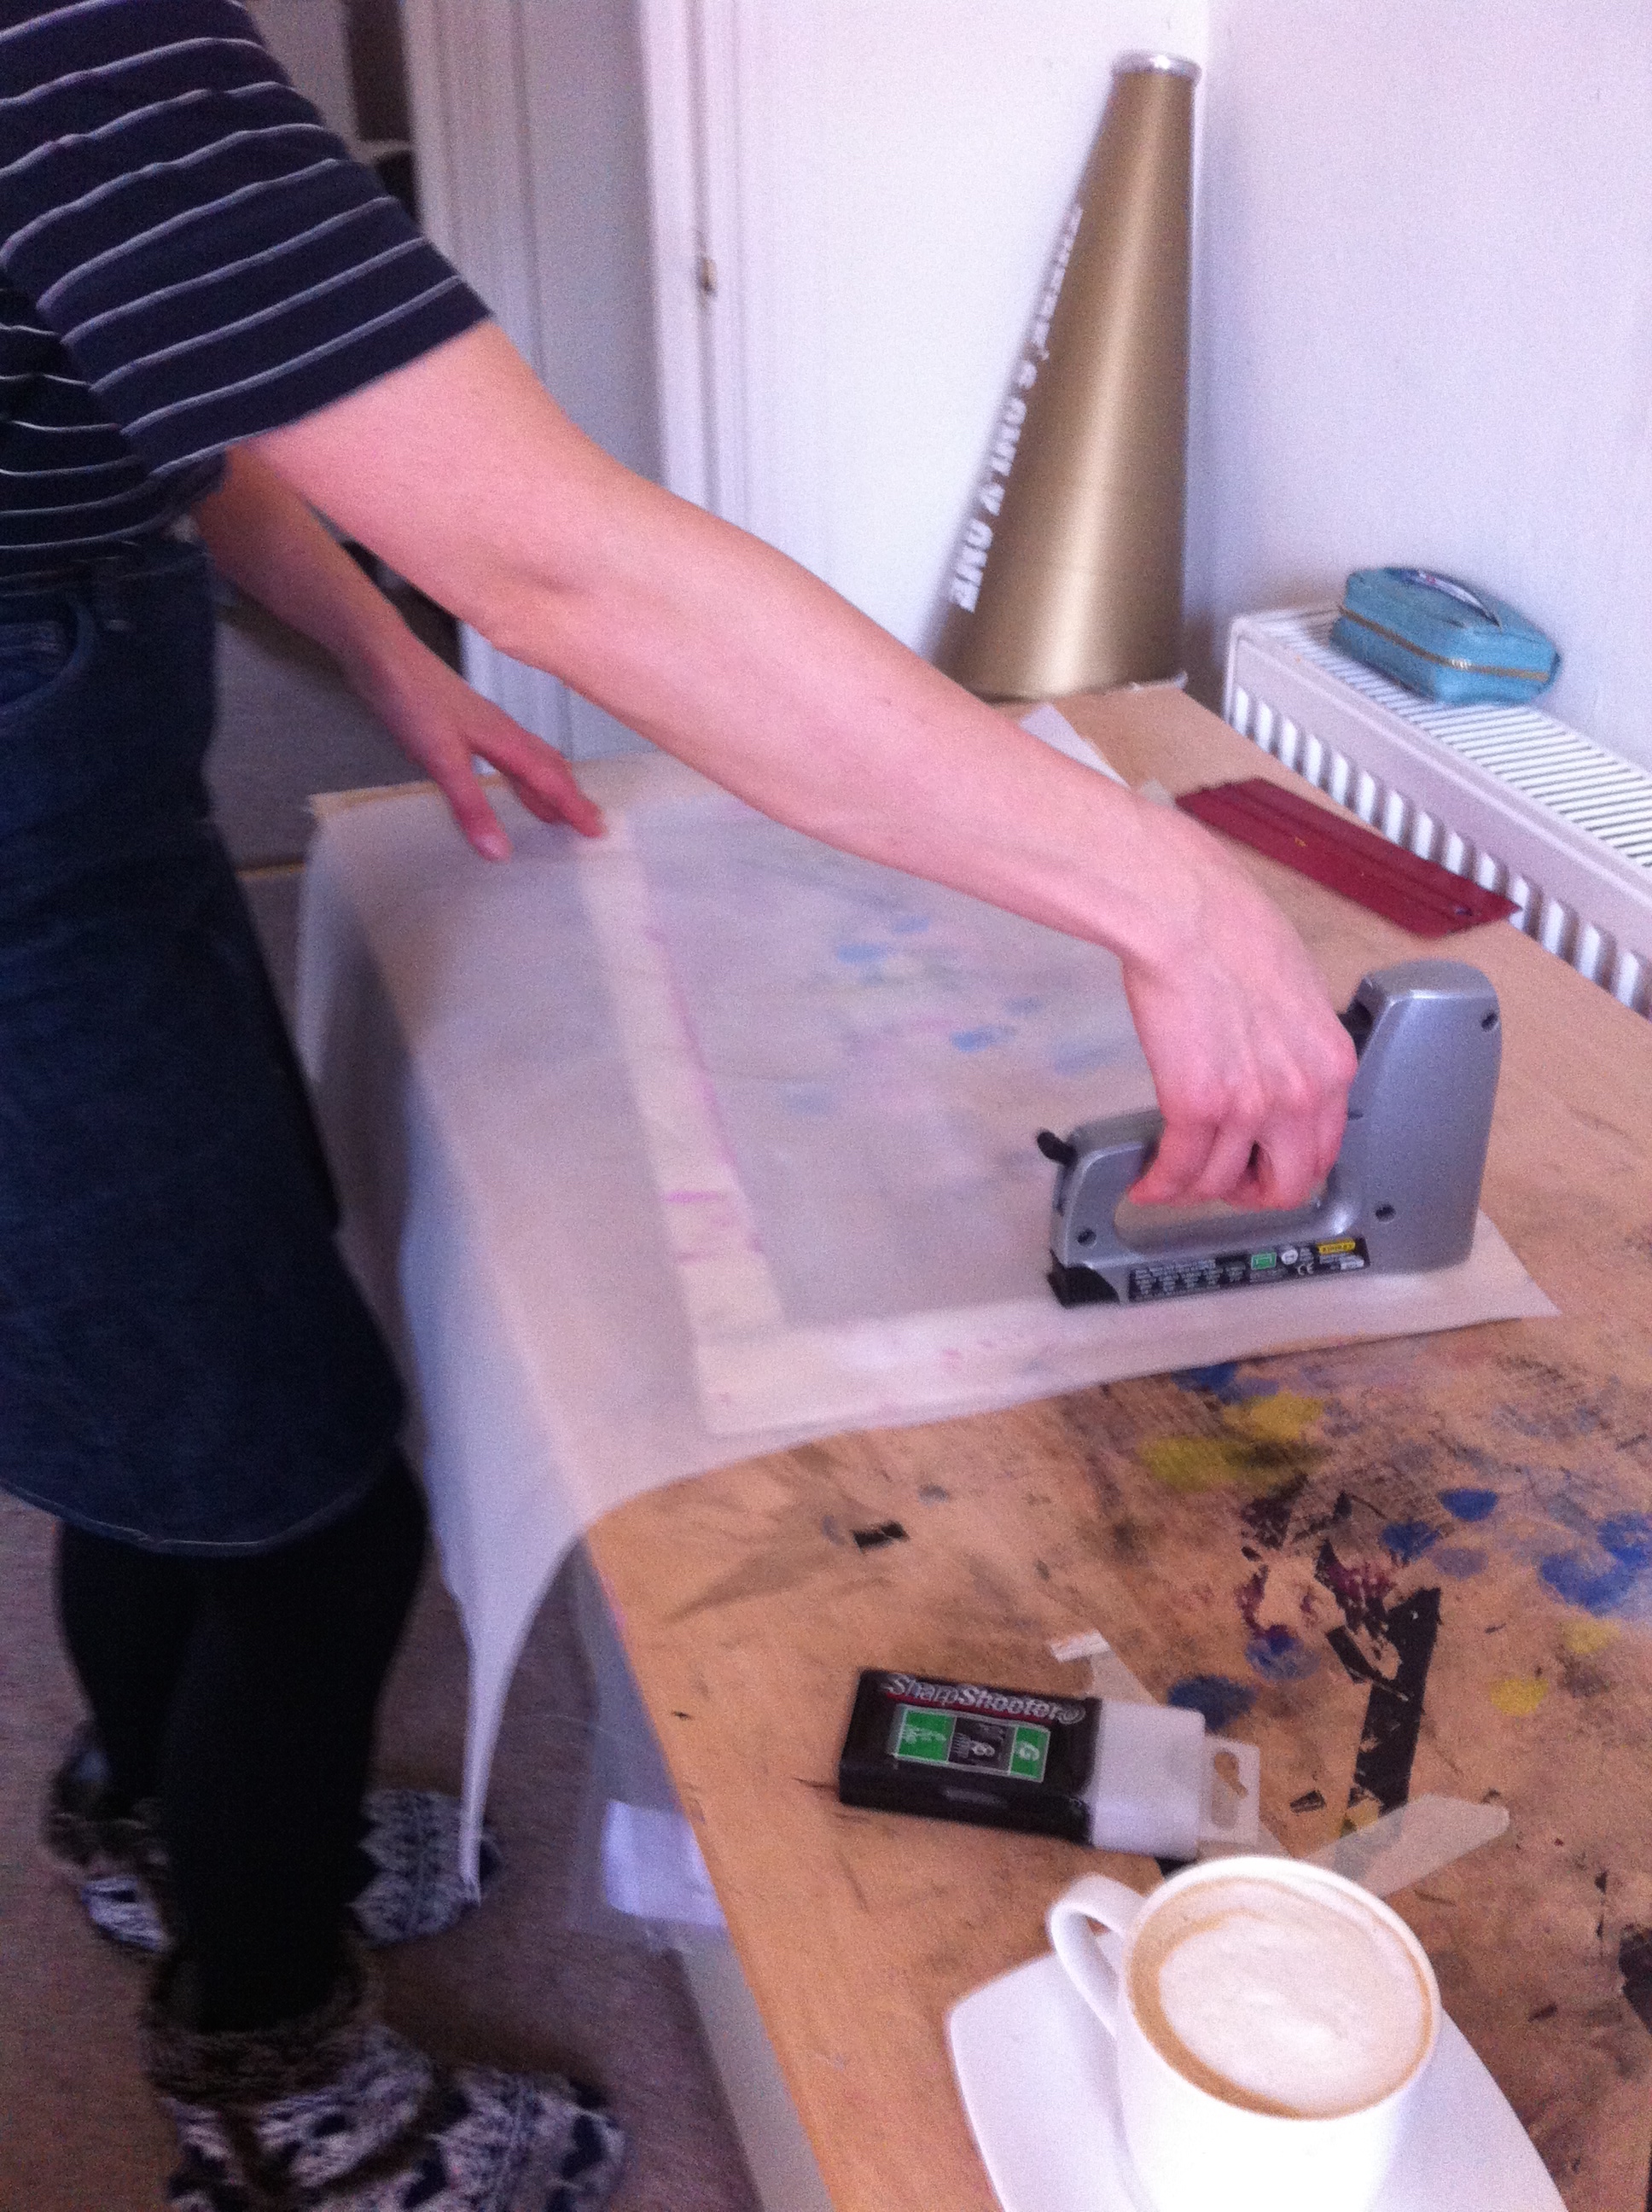
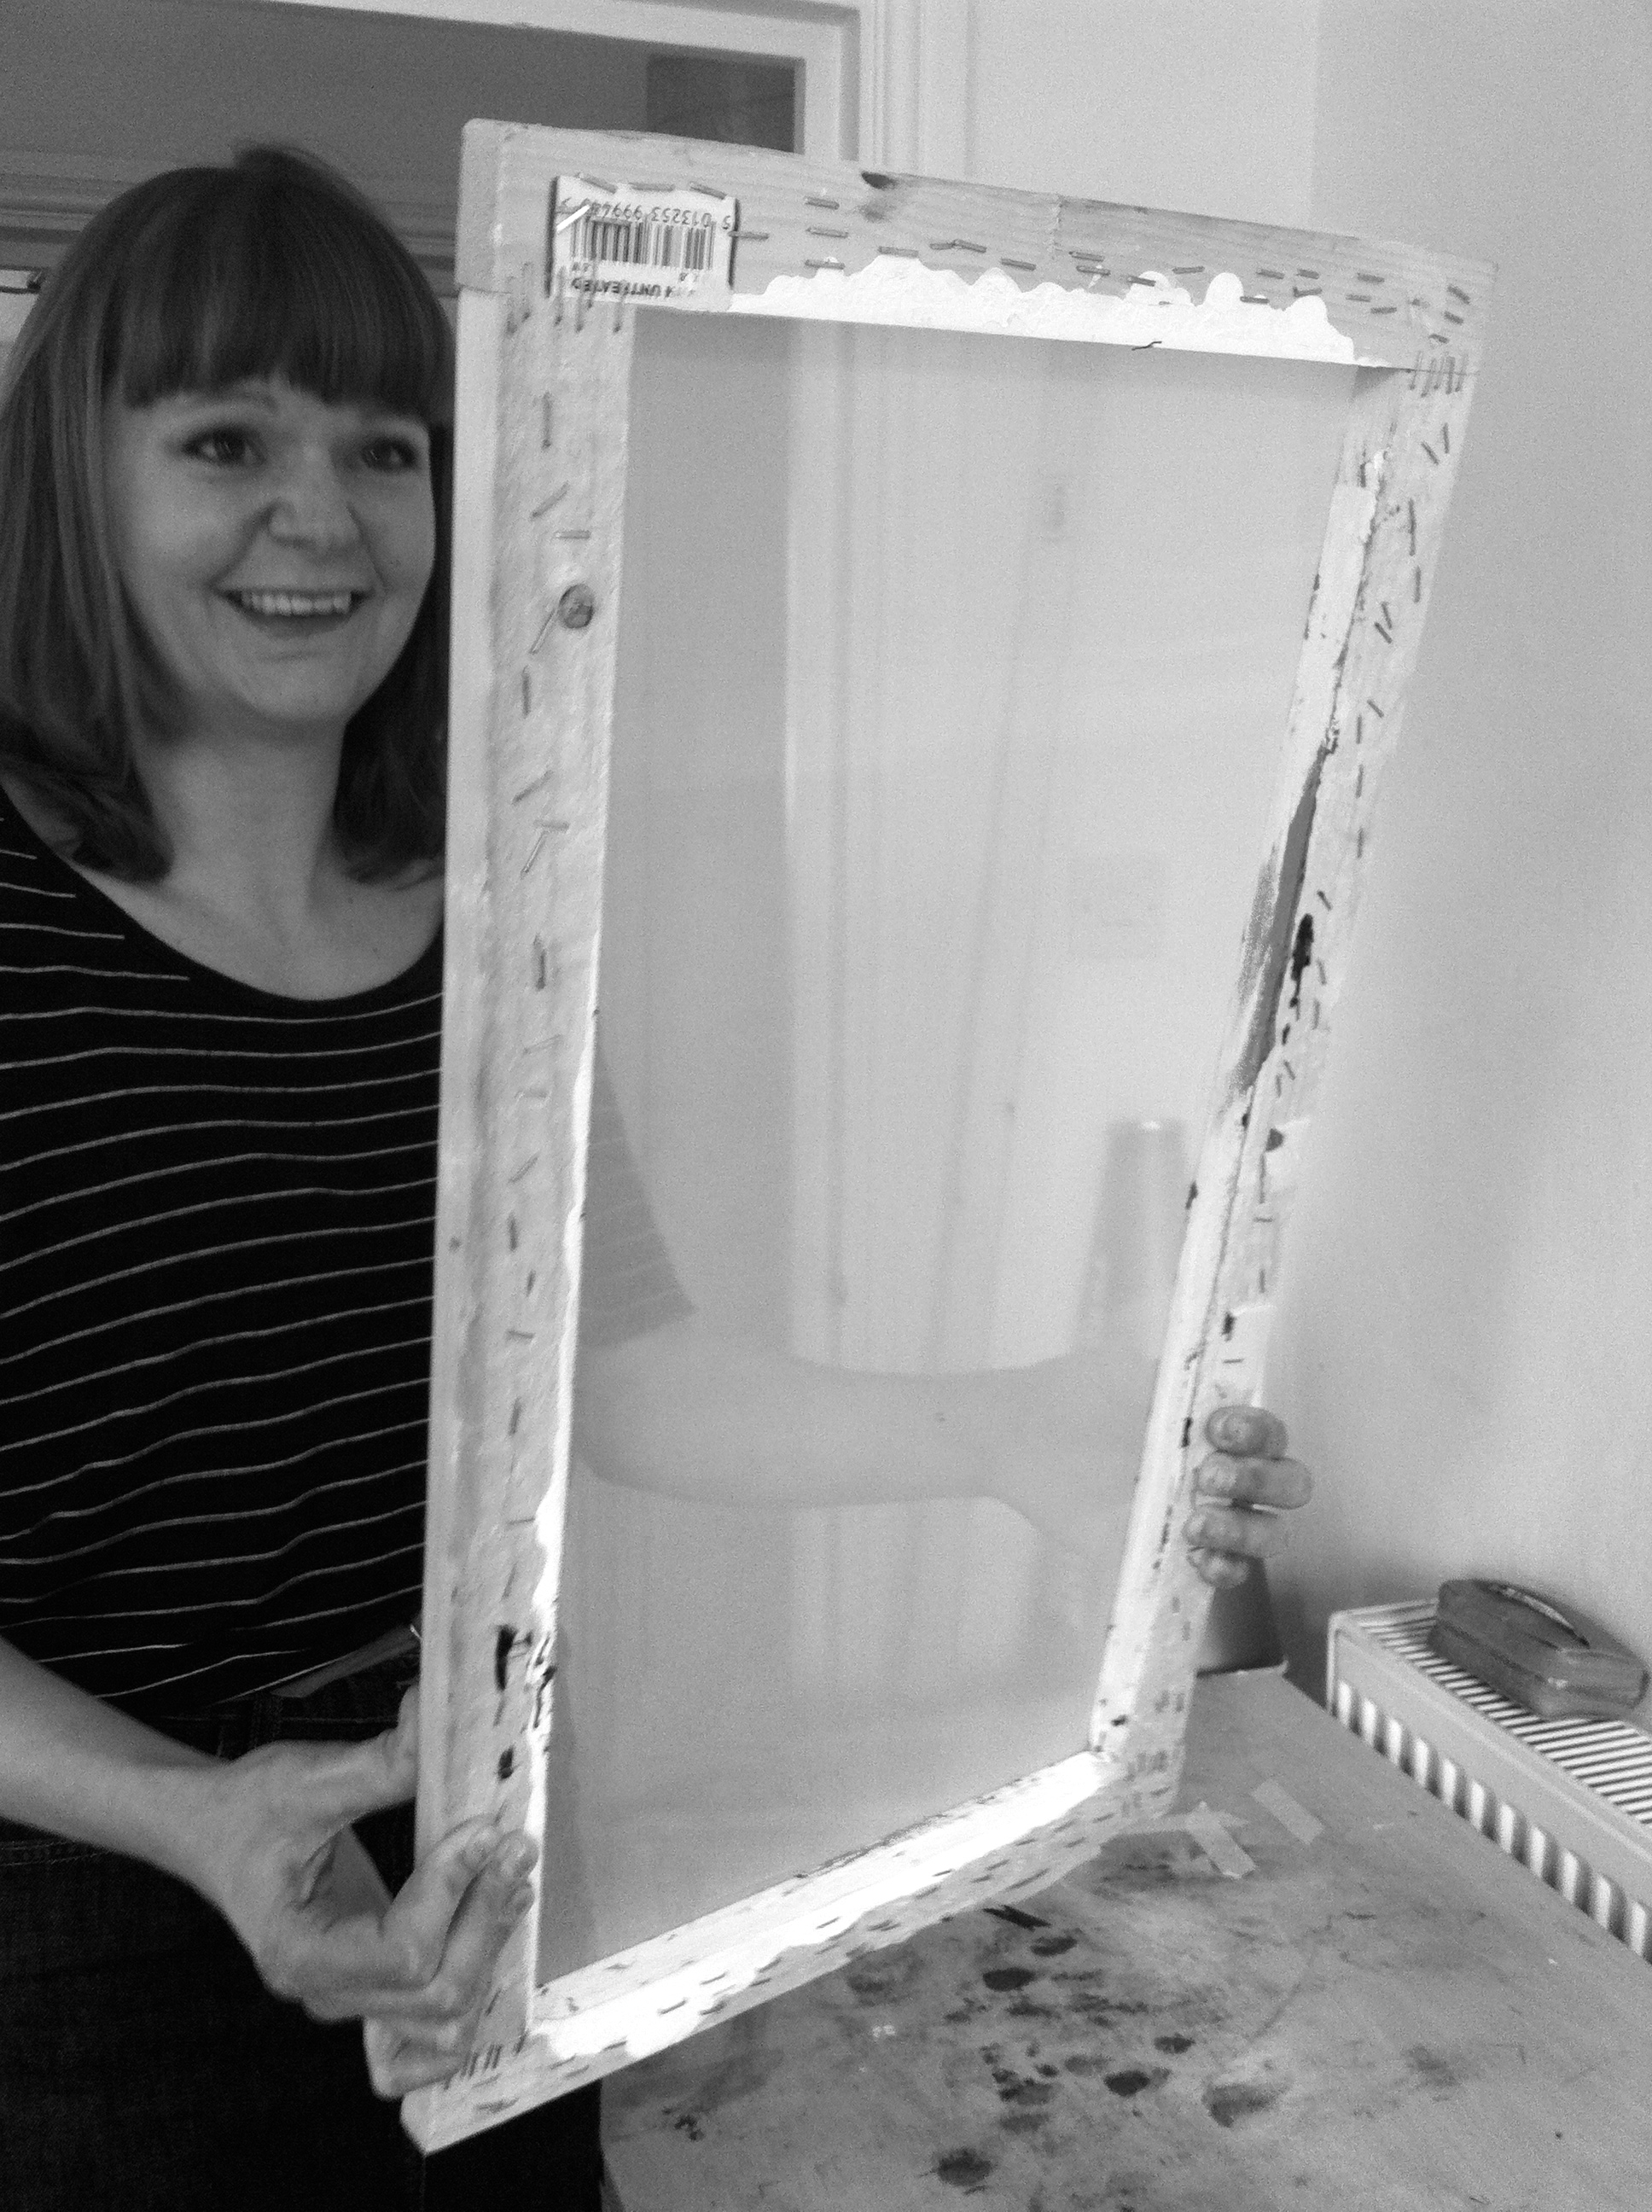
First she takes some silk mesh (32 or 48T) and some wood to make the frame. The wood is cut to size and the mesh pulled tightly across it and secured in place with a staple gun to make the ‘screen.’
She covers the screen with PHOTO EMULSION, which is a light-sensitive liquid that is applied in the dark using a squeegee. She makes sure the liquid is spread evenly, leaving a thin film on the mesh and then it’s left to dry in the dark for about 8 hours – nothing quick about this part!
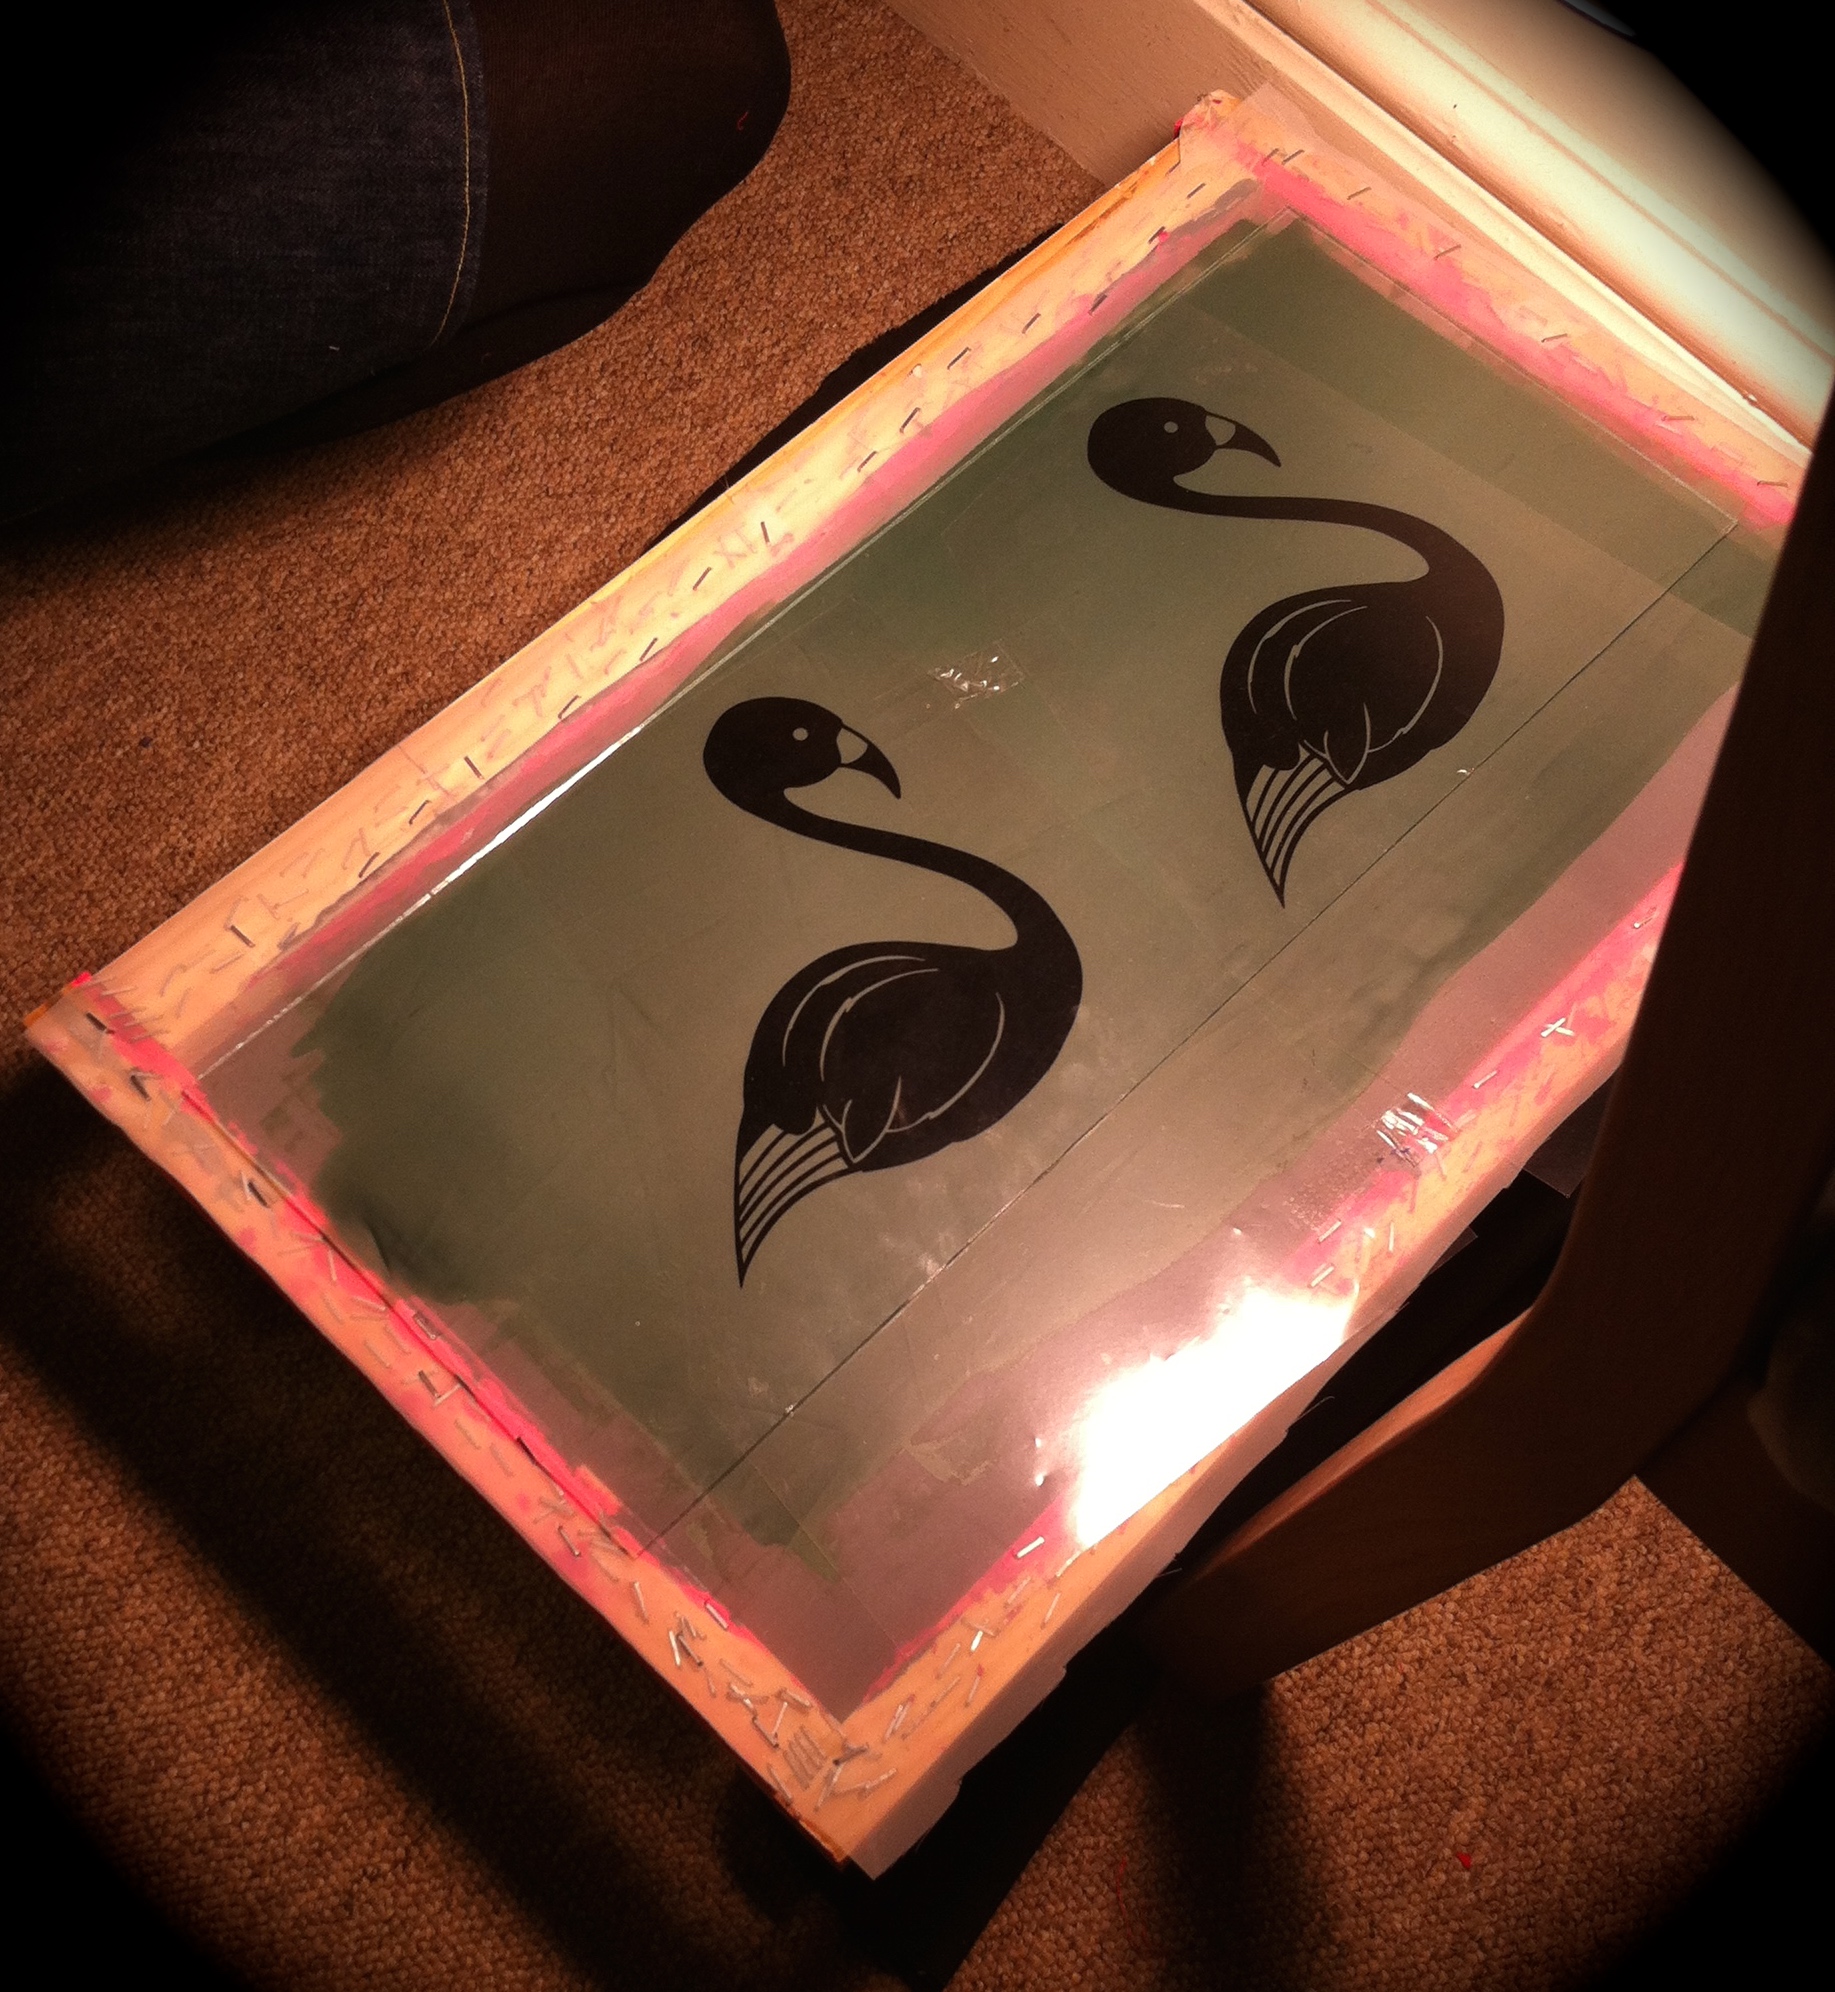
Amy creates her designs using Adobe Illustrator and then prints them off from her computer onto acetate. When the screen is ready to expose, Amy puts it onto some black fabric and lays her design across the mesh, with some glass on top to hold it flush against it. The image is always black and goes on the outside of the screen, (which is the part which will eventually make contact with the fabric). She shines a 400 watt light directly onto the screen for about 20 mins (times do vary) but the black design protects the photo emulsion beneath from the light.
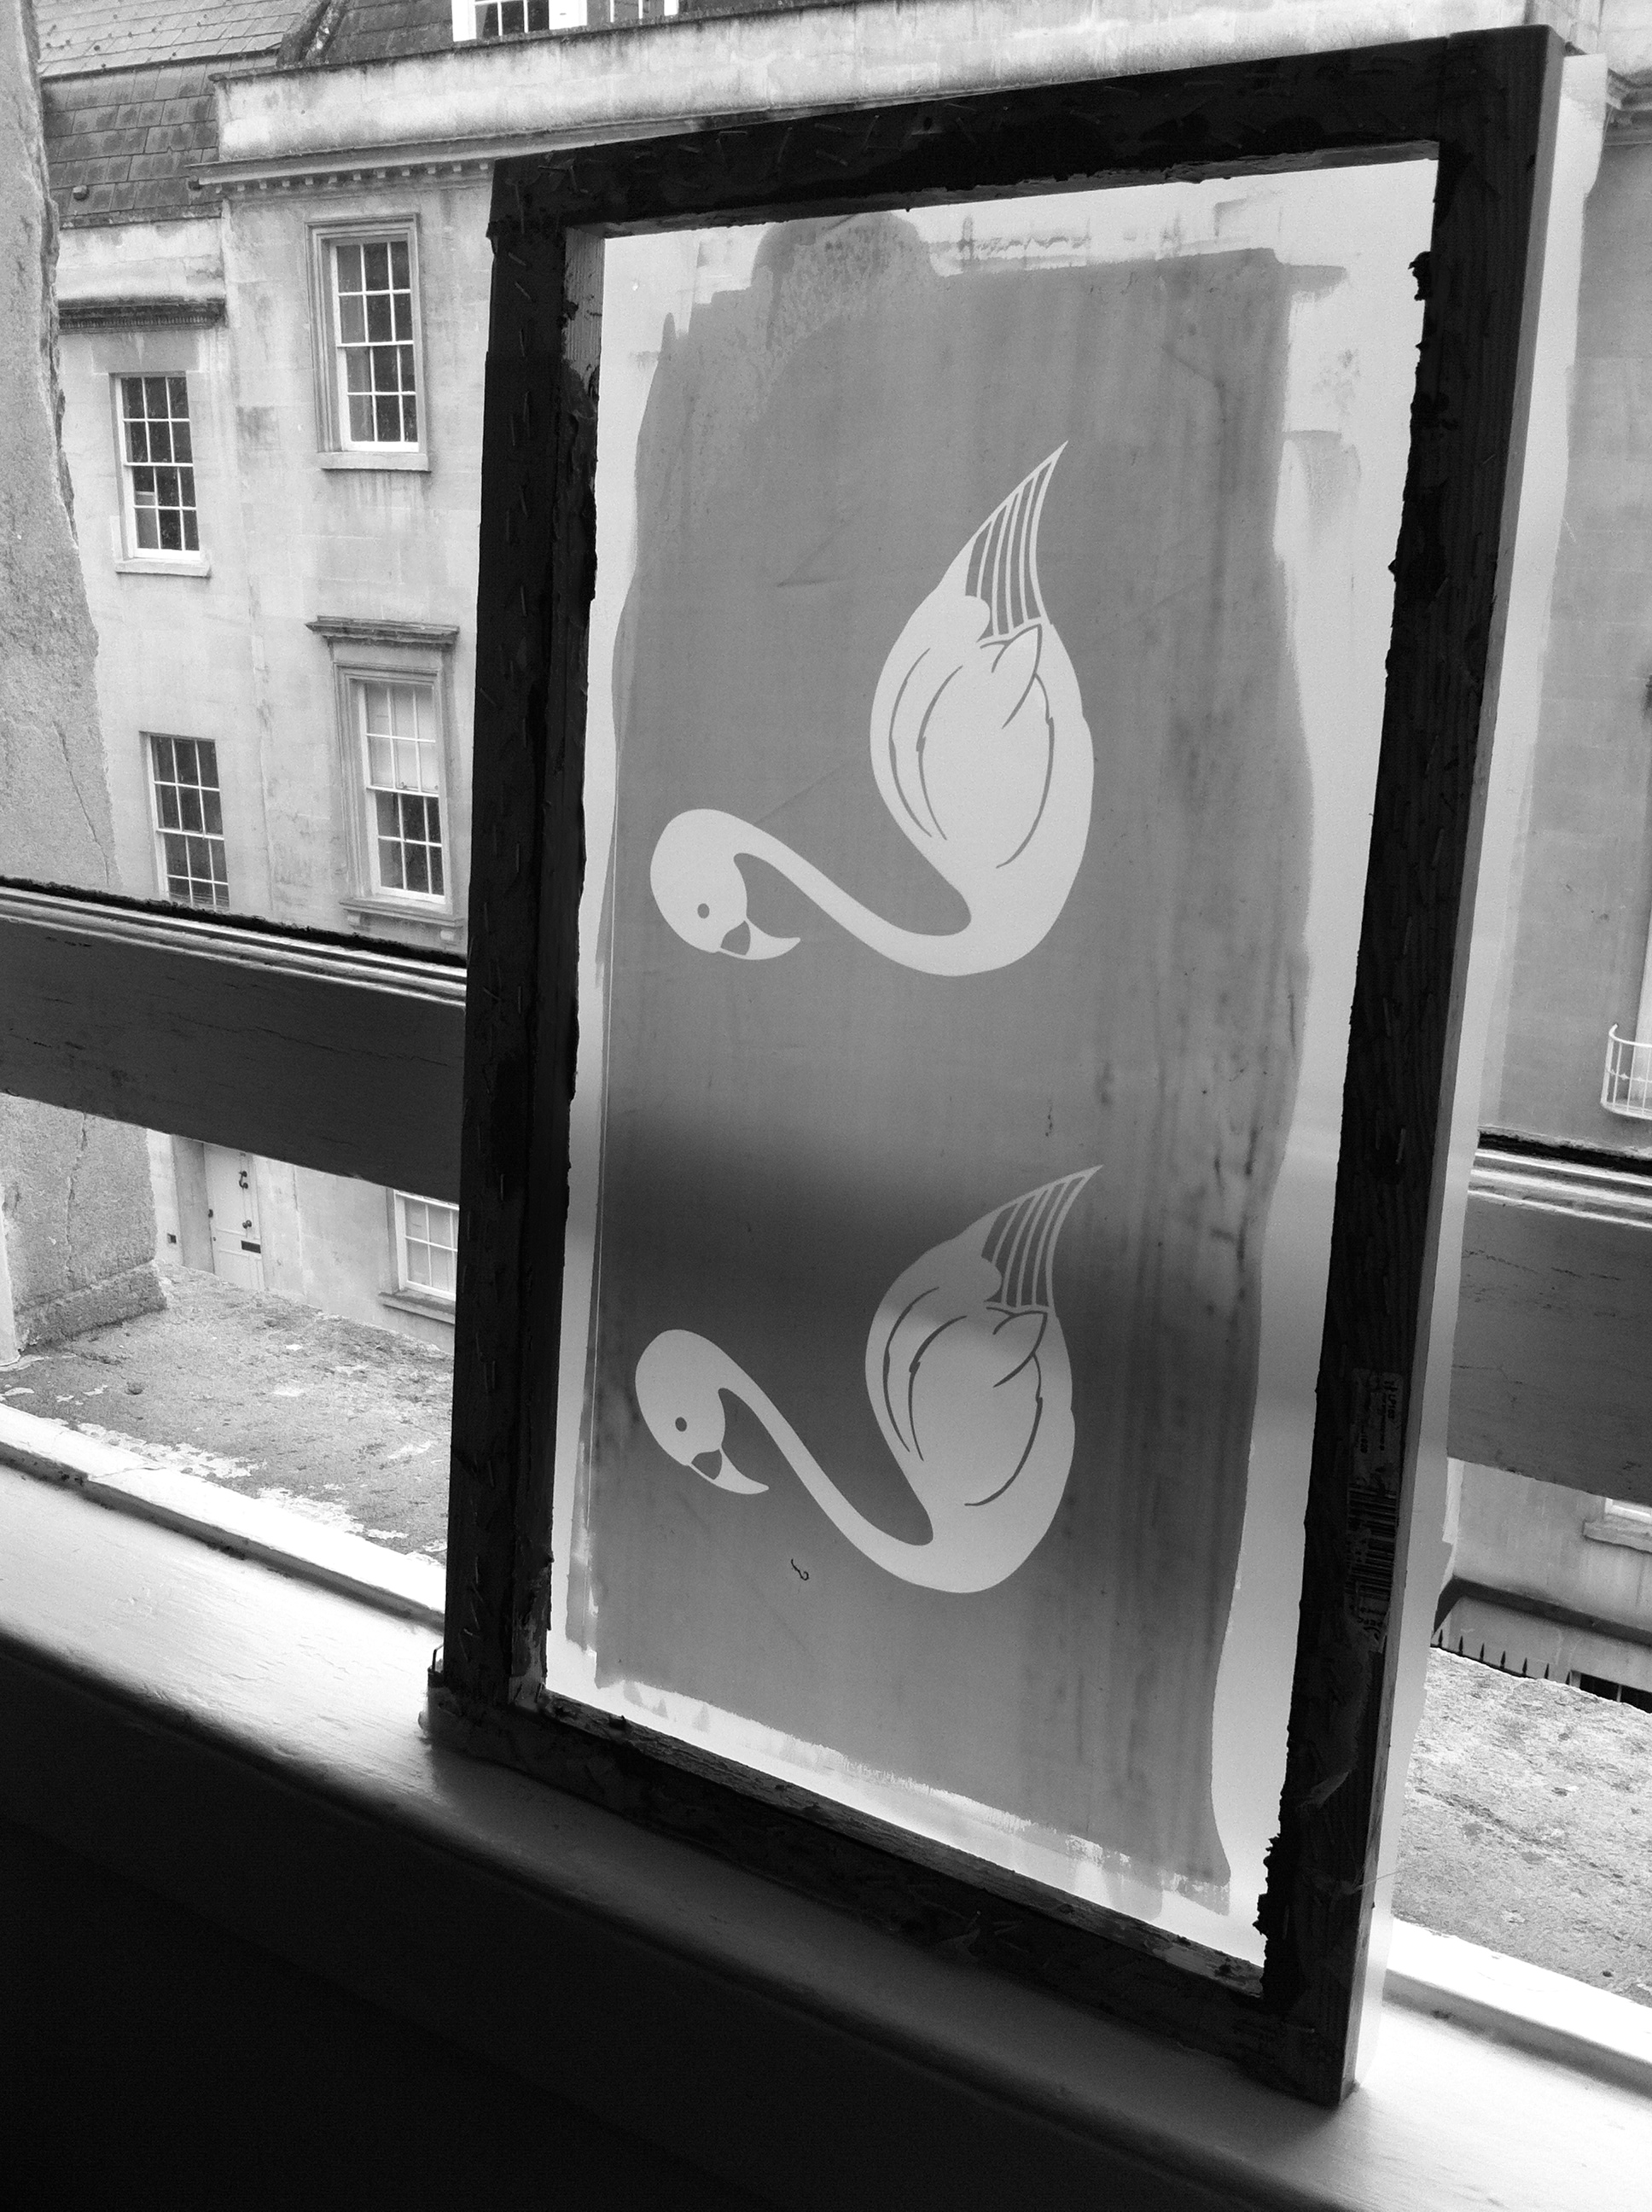 When it’s exposed, she rinses it with cold water and a sponge to remove the photo emulsion and leaves to dry in the natural light. As if by magic, the area which was covered by the black image has now had the design transferred to the mesh and is ready to print with!
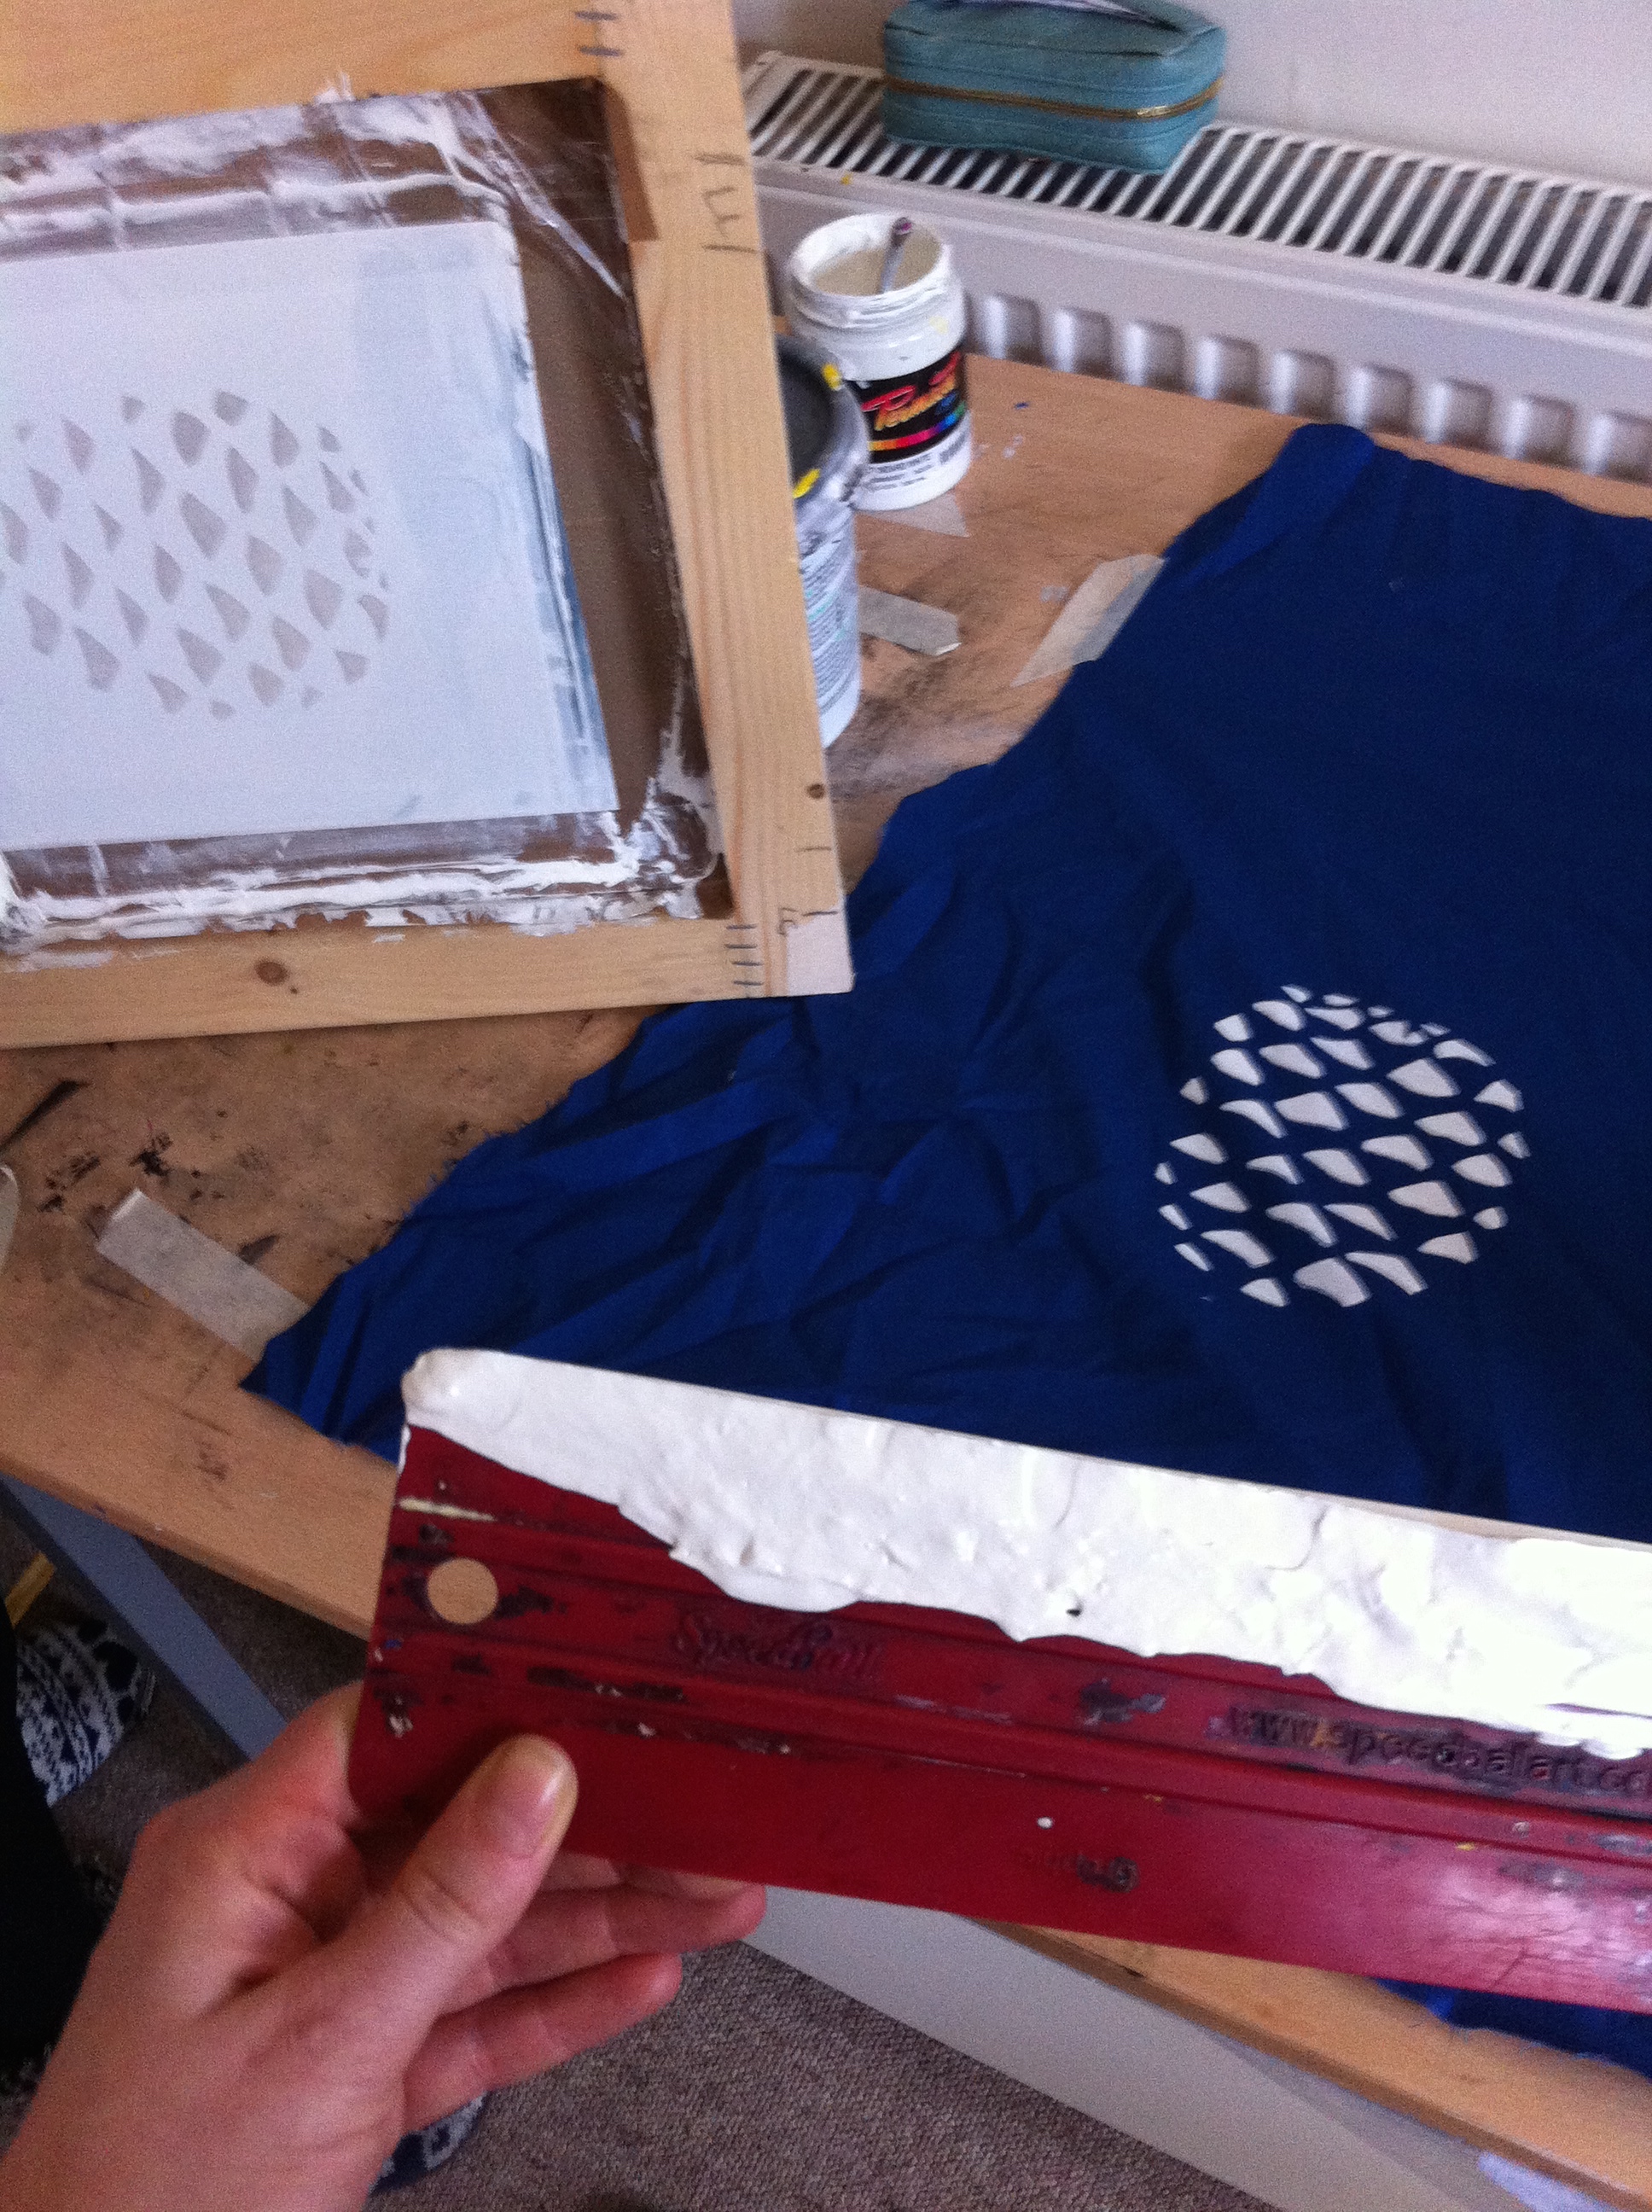
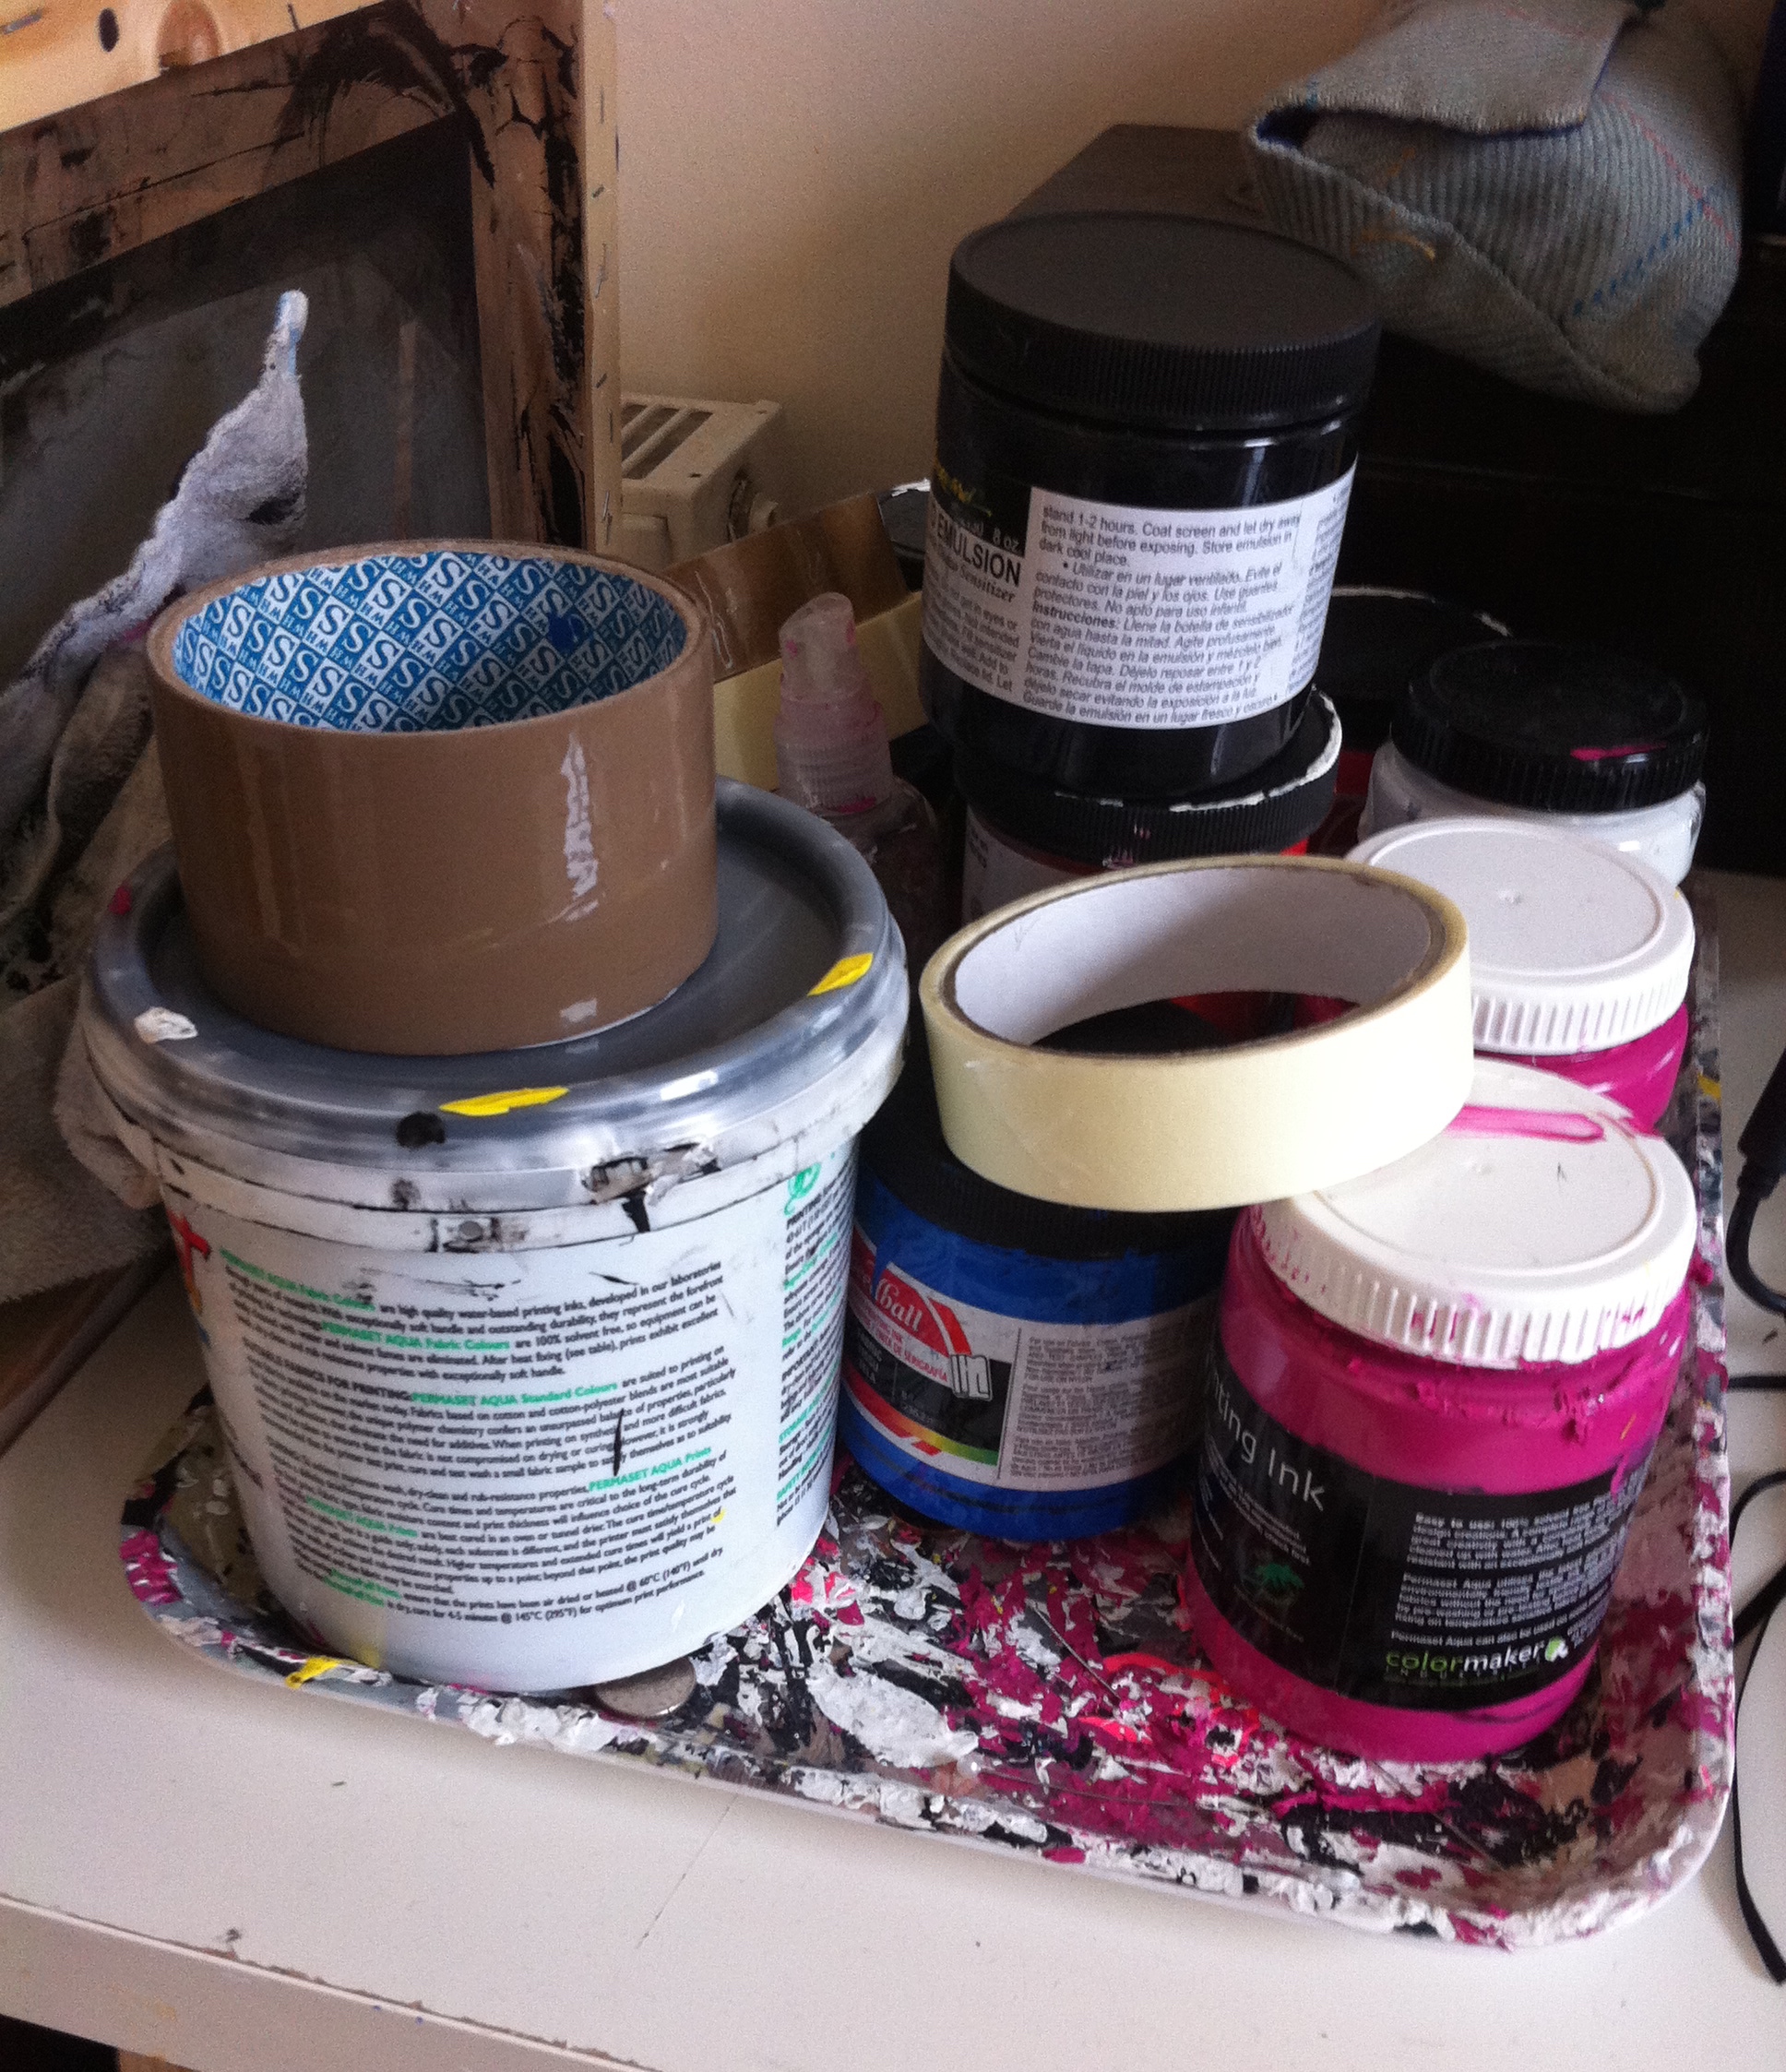 Amy prepares her fabric and gets her (water-based) inks ready. She tapes around the edges on both sides with parcel tape to stop any ink leaking out the sides. She takes a squeegee and does one, preliminary drag of the ink down the screen without the fabric underneath. She often sticks the fabric to the work surface to stop it moving (and sometimes G-clamps to hold the screen in place). Then, with the screen laid onto the fabric, she drags the ink across to complete the first print.
Finally, here’s a preview of one of Amy’s latest designs, ready for Spring/Summer 15!

(buy the dress now by clicking here)
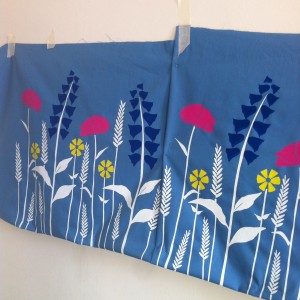
Good luck Amy and wishing you every success with your gorgeous new designs!
Zoe x
BEST PART OF THE JOB…
When I tell people what I do for a living their reactions generally fall into one of 2 categories;
1).The Appreciators – “wow! what a cool job!” (genuinely curious and immediately accepting of an ‘arty’ career)
2).The Disbelievers – “is that even a real job?” (feigning interest and stifling laughter)
Sadly, so often design is hugely undervalued by non-creatives and yet if it were really that easy to come up with imaginative concepts day in, day out, surely everyone would be capable and thus eliminate the need to employ a designer in the first place?! My very good friend and Graphic Designer, Michelle Abrahall, has recently written a great article on this which you can read here.
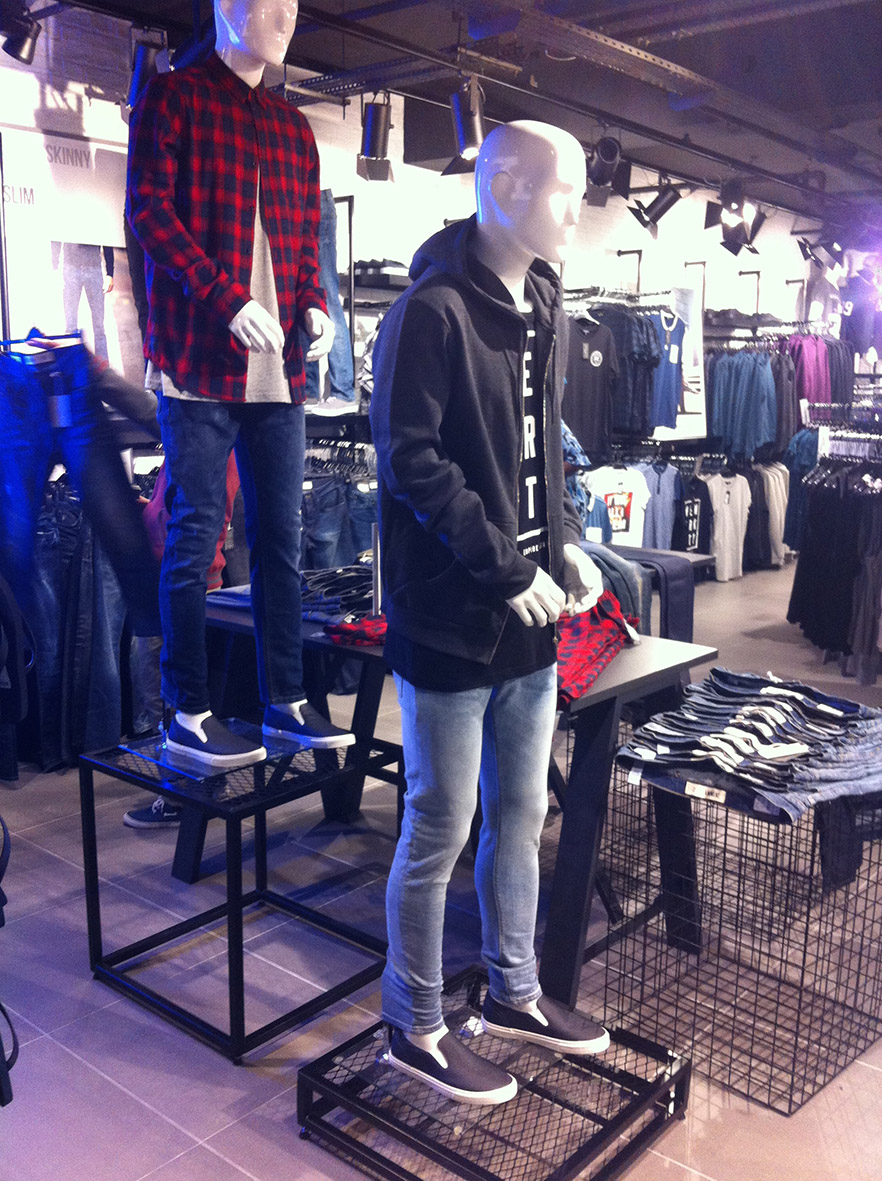
Today however, I don’t want to dwell on the ‘non-believers’ of this world! Today I would like to share the best part of this job and that is to see your designs actually out there, selling well and being worn.
I mentioned in my last post that one of my designs was about to be delivered and last week I was able to see it first-hand, in-store, on a visit to London. I know it’s not groundbreaking and it won’t be winning any awards this year, but it is commercial and on trend which means at least it’s got half a chance of selling!
To all those friends, family, (especially my wonderful parents), and ‘appreciators’ who have always encouraged my creativity, here is just a tiny, little success story, but one which I am still immensely proud of. And to all those who thought my career a funny one: who’s laughing now…?! 😉
Zoe x
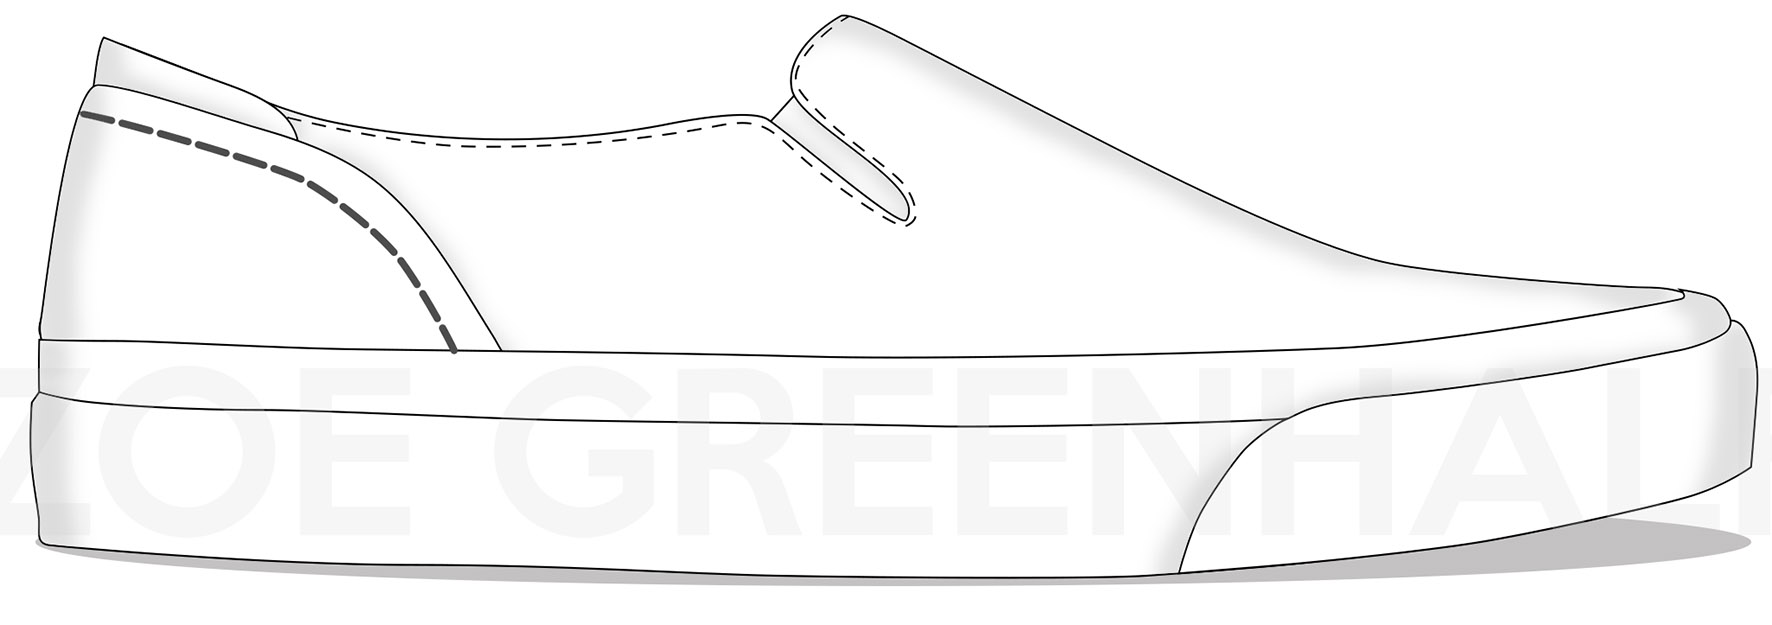
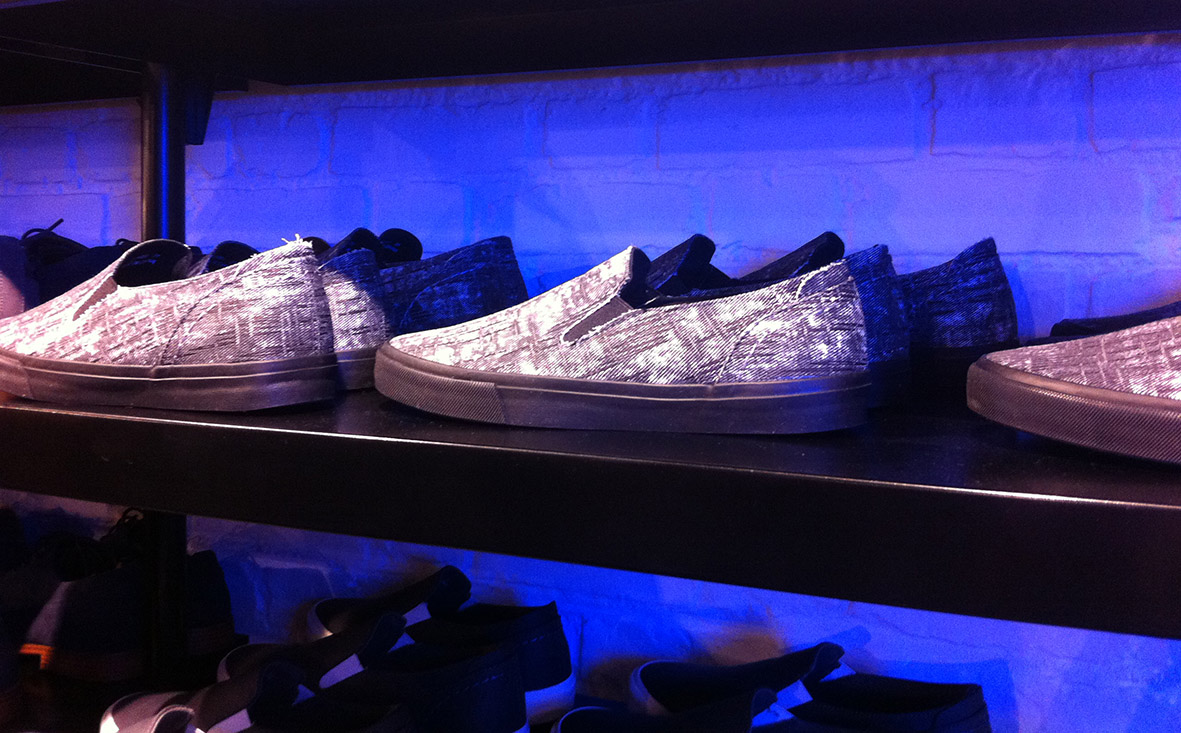

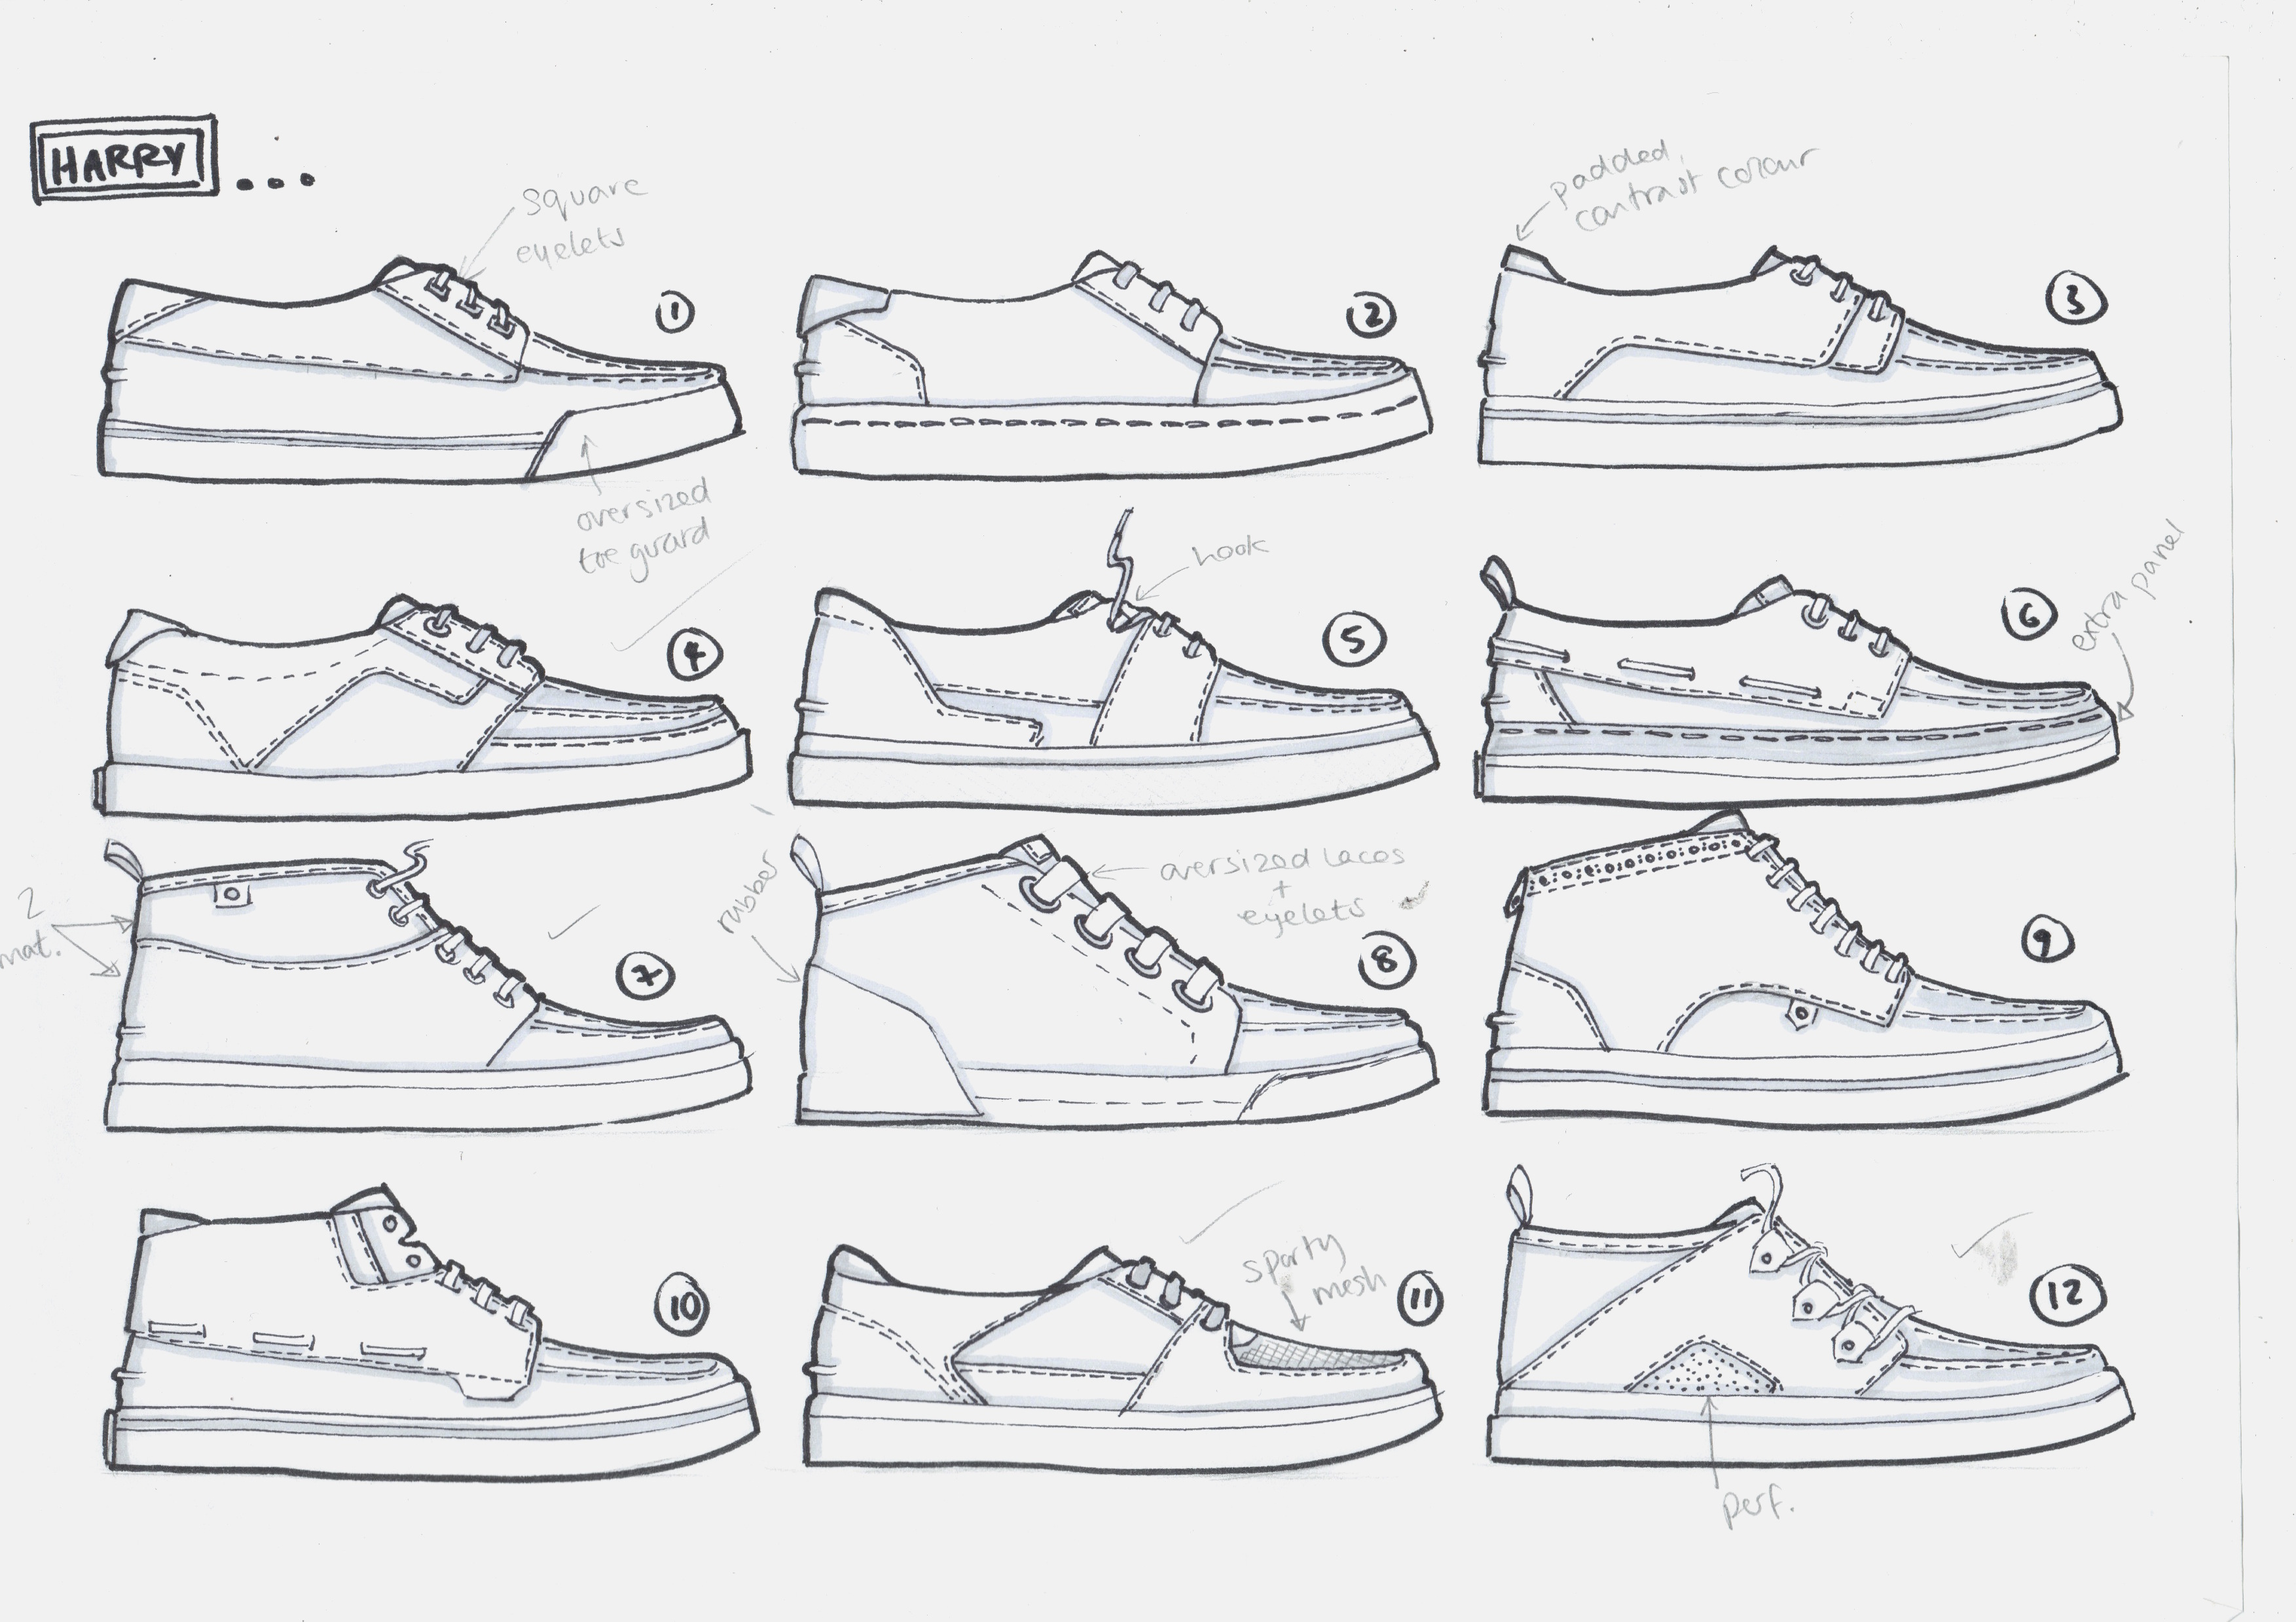
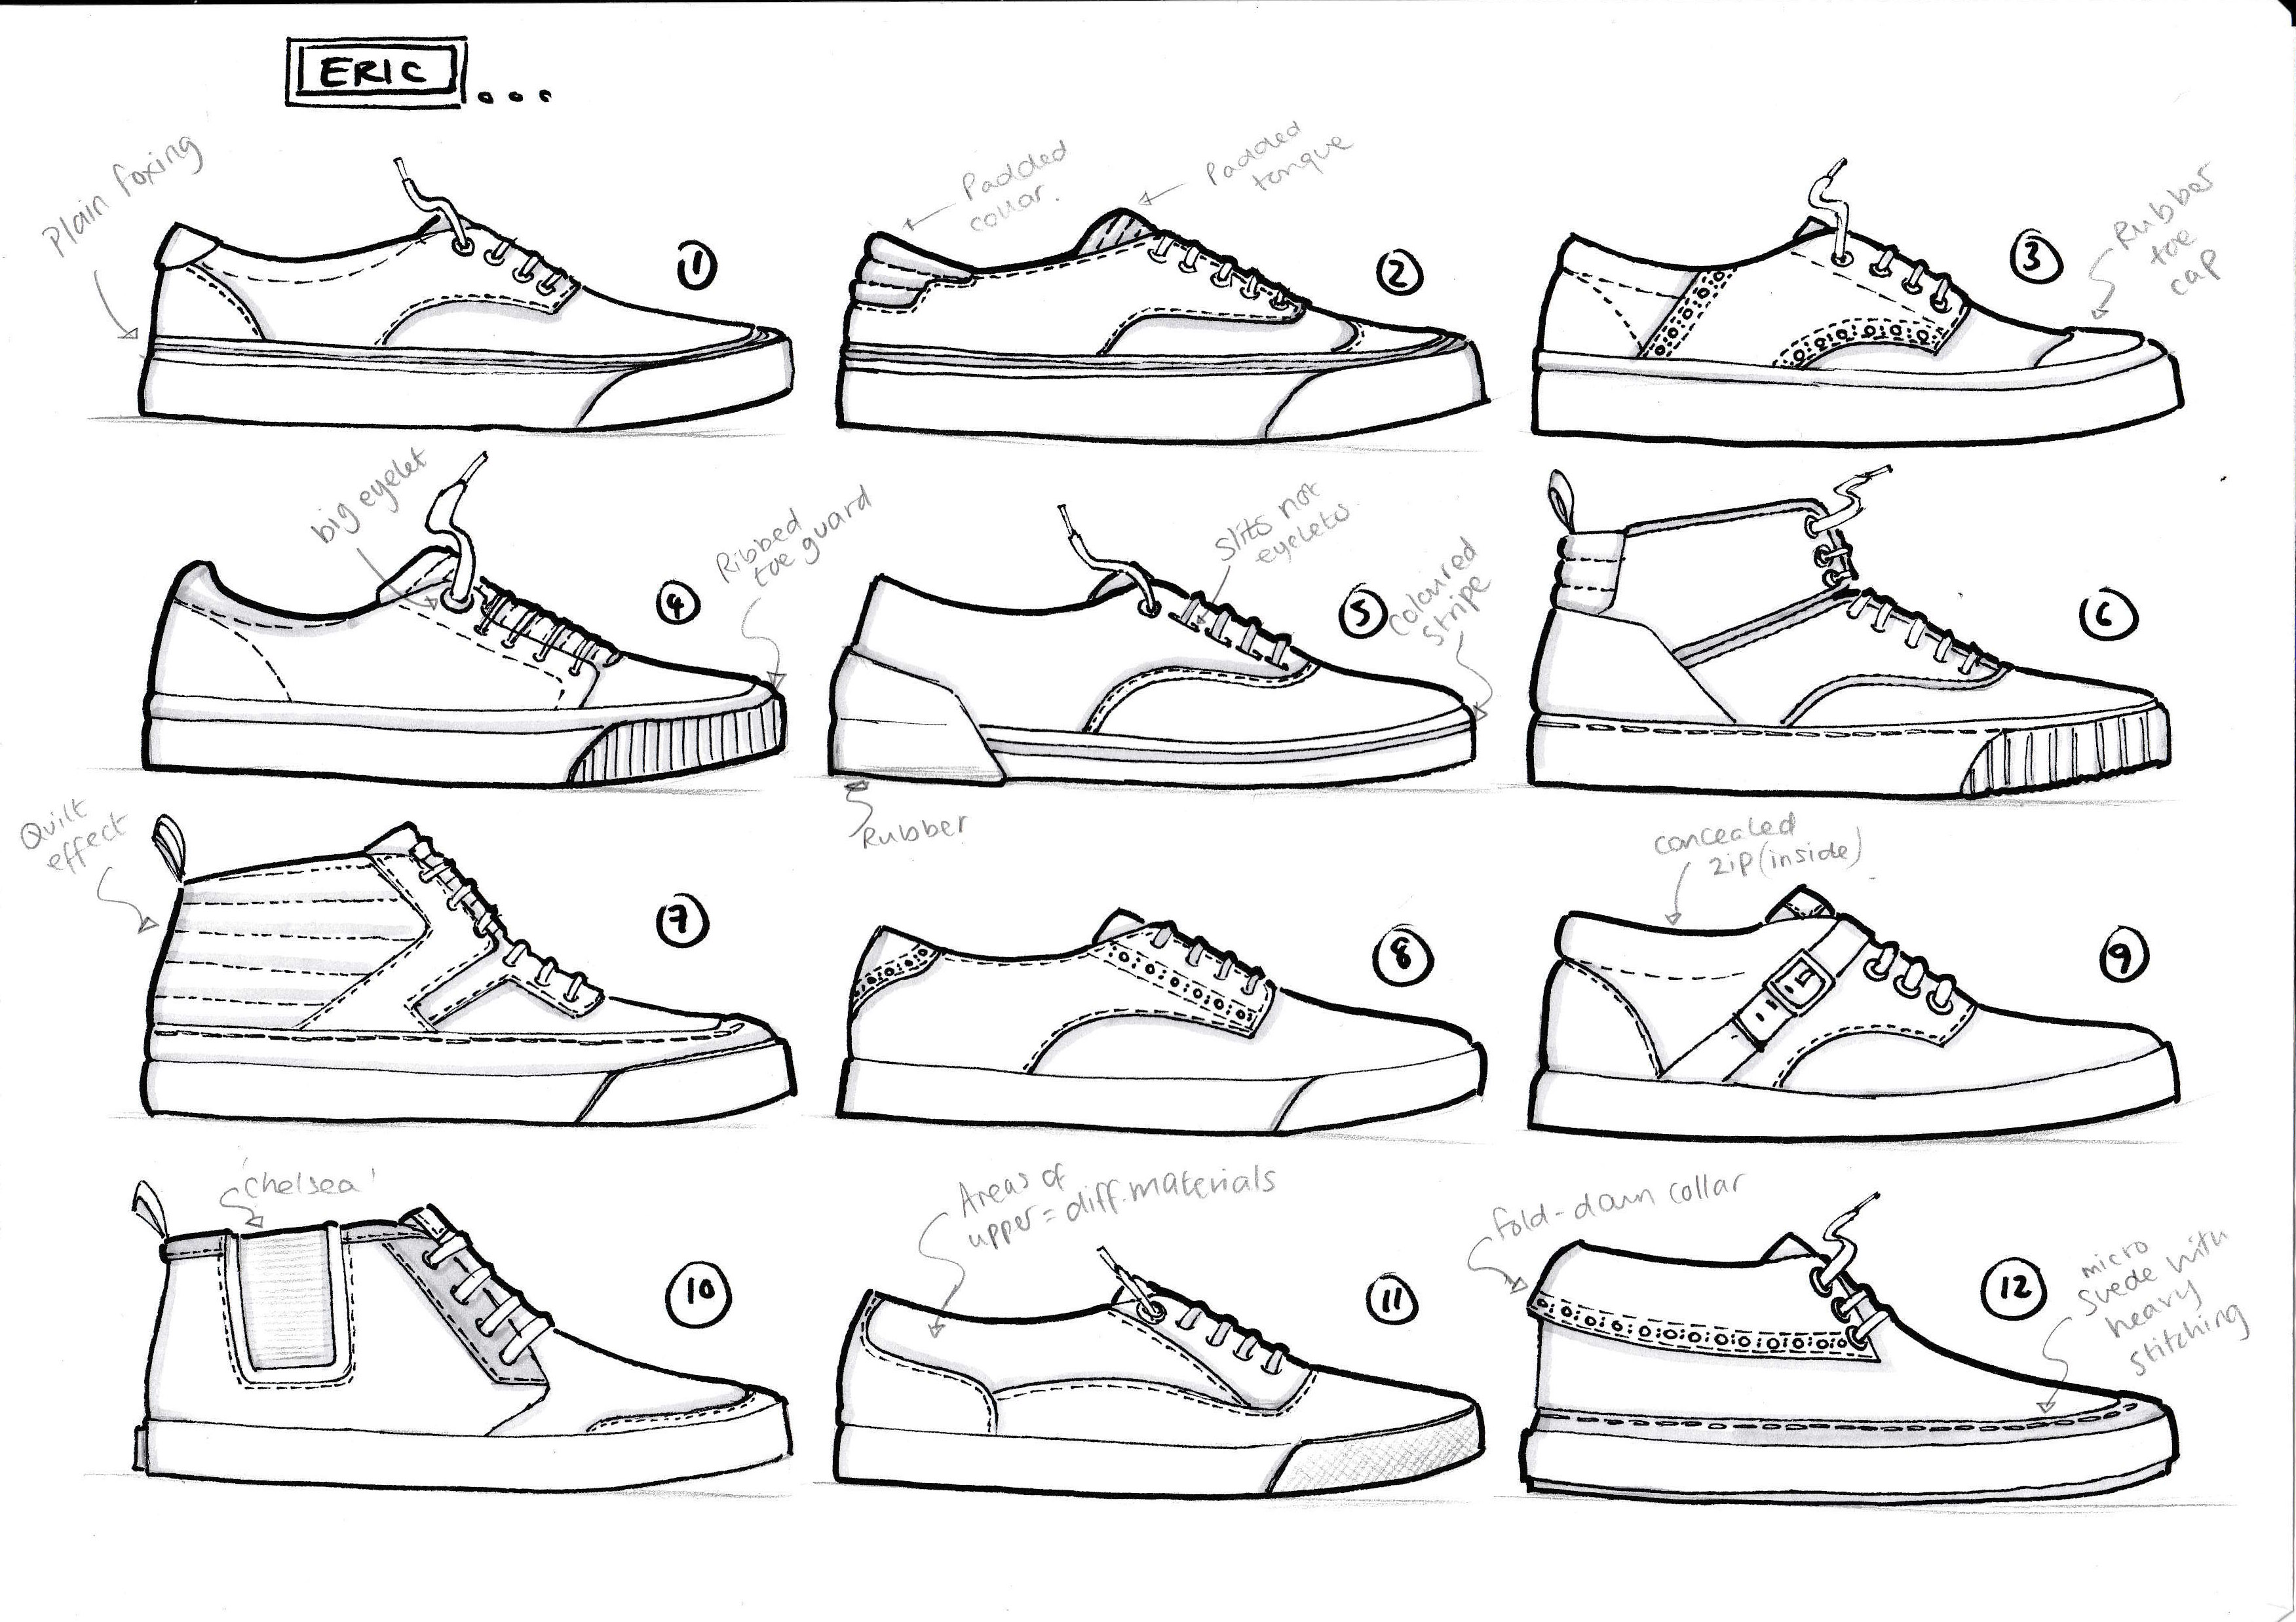
A SNEAK(ER) PREVIEW…
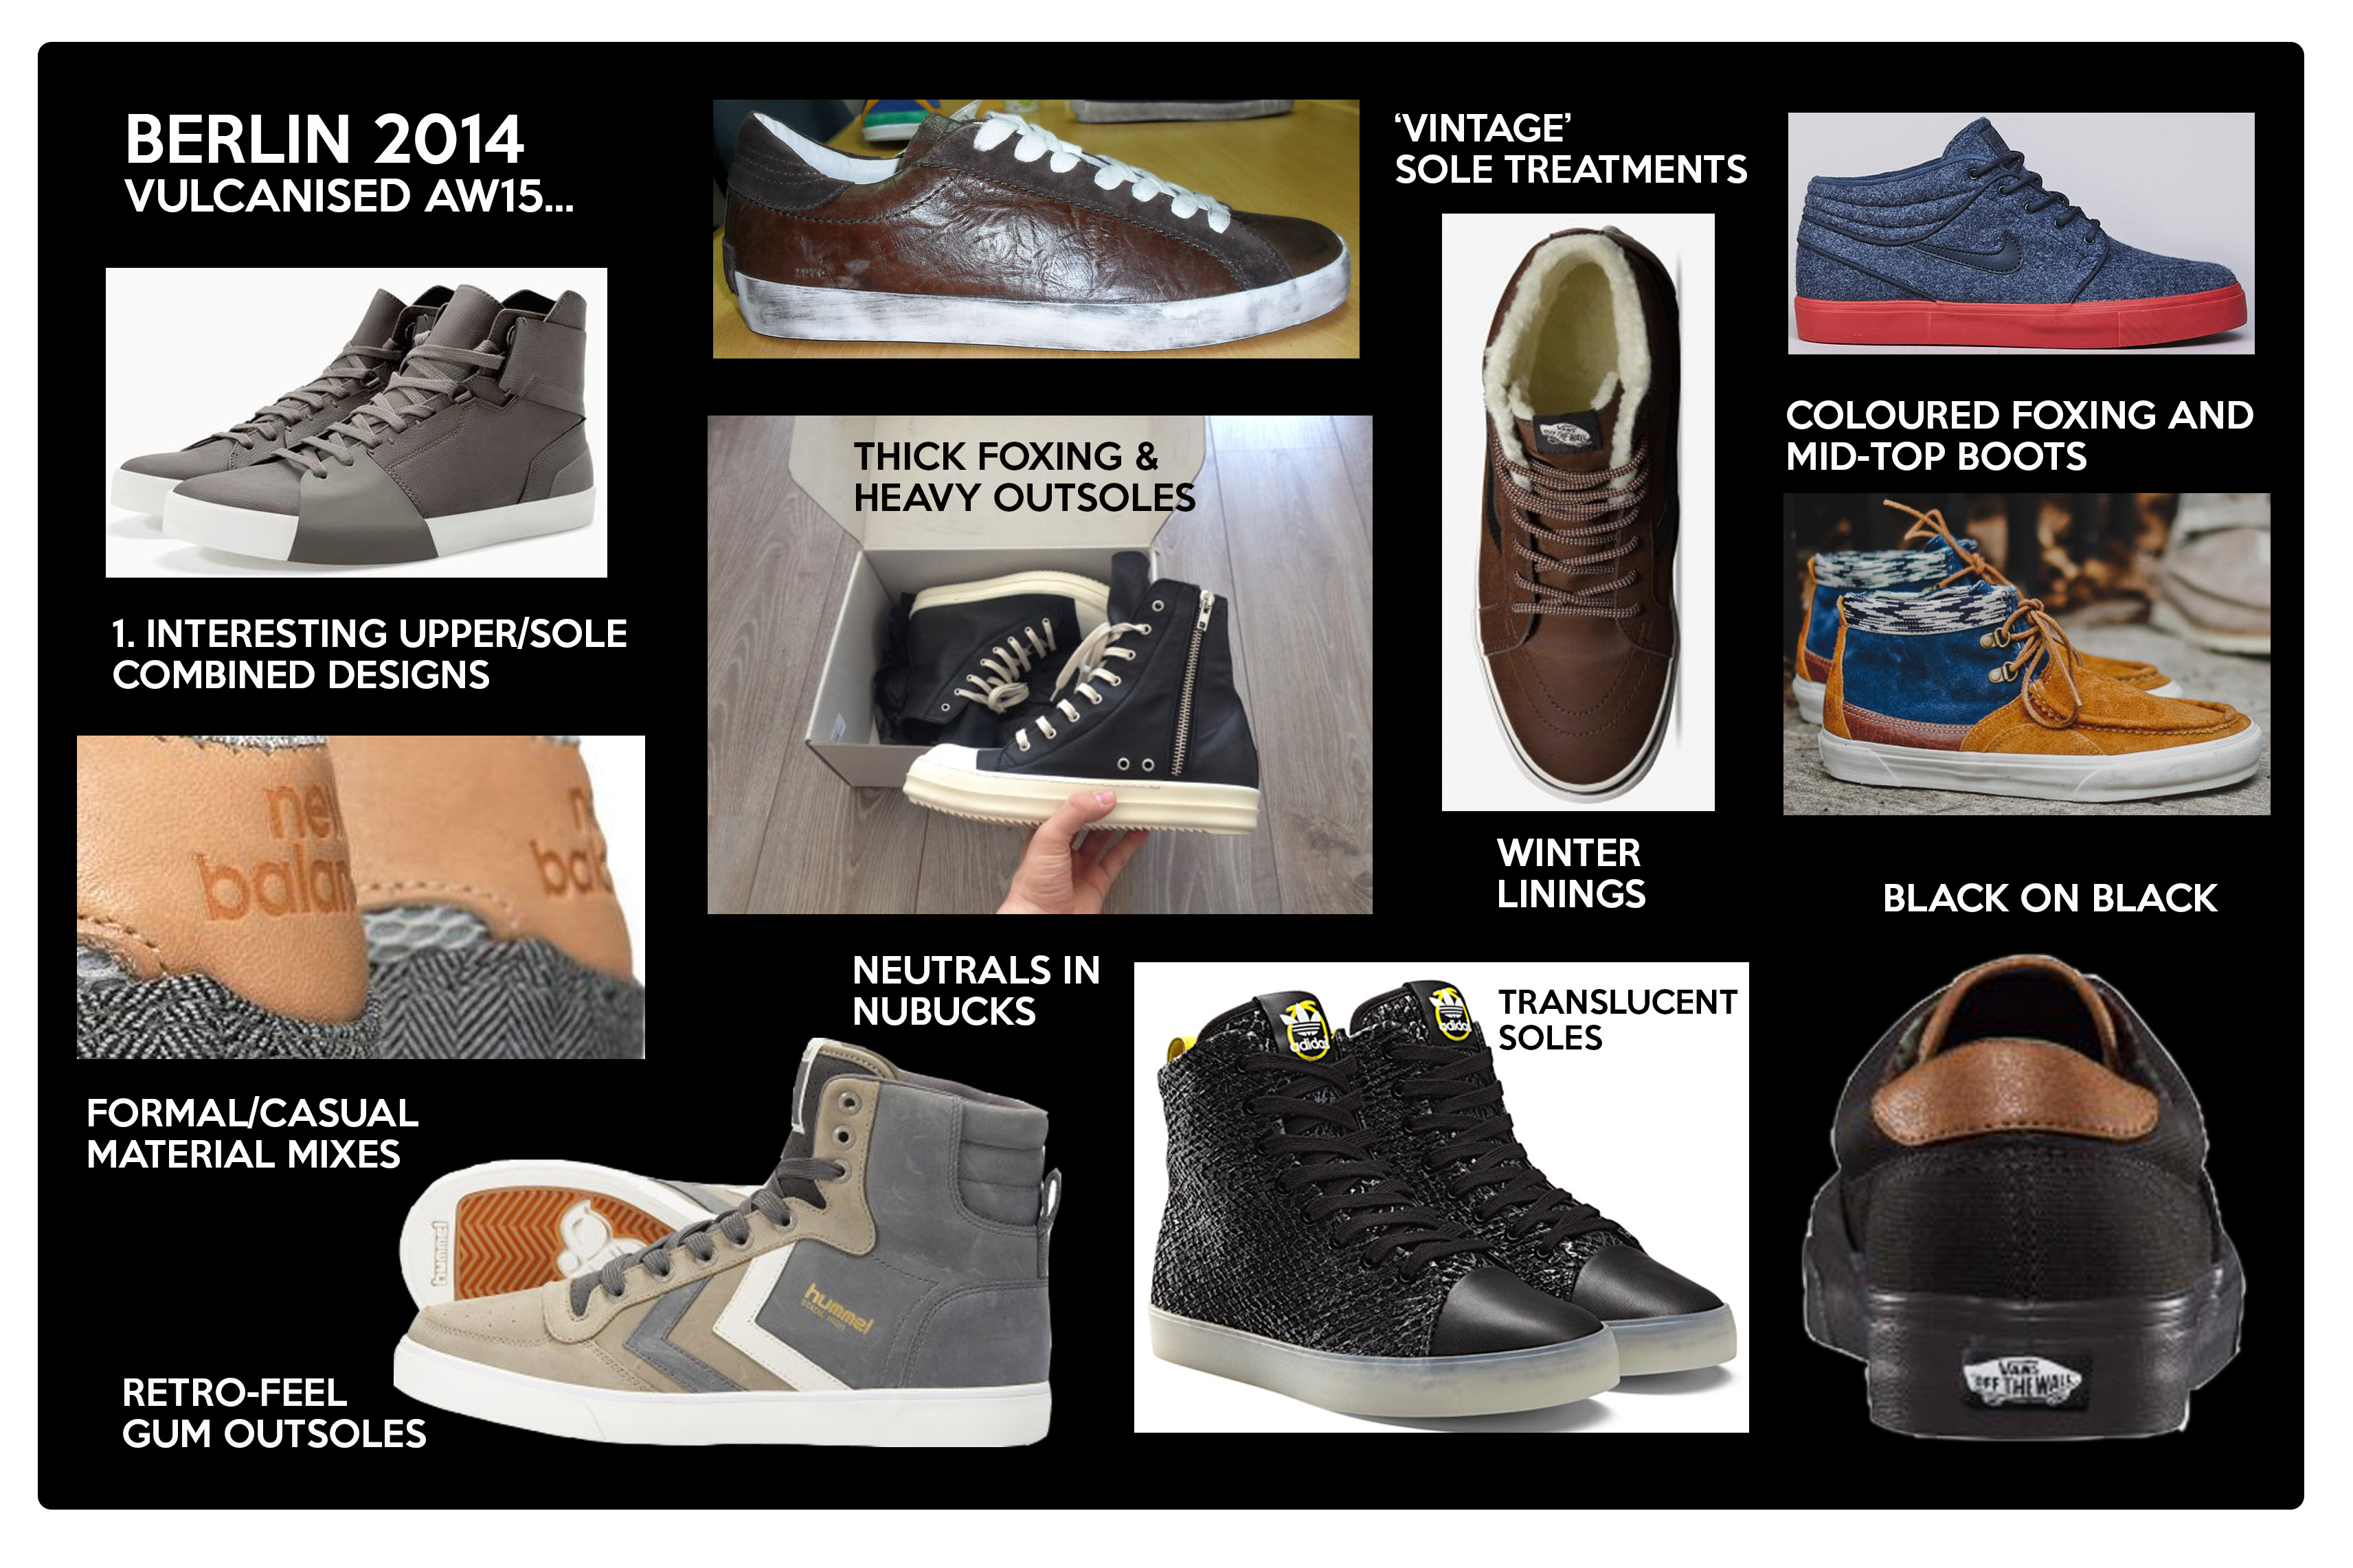
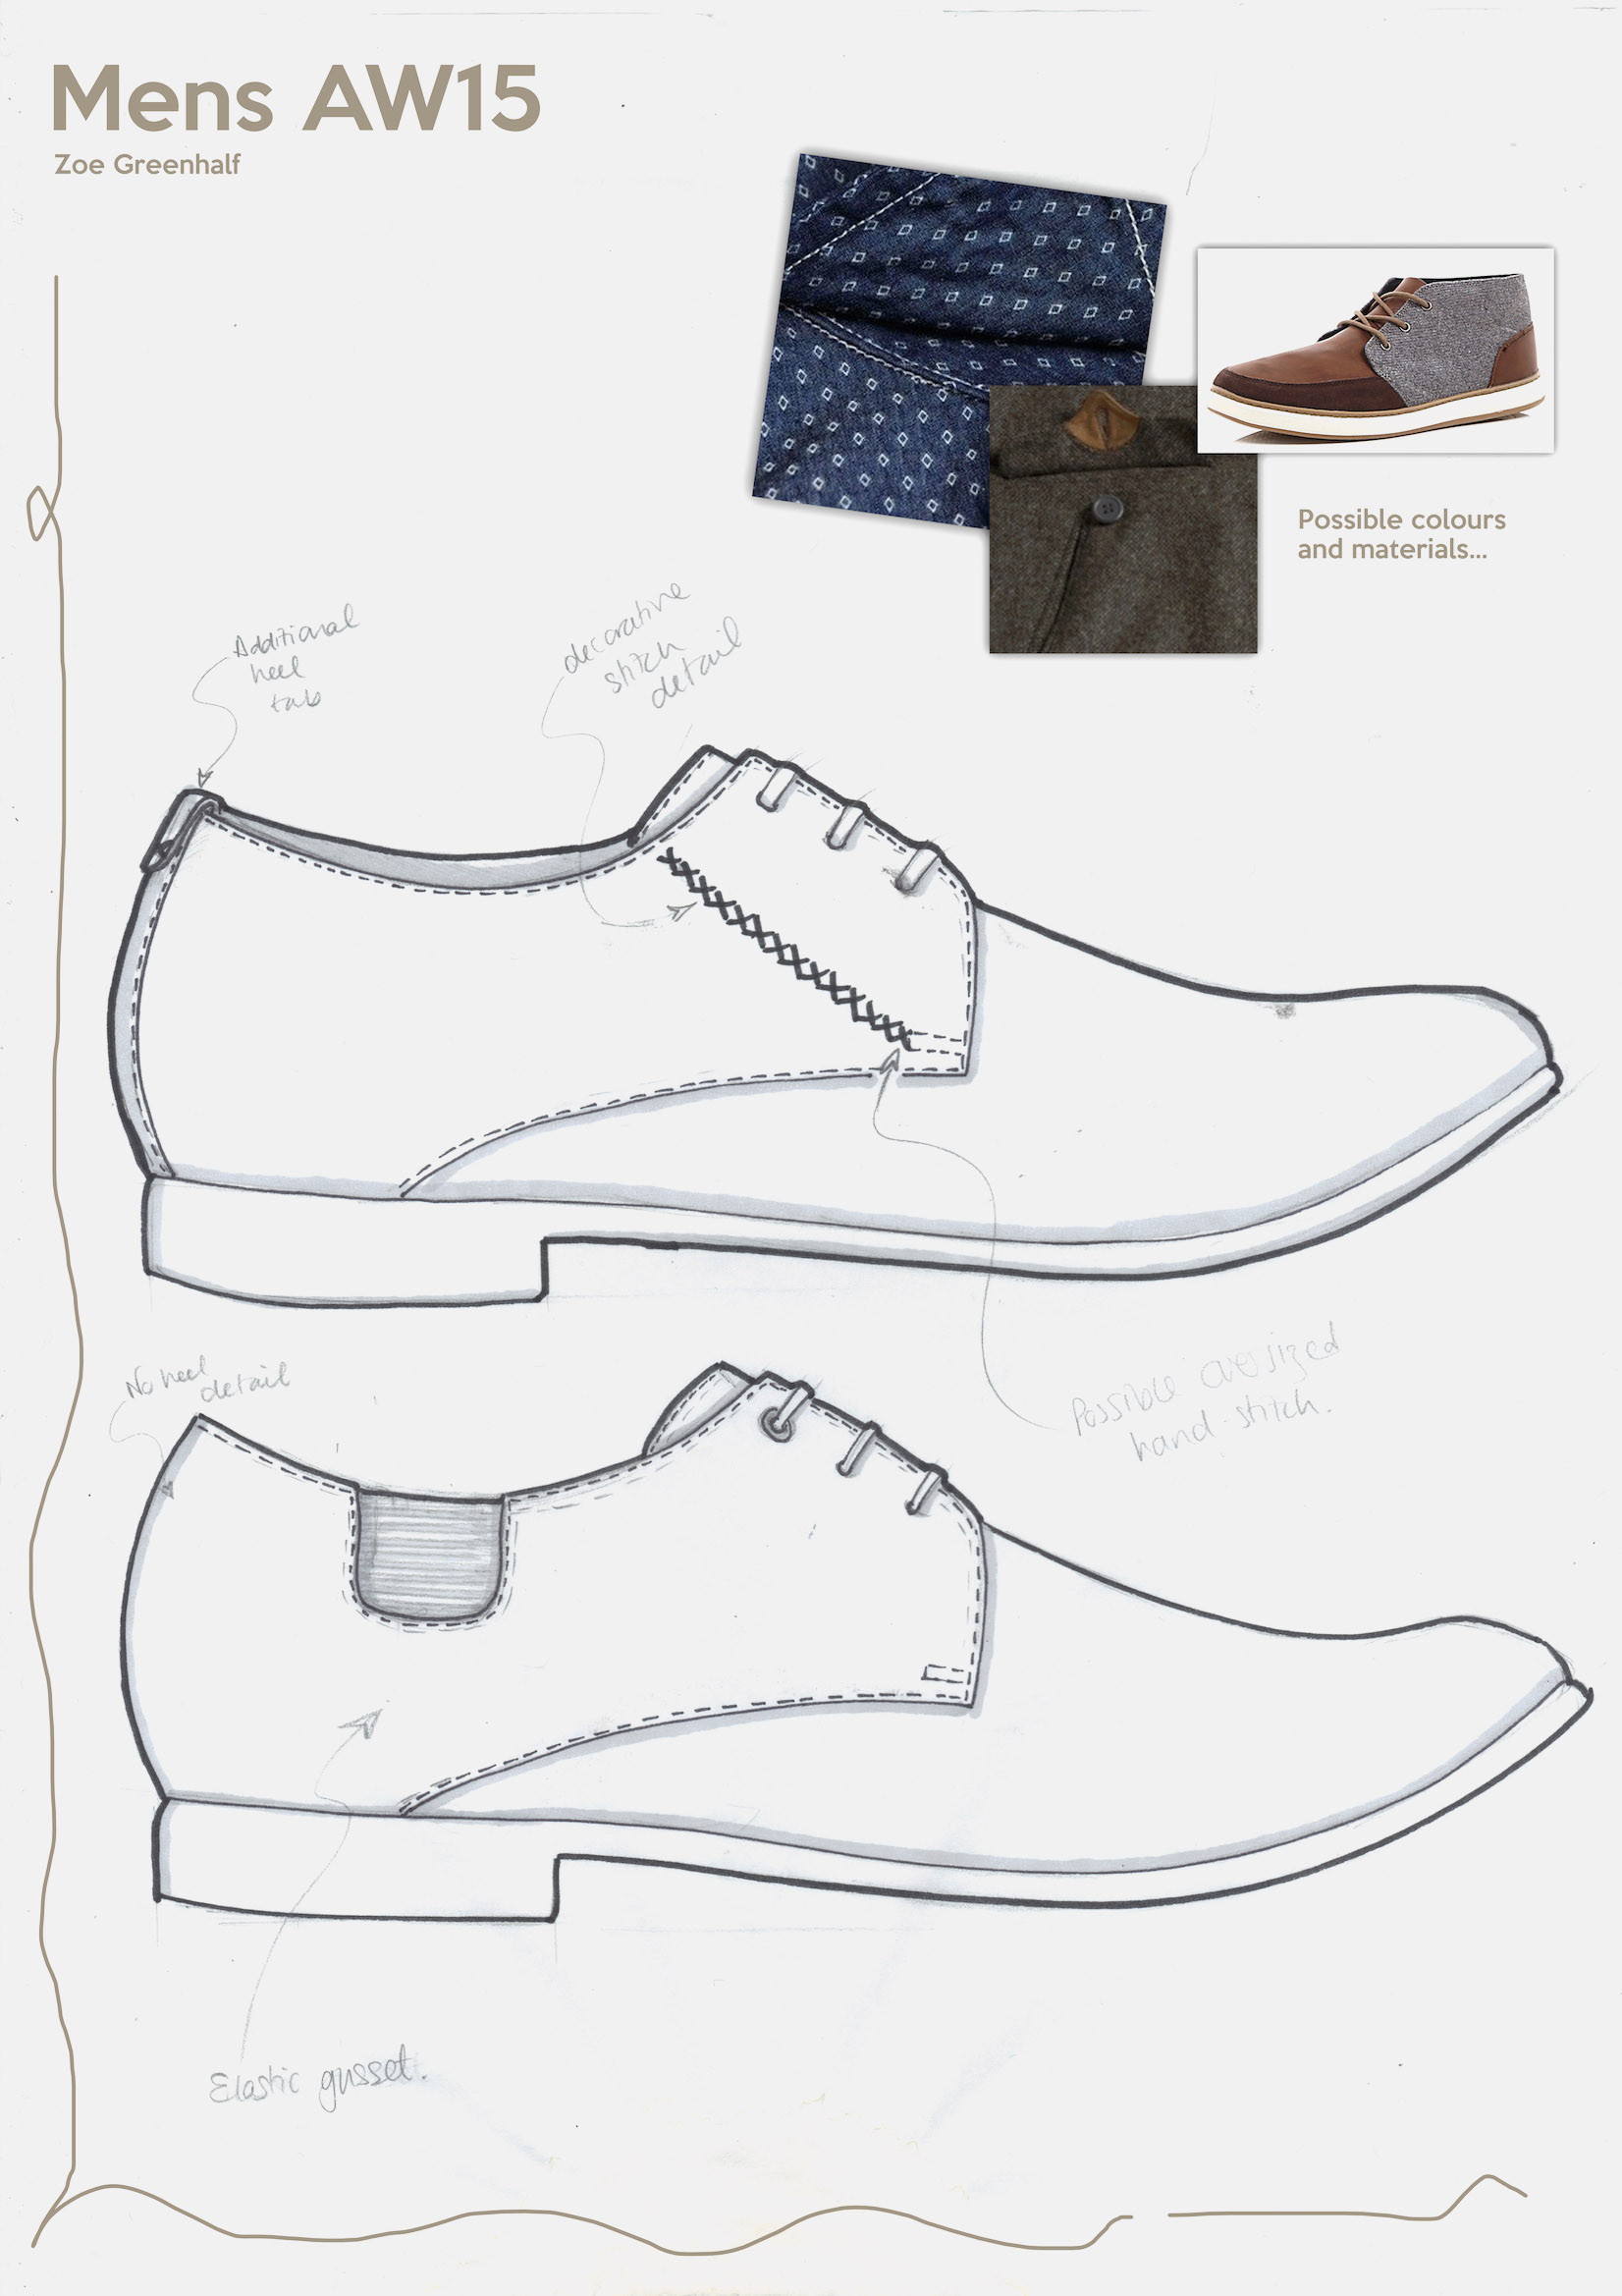
Over the last few months one of my favourite projects has been to develop a new range of men’s vulcanised shoes for AW15. My initial ideas can be found below. They were subsequently developed into CADs, then spec sheets and finally the samples we have ultimately been busy showing customers. It’s always exciting seeing a 2D design come to life as a 3D shoe and it’s so satisfying to be able to present the final samples to clients and see the reactions first-hand!
It’s all a bit hush-hush still at this stage as these shoes aren’t in stores yet but I’ll update with photos once they become available!
Zoe x


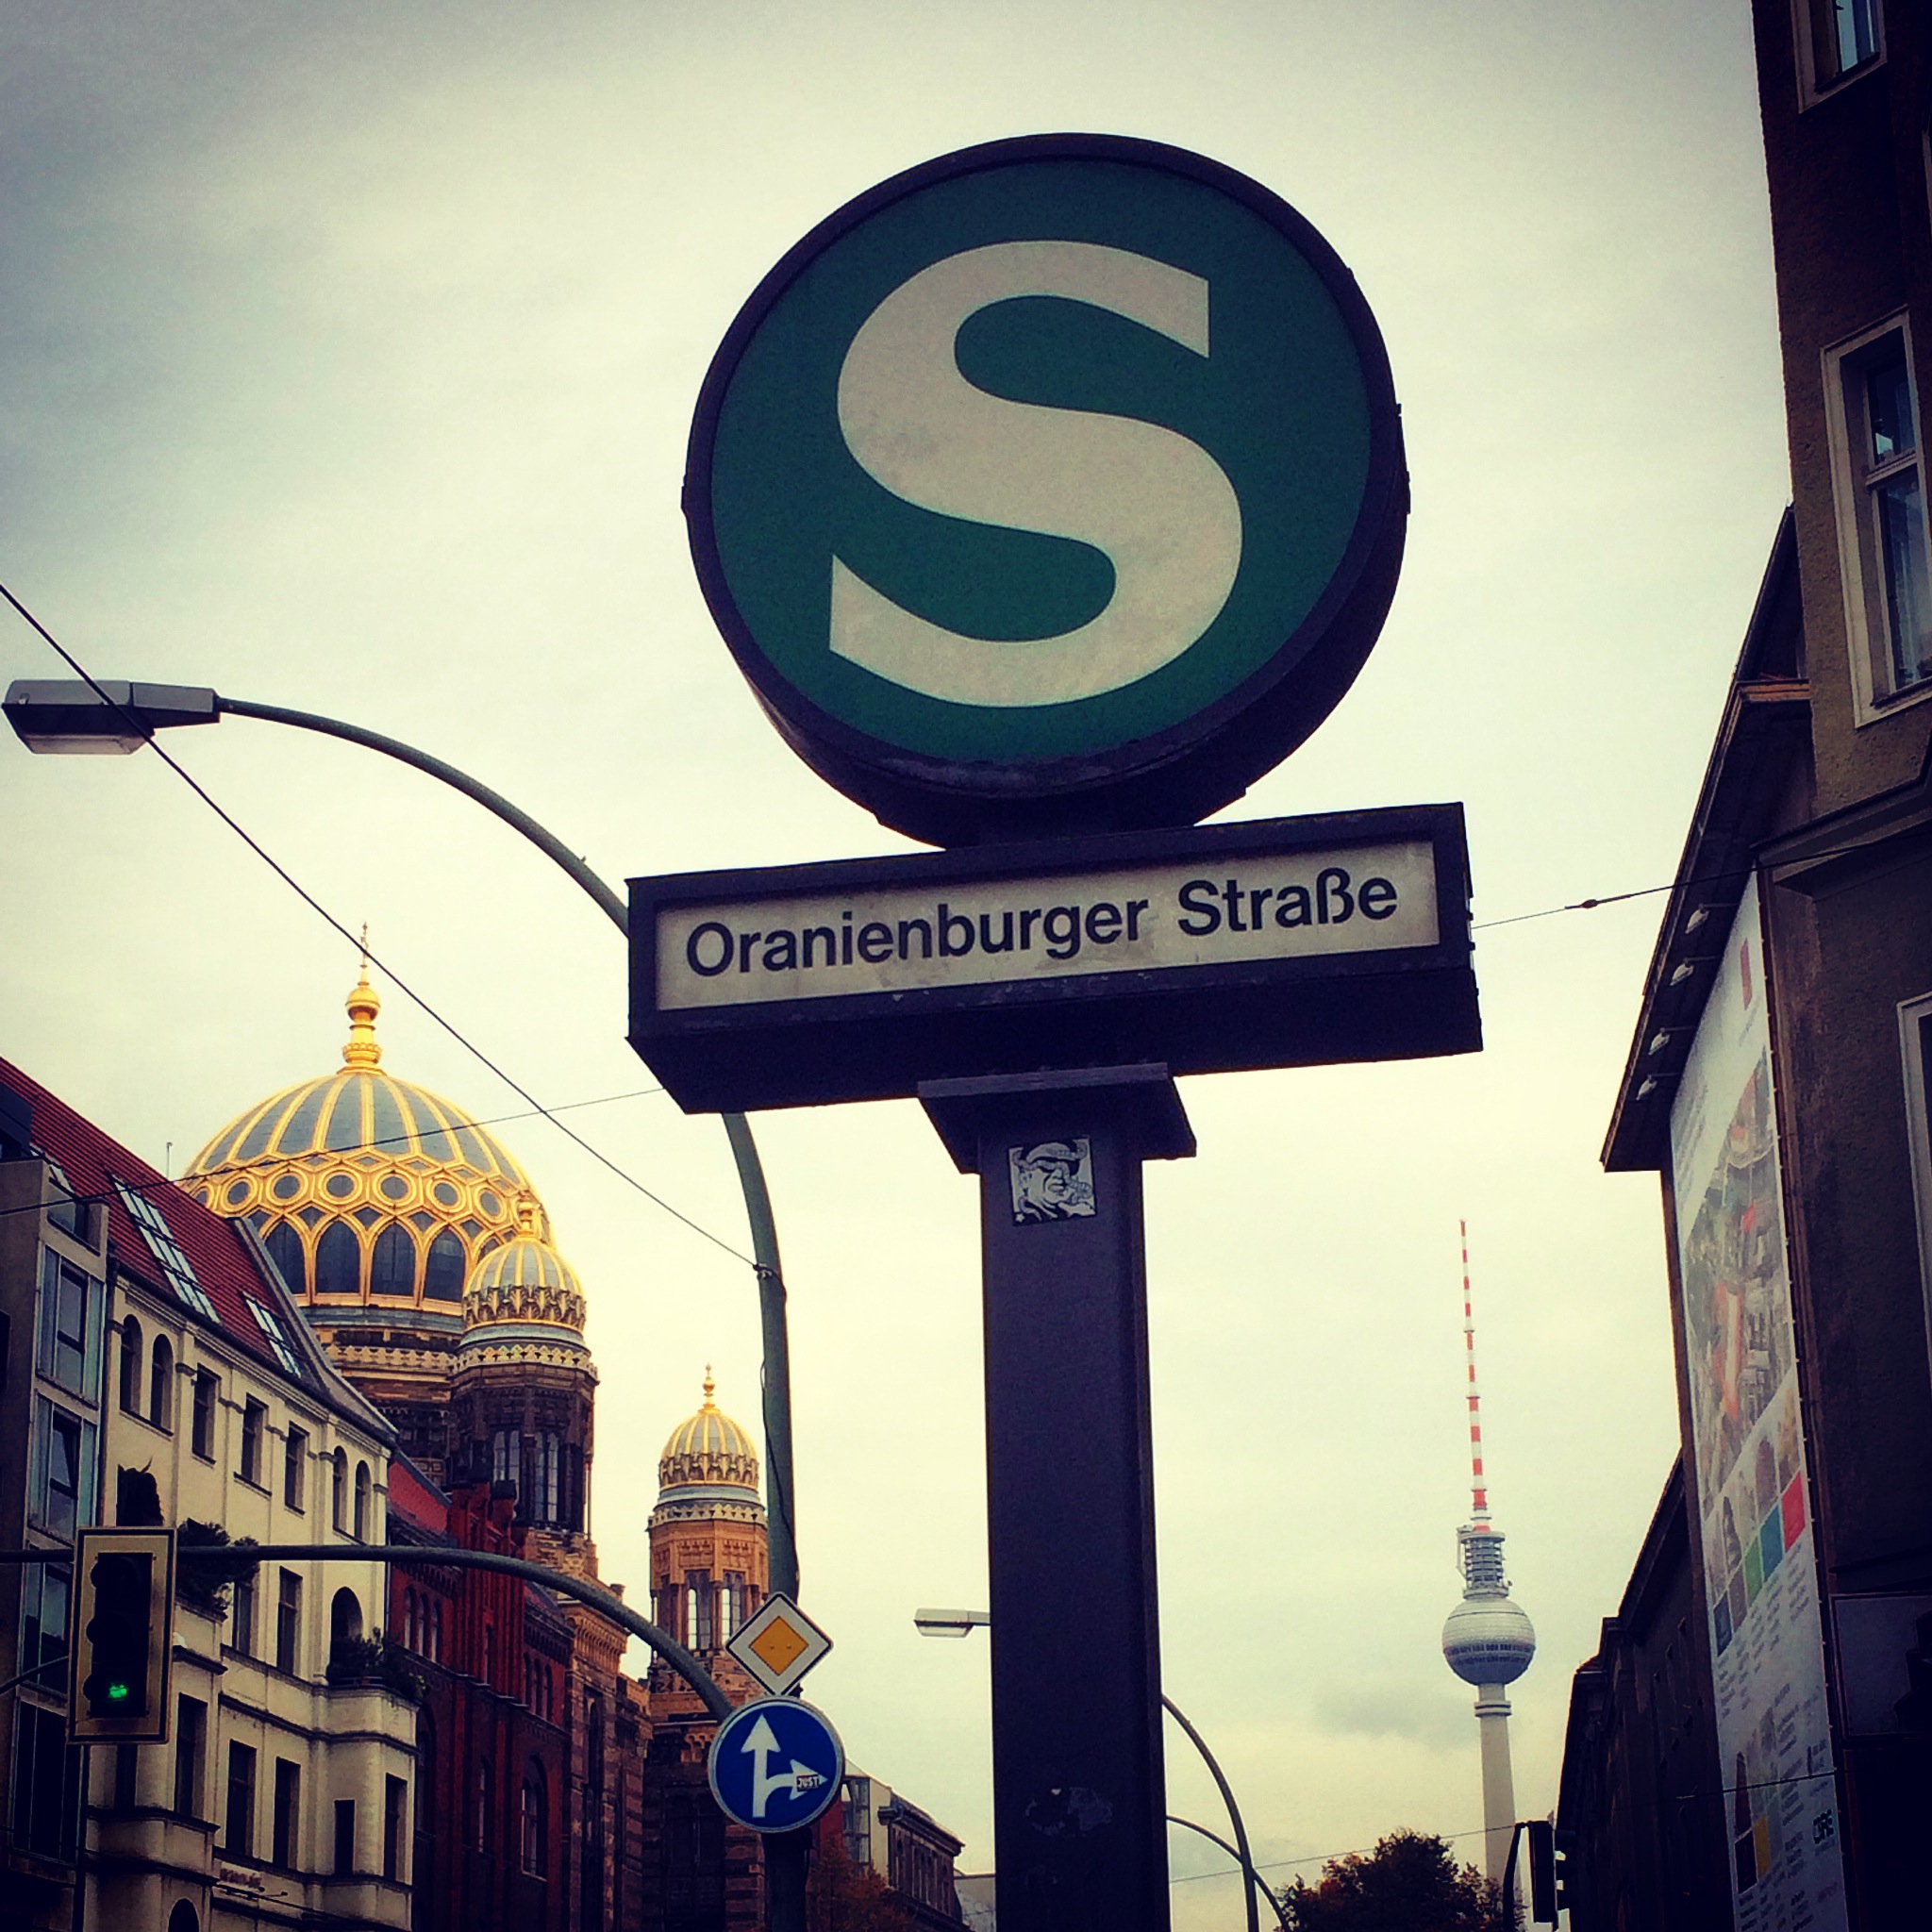
BERLIN BABY!
I love that my job involves travelling to awesome places and for AW15, I was able to visit one of the fashion capitals, Berlin, for some serious shoe inspiration! The city itself is brimming with art, design and creative-types and right at the heart of this is the Mitte area, where I stayed. (Thanks @GeneratorHostel for a great couple of days).
It’s important to feed creativity so it’s great to leave the office, experience some culture then return to work with fresh eyes and renewed enthusiasm. Here’s some snaps and mood boards from my trip…